This quick and easy Dairy-Free Cheese Sauce is made without nutritional yeast or nuts! It’s smooth, stretchy, and the perfect melted cheese topping for any dish. This creamy vegan cheese sauce is gluten-free, paleo, allergy-friendly and easily AIP adaptable!
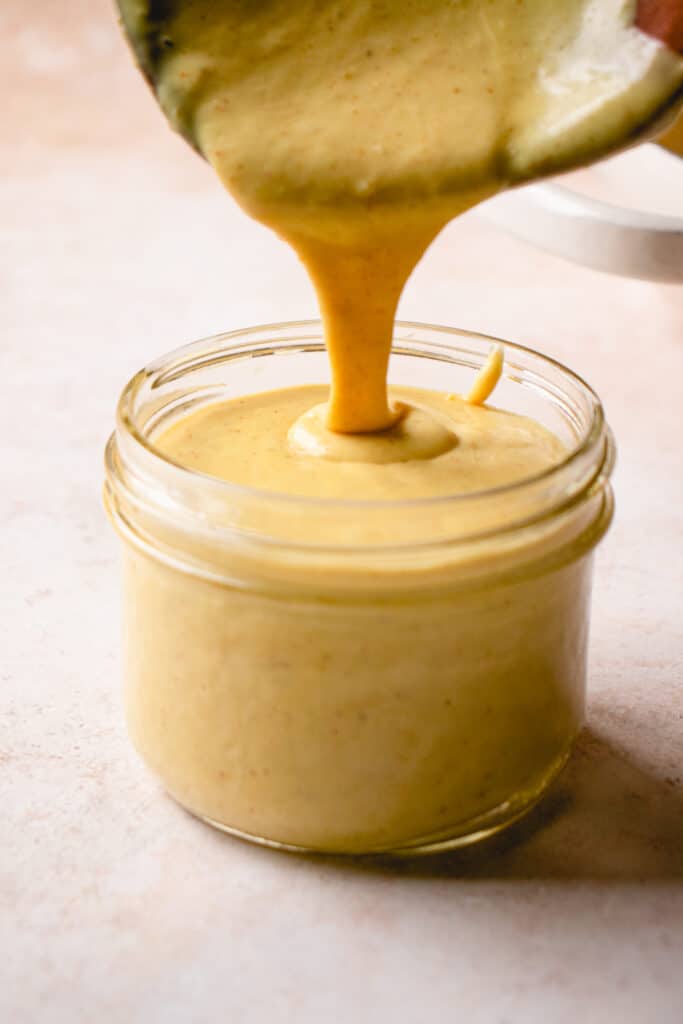
As the creator of an online dairy-free and gluten-free baking school, I understand how challenging it is to find dairy and gluten-free goods that taste as delicious as their conventional counterparts. This homemade vegan cheese is stretchy like real melted cheese and has a ‘cheesy’ flavor without nutritional yeast. It’s free of common allergens like nuts, gluten, soy, and of course, dairy, and is the best plant-based cheese for broiling!
Table of contents
The Best Dairy-Free Cheese Sauce
If you’ve tried my Beef and Kale Casserole or my Sweet Potato Lasagna then you know how good this dairy-free cheese sauce is! I use it for baking or broiling; anywhere I want a cheesy topping that stretches, browns, and bubbles. It’s become such a popular feature in some of my other recipes that I felt it deserved its own post, complete with troubleshooting tips and tricks to get it just right!
This recipe is essentially my original vegan and AIP cheese sauce with very minor tweaks. I included paprika for a slightly smoky, warmer flavor and to offset the neon yellow that turmeric alone can make. Like the original, this nut-free cheese sauce is made without nutritional yeast. Many alternative or vegan/dairy-free cheeses are nut-based and include nutritional yeast to create a cheesy flavor, so my recipe is an excellent option for folks who can’t tolerate or don’t like those ingredients.
Whether you’re following the AIP protocol, a vegan or gluten and dairy-free diet, or just generally looking for a plant-based cheese that looks and tastes like the real deal, this is the cheese sauce for you!
Ingredients
See the recipe card below for ingredient quantities.
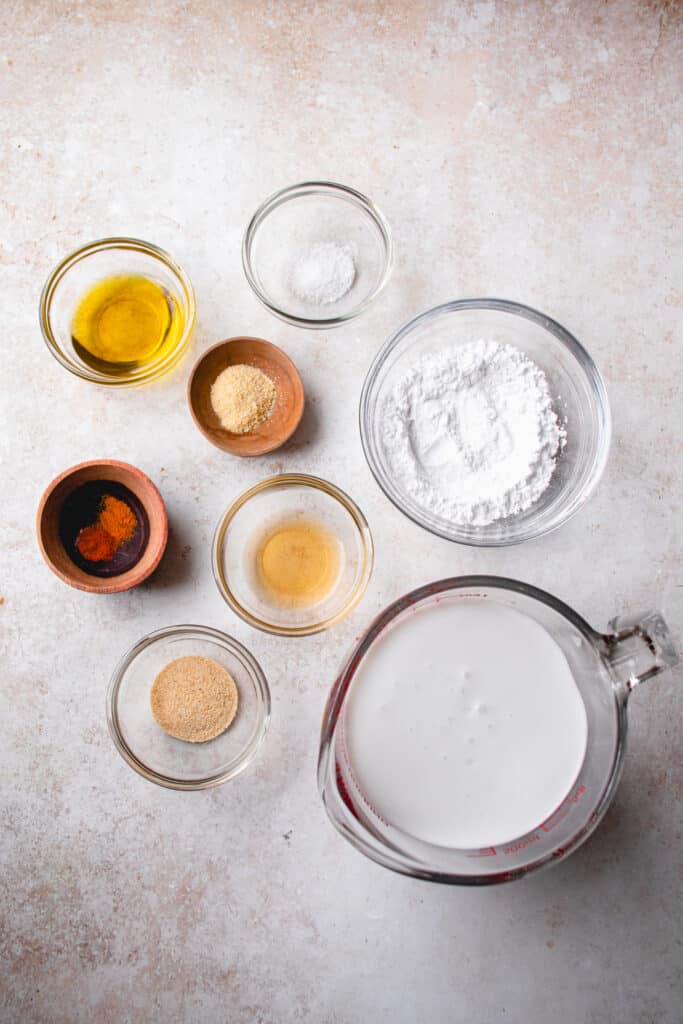
- extra virgin olive oil
- garlic powder
- onion powder
- sea salt
- turmeric
- paprika – combined with the turmeric creates a warm yellow color.
- apple cider vinegar
- full-fat coconut milk – use canned coconut milk, not the boxed kind. Ensure it’s full-fat, not ‘lite’ coconut milk or coconut milk beverage. See the Tips and FAQs section for more info.
- tapioca starch – makes this sauce stretchy.
Ingredient Substitutions
- Extra virgin olive oil: You can use avocado oil instead.
- AIP Modification: Omit the paprika (a nightshade) to make this cheese sauce comply with both the Core and Modified elimination versions of the AIP diet.
- I don’t recommend any other ingredient substitutions.
Instructions
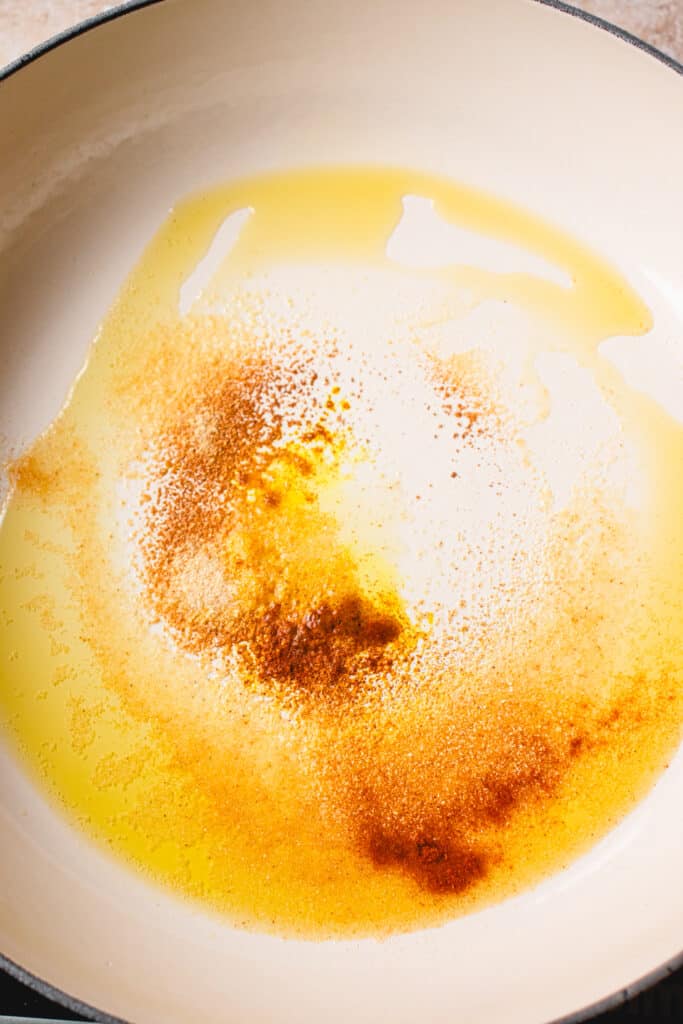
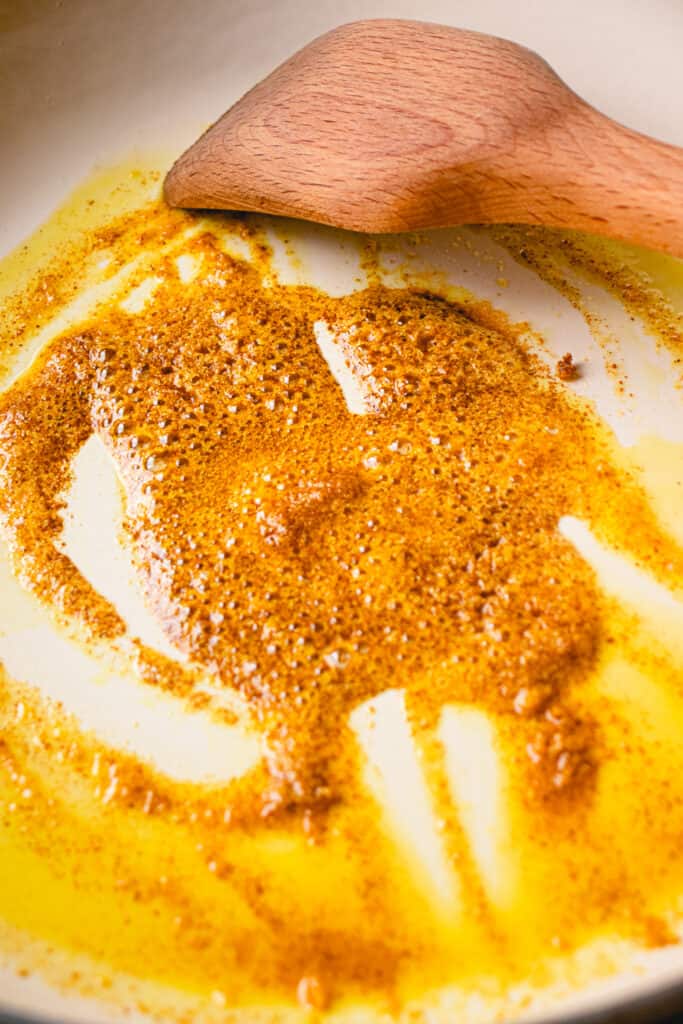
Step 1: Heat Oil and Spices
Heat olive oil in a skillet or saucepan over medium heat. Add the spices except sea salt and stir, allowing the spices to bloom.
Step 2: Add Salt and Liquids
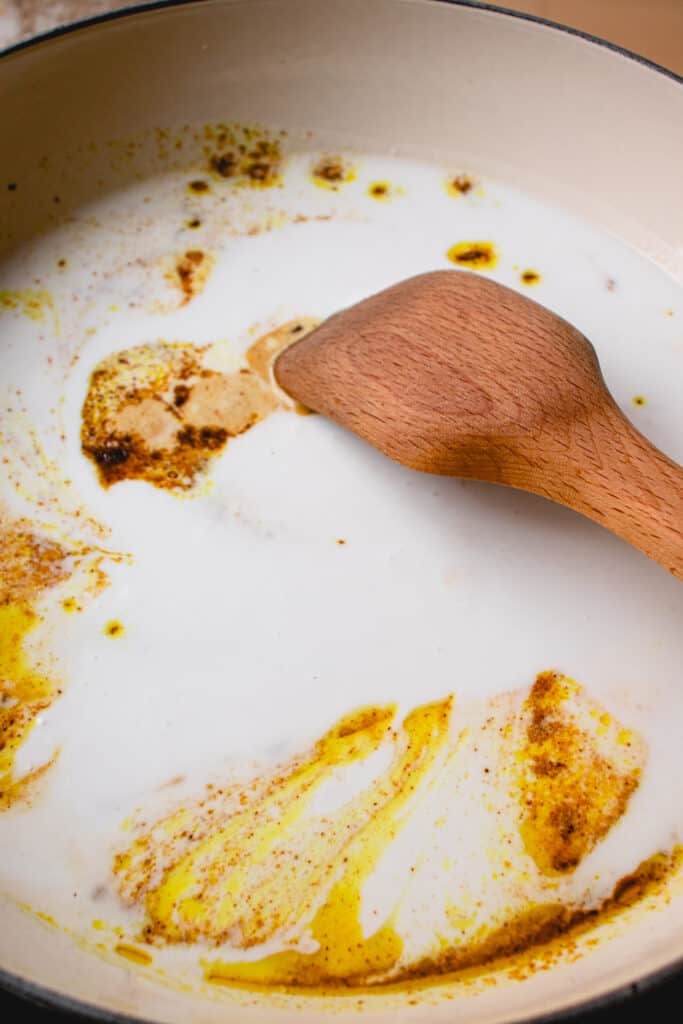
Add sea salt, coconut milk, and apple cider vinegar, and stir. Bring the sauce to a boil, stirring as needed.
Step 3: Make the Slurry
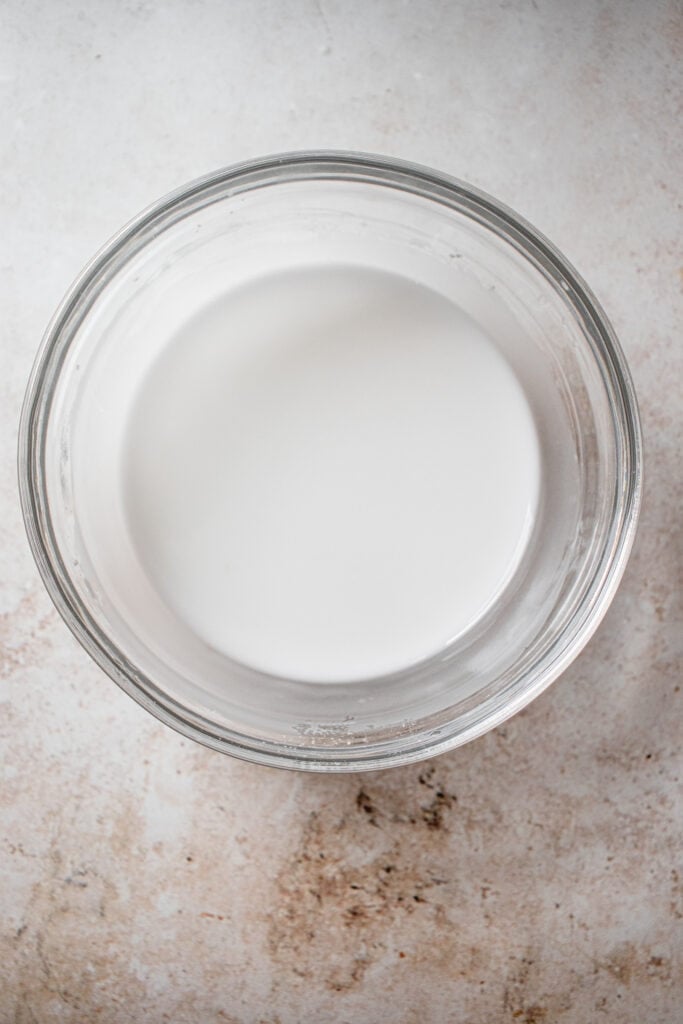
Use a fork to mix together tapioca starch and water in a small bowl, whisking until the tapioca completely dissolves and there are no clumps.
Step 4: Add the Slurry
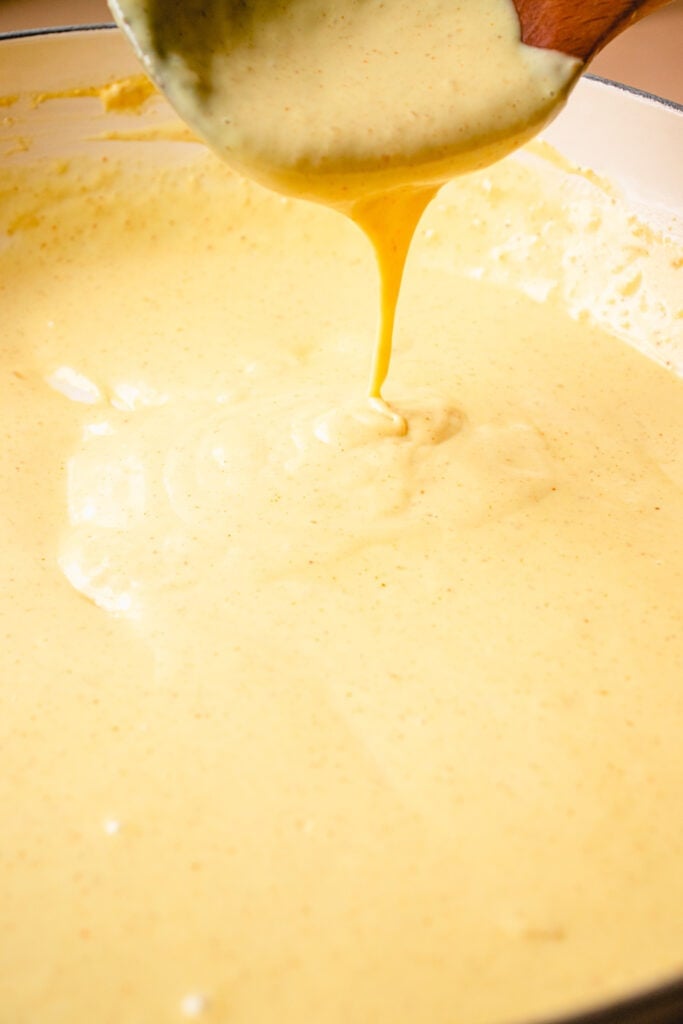
Once the sauce reaches a rolling boil, begin to whisk the sauce. Turn down the heat, and pour the slurry around the perimeter of the skillet or saucepan, whisking quickly and continuously. Continue whisking to prevent any clumps from forming, until the mixture begins to thicken.
Step 5: Remove from Heat
Once the mixture starts to thicken, remove from heat and set aside. Serve anywhere you’d use a shredded or melted cheese topping.
Tips & Tricks
Use Full Fat Coconut Milk
We want this sauce to be really thick. The high fat content of full-fat coconut milk is key to getting the ideal consistency and texture of this cheese sauce.
Make sure you use full-fat coconut milk from a can, not from a box, as those are typically not full-fat and contain other additives that can water down or affect the consistency.
If the coconut milk separates in the can, warm it up gently on the stovetop first before using it in this recipe.
Other plant-based milks with lower amounts of fat and thinner consistencies will not work well in this recipe.
Customize Spices
Most often, I add this cheese sauce on top of other very well-seasoned dishes to provide a lightly creamy, cheesy mouthfeel and this ratio of spices is ideal for me. That said, feel free to amp up the flavor with more of the spices, using the ratio used here as a guide.
In particular, the turmeric is mostly for coloring rather than being essential to the cheese flavor, so you can use more or less according to the color you want to achieve. Using more will create a brighter color. You can also omit it if you prefer, noting that the cheese will be a pale off-white color.
Add dried thyme like in the original dairy-free AIP cheese sauce. 1 tsp would be ideal in this spice blend at the 1x scale.
Troubleshooting Tips
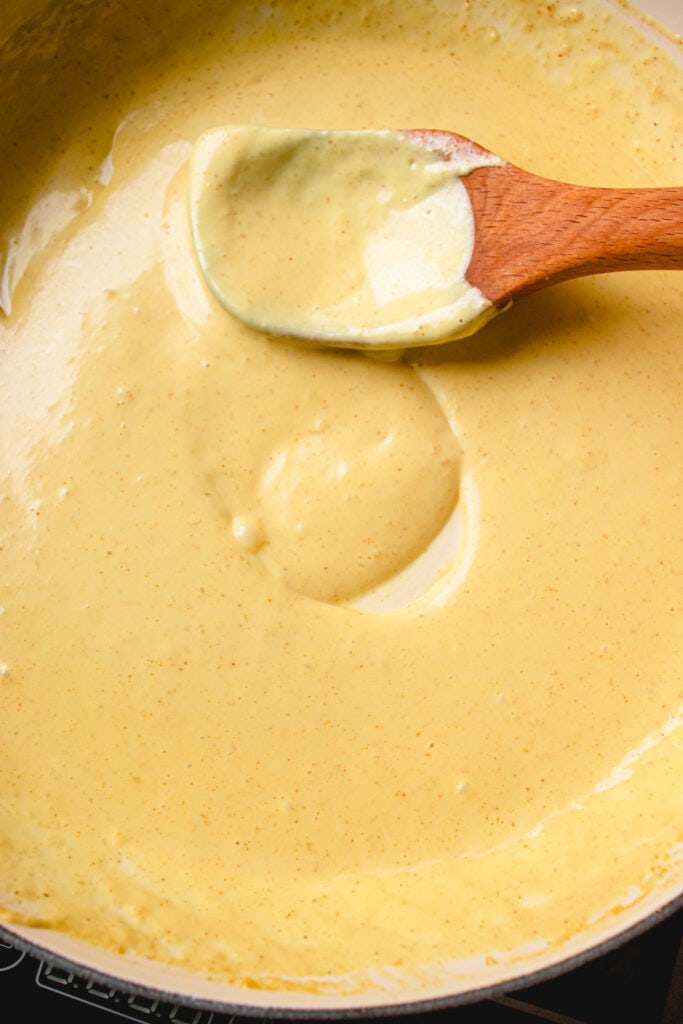
The main problem people encounter with making this sauce is that it curdles or gets clumpy.
The best tips to prevent curdling and getting a smooth sauce are:
- Make sure the tapioca starch is fully dissolved in the slurry before adding it to the sauce. Undissolved globs of starch will create clumps in the sauce.
- Begin whisking the sauce before you add the slurry.
- Turn down the heat before you add the slurry.
- Slowly pour the slurry at the perimeter or edges of the pot, avoiding the center of the burner/heat element. This is to avoid the slurry from concentrating and clumping in the center, where the heat is highest.
- Whisk quickly and continuously as you pour in the slurry, to avoid clumps from forming. The biggest mistake people make is not whisking the slurry in quickly enough, so whisk whisk whisk!
- Also, use a proper whisk, not a fork or spoon!
- Don’t overcook the sauce. Once the slurry is all whisked in and it begins to thicken, immediately remove the saucepan or skillet from the heat. If it overcooks, it can become clumpy, like a scrambled egg, jello-like texture.
If the sauce begins to curdle or to remove clumps:
- Immediately remove the sauce from the heat.
- Whisk the sauce thoroughly to try to break up the clumps.
- Pour the sauce through a sieve or strainer to discard the clumps.
- Whisk the strained cheese again to get rid of any smaller globs and to prevent further clumping.
- Once you’ve whisked it all and there are no visible clumps, return the pan to a burner over a lower heat. Re-add the slurry, whisking continuously, and following the prevention steps above.
How to Serve Dairy-Free Cheese Sauce
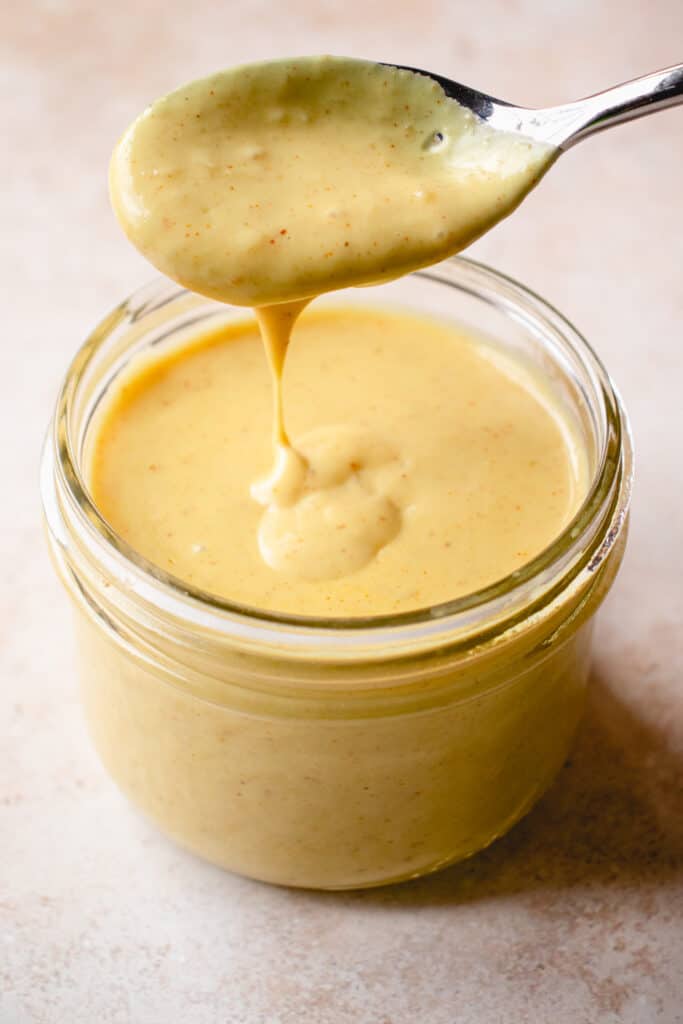
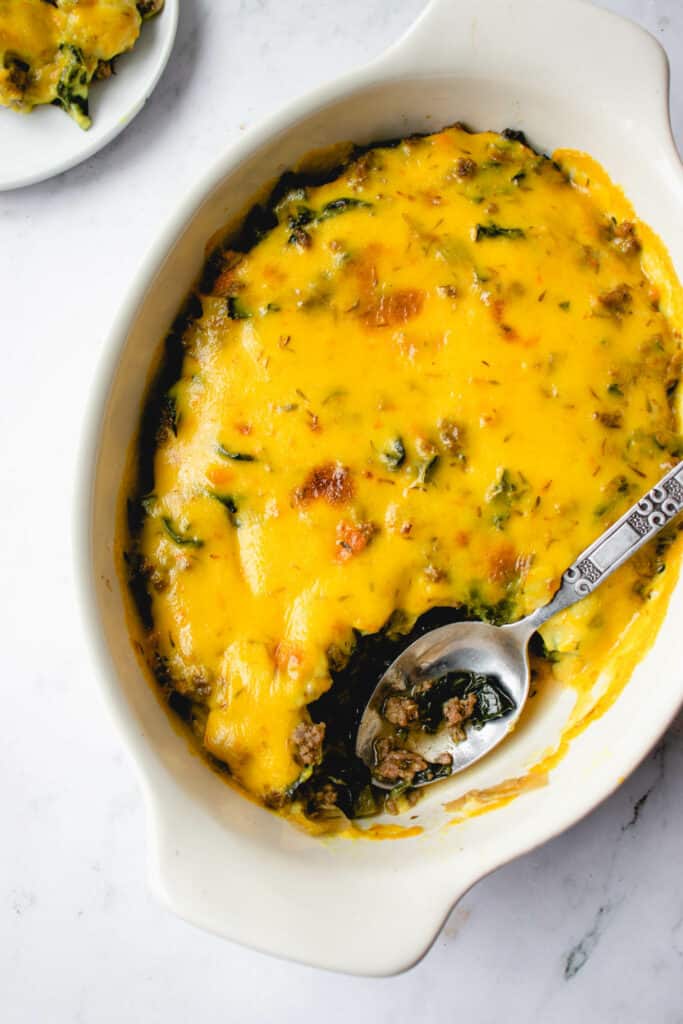
While my Vegan Cheese Dip is better as a standalone dipping sauce, the beauty of this Dairy-Free Cheese Sauce is that it does melt, stretch, brown, and bubble (baked or broiled in the oven). You can still try it as a dip although it may get a bit gloopy as it cools. Here are some other ideas on how to use this versatile cheese sauce:
- In my Easy Mexican Casserole, Beef and Kale Casserole, Meatloaf Muffins and Sweet Potato Lasagna recipes.
- As a vegan nacho cheese sauce with gluten-free chips. Especially if you want it baked on top like in my Easy AIP Nachos recipe.
- Mixed with gluten-free pasta for a quick and easy dairy-free mac and cheese.
- Similarly, baked or broiled on top of cooked gluten-free pasta to make lasagna, baked mac and cheese, or other pasta bakes of any kind.
- Broiled on top of any casserole that calls for a cheese topping.
- Use with any veggies of your choice to make a cheesy vegan vegetable side. For example:
- On top of steamed broccoli, broiled on high for a few minutes, or, omit the marinade and bake it atop Smashed Broccoli for a cheesy broccoli side dish.
- Drizzled on top of potatoes or sweet potatoes and roasted in the oven to make cheesy baked potatoes.
- Make a grilled cheese sandwich by drizzling the sauce on gluten-free bread or gluten-free tortillas and broiling on high in the oven.
- Drizzle on top of Chicken Tacos or Fish Tacos for a creamy cheesy topping. Or, broil it on top of the fillings in the oven first so it’s more like a melted cheese topping.
- Try drizzling over breakfast dishes like this Sweet Potato Hash or pour over this Butternut Squash Hash in the last few minutes of baking.
Frequently Asked Questions
Arrowroot starch tends to lose its thickening ability after continued heating so I use tapioca starch instead due to the high boil needed before adding the slurry. If you do use arrowroot starch, turn down the heat before you add the slurry and remember to whisk quickly!
Although most dairy-free and vegan cheese sauces include nutritional yeast for a savory, cheesy flavor, I’m not a fan of the flavor so I don’t use it in any of my recipes. I wanted to create a recipe without nutritional yeast for folks who don’t want it.
Although I haven’t tried it myself, some readers have included nutritional yeast in this recipe and have liked it.
Almond milk doesn’t have a high fat content and is not as thick as coconut milk – I don’t recommend using it.
Cashew milk has a much higher fat content than almond milk, but less than coconut milk. If you choose to use cashew milk, I recommend you make your own for this recipe. Use a low ratio of water to cashews and make it into a thick cream more than a watery, thin milk with a lot of liquid.
If you want to experiment with other plant-based milks, these are the things to keep in mind – using one with a very high fat content and a very thick texture/consistency. Let me know in the comments what you try!
Alternatively, if you’re looking for a coconut-free, dairy-free cheese sauce, try my Vegan Queso Cheese Dip. However, note that it’s not going to stretch, bubble, or brown.
Due to its fermentation, apple cider vinegar adds a complex, umami-rich and savory flavor in addition to tangy acidity. I think it creates a depth of flavor that more closely mimics real cheese, which is something you wouldn’t get solely from the acidity of lemon juice.
Storage & Reheating Instructions
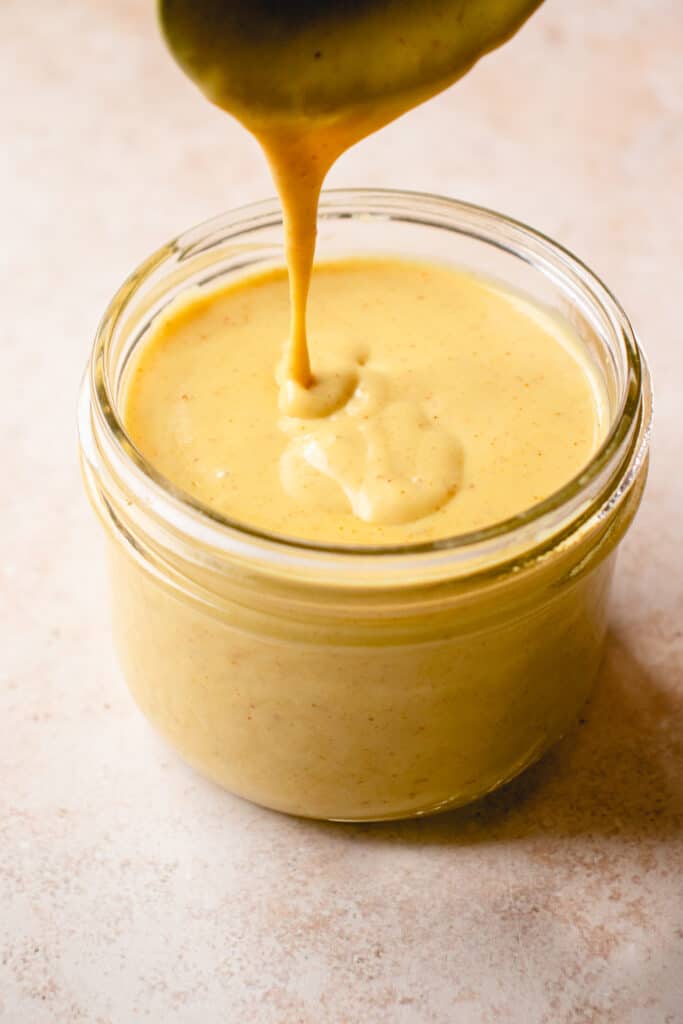
Fridge: Store the Dairy-Free Cheese Sauce in an airtight container like a mason jar for up to 1 week. Reheat on the stovetop over medium-low heat, whisking continuously to prevent clumping.
Freezer: I haven’t frozen this sauce myself but readers have with success. Try storing the cheese sauce in an airtight container in the fridge for up to 1 month. Reheat on the stovetop, whisking continuously to prevent clumping. Note the consistency may be a bit different once reheated from frozen.
I hope you love this Dairy-Free Cheese Sauce. If you do, I would appreciate it if you would give the recipe a rating and review. Be sure to snap a picture of the finished product and share it with me on Instagram by tagging @healmedelicious and using the hashtag #healmedelicious.
Print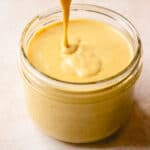
Dairy-Free Cheese Sauce Without Nutritional Yeast Recipe (Nut-Free)
- Total Time: 20 minutes
- Yield: 1 1/2 – 2 cups* 1x
- Diet: Vegan
Description
This Dairy Free Cheese Sauce without nutritional yeast or nuts is quick and easy to make! It’s smooth, stretchy, and the perfect melted cheese topping for any dish. This vegan cheese sauce is also gluten-free, paleo, allergy-friendly, and easily AIP adaptable!
Ingredients
- 2 TBSP extra virgin olive oil
- 1 tsp garlic powder
- 1 tsp onion powder
- 1/2 tsp sea salt
- 1/4 tsp turmeric
- 1/4 tsp paprika (omit for AIP)
- 2 tsp apple cider vinegar
- 2 cups full fat coconut milk
- 1/4 cup tapioca starch + 2 TBSP water
Instructions
- Heat olive oil over medium heat in a saucepan or skillet. Add garlic powder, onion powder, turmeric, and paprika and stir, allowing the spices to bloom.
- Add sea salt, coconut milk, and apple cider vinegar. Bring to a boil, stirring as needed.
- In a small bowl, mix together tapioca starch and water with a fork to make a slurry. Whisk until the tapioca starch completely dissolves and there are no clumps.
- Once the coconut milk mixture reaches a rolling boil, begin whisking the mixture. Turn down the heat slightly, then slowly pour in the slurry at the edges, avoiding the center of the pan. Whisk quickly and continuously while you pour in the slurry, and continue whisking until the mixture begins to thicken.
- As soon as the cheese sauce begins to thicken, remove it from the heat and set aside.
- Serve anywhere you want a creamy cheese sauce or a melted cheese topping.
For browned melted cheese: Pour the sauce over casseroles, nachos, or other dish of choice and broil on high for 3-4 minutes, keeping a close eye so it doesn’t burn.
Notes
*The yield varies depending on how thick your sauce is.
Store in the fridge in an airtight container like a mason jar for up to 1 week.
- Prep Time: 5 minutes
- Cook Time: 15 minutes
- Category: Sauces/Dips
- Method: Stovetop
- Cuisine: American
Leave a Reply