These Gluten-Free Dairy-Free Protein Bars are the BEST no-bake protein bars! They’re soft and fluffy with a warm, nutty flavor and a luscious chocolate topping. Plus, these homemade bars are filled with fiber and protein-rich ingredients. They’re the perfect on-the-go snack that will satisfy any sweet craving!
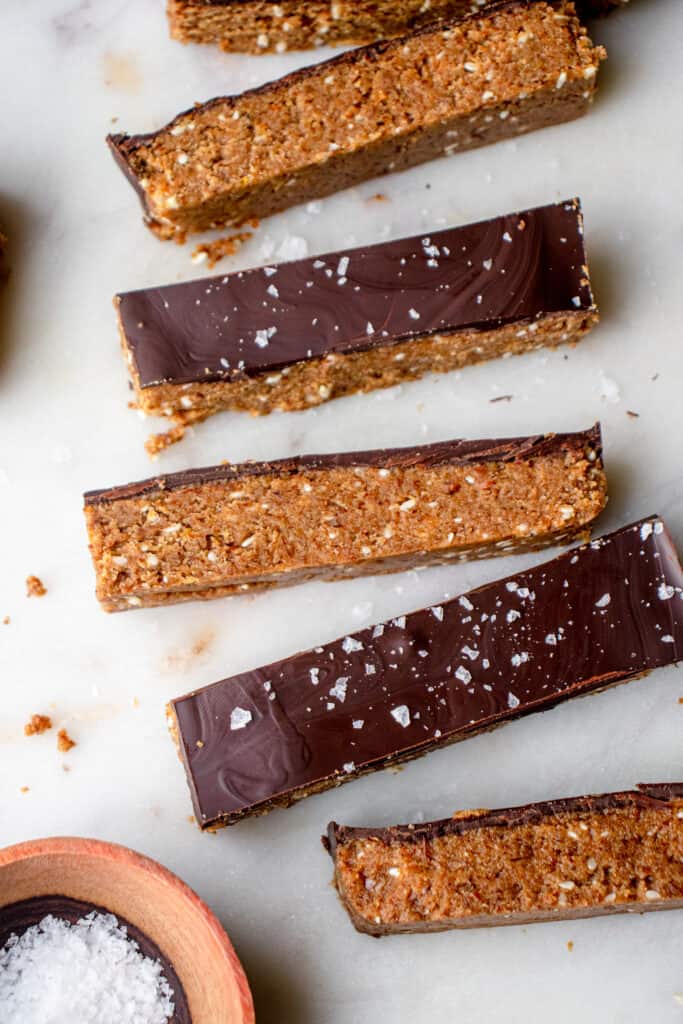
As the creator of an online dairy-free and gluten-free baking school, I understand how challenging it is to find delicious dairy and gluten-free snacks that taste as good as their conventional counterparts. My no-bake protein bars promise rich flavor and taste even better than store-bought brands made with top allergens including soy, dairy or wheat proteins and ingredients. And they’re a quick and easy way to boost your daily protein intake.
Looking for more gluten and dairy-free, protein-rich snacks or breakfast options? Try my Strawberry Avocado Smoothie, Vegan Carrot Cake Overnight Oats, or my Paleo Wild Blueberry Beet Smoothie.
Table of contents
Best Gluten Free Dairy Free Protein Bars
These protein bars require zero baking and are so easy to make. I love making my own so that I can control the ingredients and ensure they’re gluten and dairy-free. Plus, it’s more cost effective to make them at home than to buy them.
I opted to make them a moist and light, cake-y bar that’s melt-in-your-mouth soft rather than a crunchy granola bar. The taste and texture is similar to my Vegan Chocolate Covered Easter Eggs but with even more healthy fats, protein and dietary fiber. The nutrient-dense almond butter, high-fiber sesame seeds, flaxseed meal and protein powder make these “healthy” bars the perfect snack to curb hunger.
I made the protein bar “dough” with creamy almond butter sweetened with maple syrup, an unrefined sugar. Aromatic vanilla and cinnamon add warmth, while sea salt balances the overall sweetness. The flaxseed meal helps bind the protein bars, along with the almond butter and maple syrup. I used an unflavored protein powder to allow the natural rich flavors to come through.
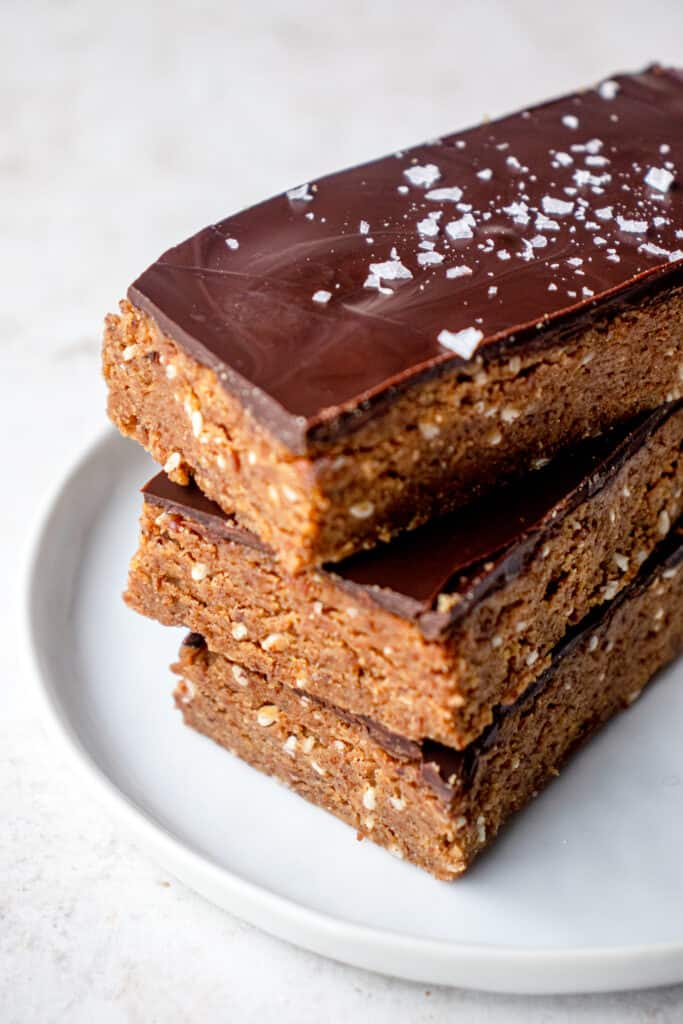
The sesame seeds enhance the nutty flavor and add a crunchy texture to the otherwise smooth bars. Once the melted chocolate hardens, it creates a firm layer on top. The sea salt flakes sprinkled atop the bars add a delicious crunch and a burst of saltiness that contrasts perfectly with the sweet, decadent chocolate.
Enjoy these gluten-free dairy-free protein bars as a quick breakfast, a post-workout snack or a nutritious dessert.
Ingredients
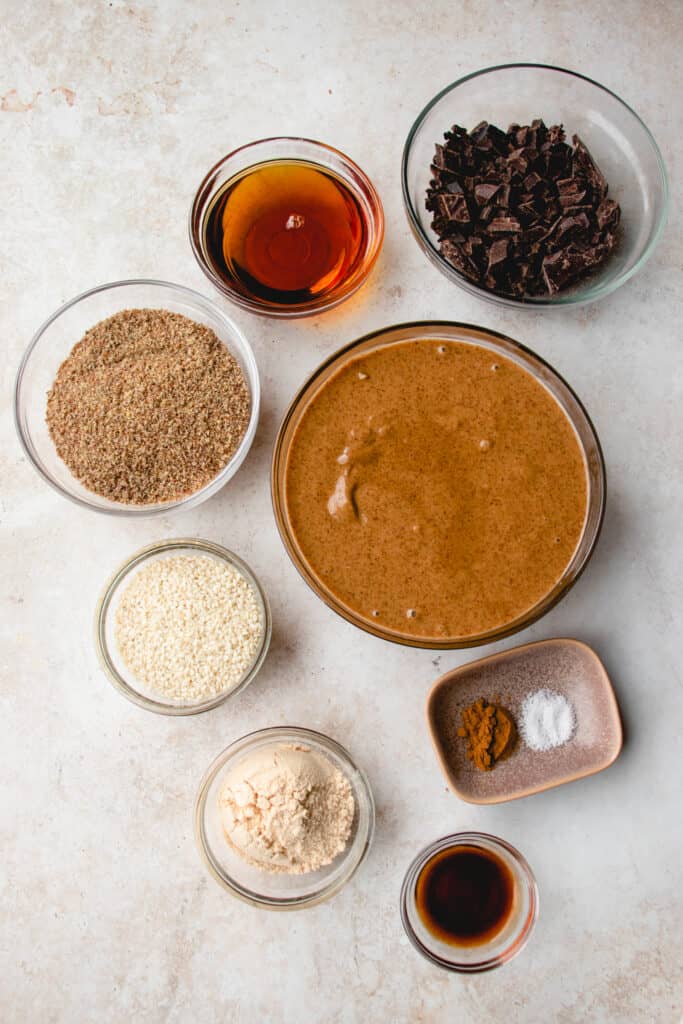
See the recipe card below for the ingredient measurements.
- almond butter – I recommend using a drippy, “smooth” or “creamy” almond butter (either roasted or raw) vs a “crunchy” one.
- maple syrup – room temperature or warm (not cold straight from the fridge).
- vanilla extract
- cinnamon
- sea salt – if your almond butter contains salt, you may want to lessen the amount.
- flaxseed meal – or ground flaxseeds amp up the nutrition as they provide good amounts of protein and are high in fiber.
- unsweetened protein powder – My favorite is this unflavored Equip Prime Protein powder made with only grass-fed beef that packs in 21 grams of protein per scoop. If you’d like to try it, use my code “HMD” at checkout for 15% off your first order.
- sesame seeds
- dairy-free dark chocolate or chocolate chips – I like and used these Pascha brand chocolate bars.
- flaky sea salt – like Maldon salt. This optional ingredient really adds to the overall flavor profile – I wouldn’t skip it!
Ingredient Substitutions
- Almond butter: You can use any nut butter of your choice like cashew, hazelnut, or peanut butter.
- Flaxseed meal: You can use ground chia seeds instead although the texture may vary slightly.
- Sesame seeds: You can use hemp seeds if you prefer or a combination of both.
- Protein powder: Use any type of protein powder that you’d like. Double check that there’s no gluten or dairy if you follow a gluten and dairy-free diet.
I recommend using an unflavored and unsweetened version, although vanilla or a nut-based flavor could work too. Note, if your protein powder is sweetened, you will want to lower the amount of maple syrup you use in this recipe. - Vegan modifications: Use any kind of vegan or plant-based protein powder like pea protein or brown rice protein powder, ensuring it’s also certified gluten-free if you are avoiding gluten.
Also, ensure the dairy-free chocolate you use is vegan (most dairy-free chocolate is vegan but double check the ingredient list or label for vegan certification). - AIP modifications: These protein bars can be made to suit the Modified AIP version of the AIP diet. Use sunflower butter instead of almond butter. You might want to increase the maple syrup to make it sweeter as roasted nut butters have a naturally sweeter taste than roasted sunflower seeds. I tested this recipe using tahini and do not recommend as it was much too bitter.
Ensure the dairy-free chocolate uses compliant ingredients like this Hu Kitchen Gems chocolate made with only cacao, coconut sugar, and cocoa butter.
Ensure you use a compliant protein powder like the Equip Prime Protein powder. - I don’t recommend any other ingredient substitutions.
Instructions
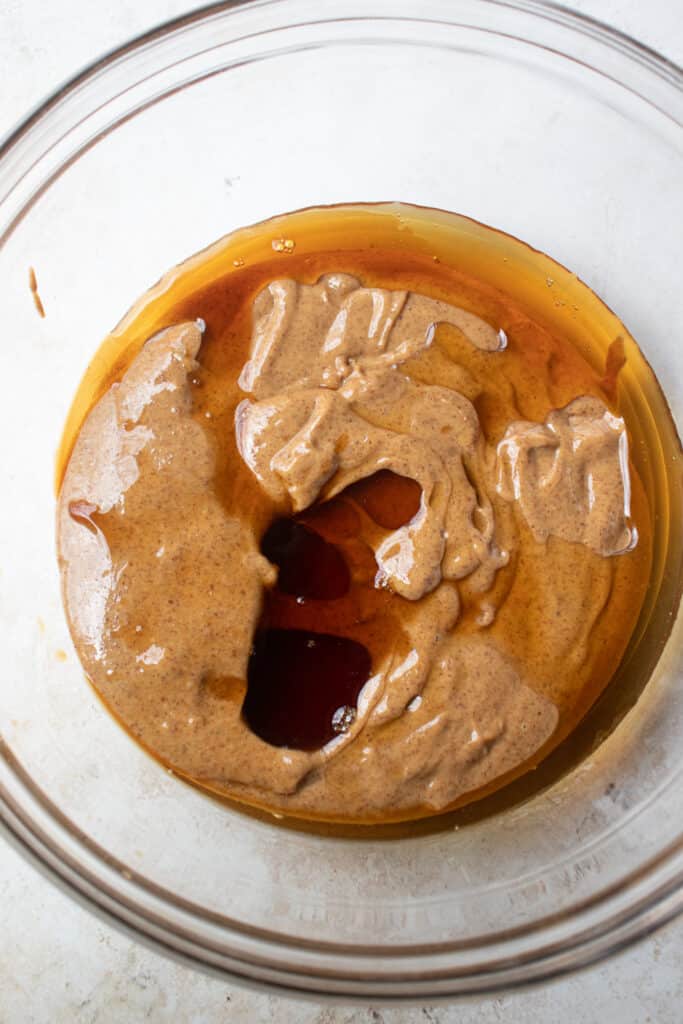
Step 1. Add Wet Ingredients
Combine the almond butter, maple syrup and vanilla in a large bowl.
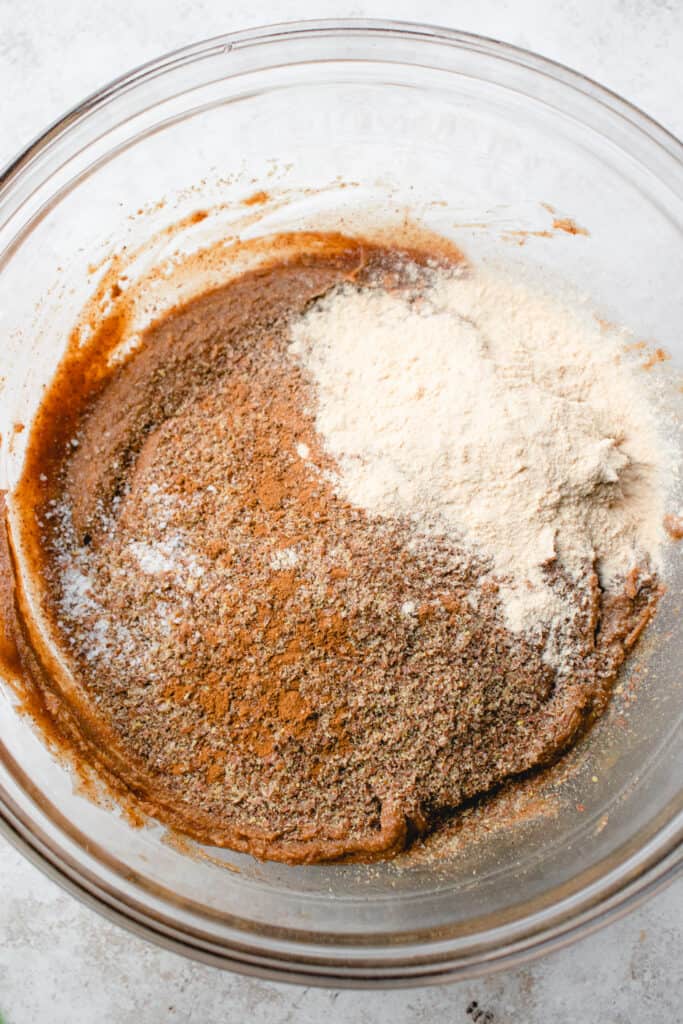
Step 2. Add Dry Ingredients
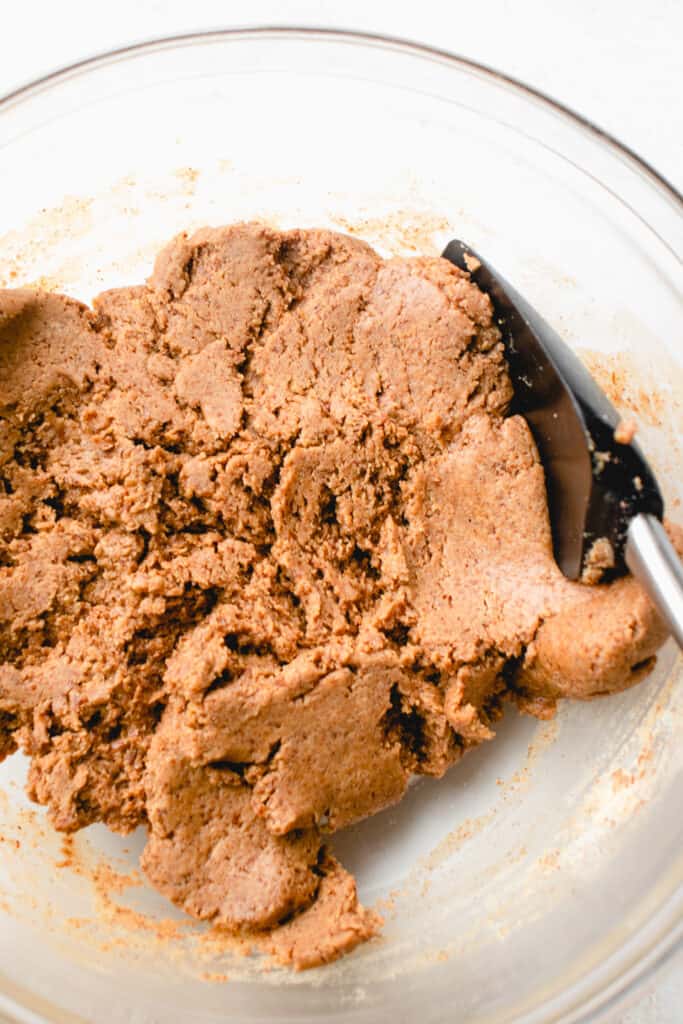
Then, add the flaxseed meal, protein powder, cinnamon and sea salt and stir to combine. The resulting mixture should have a texture similar to cookie dough; smooth and pliable, and not overly wet or dry.
Step 3. Add Sesame Seeds
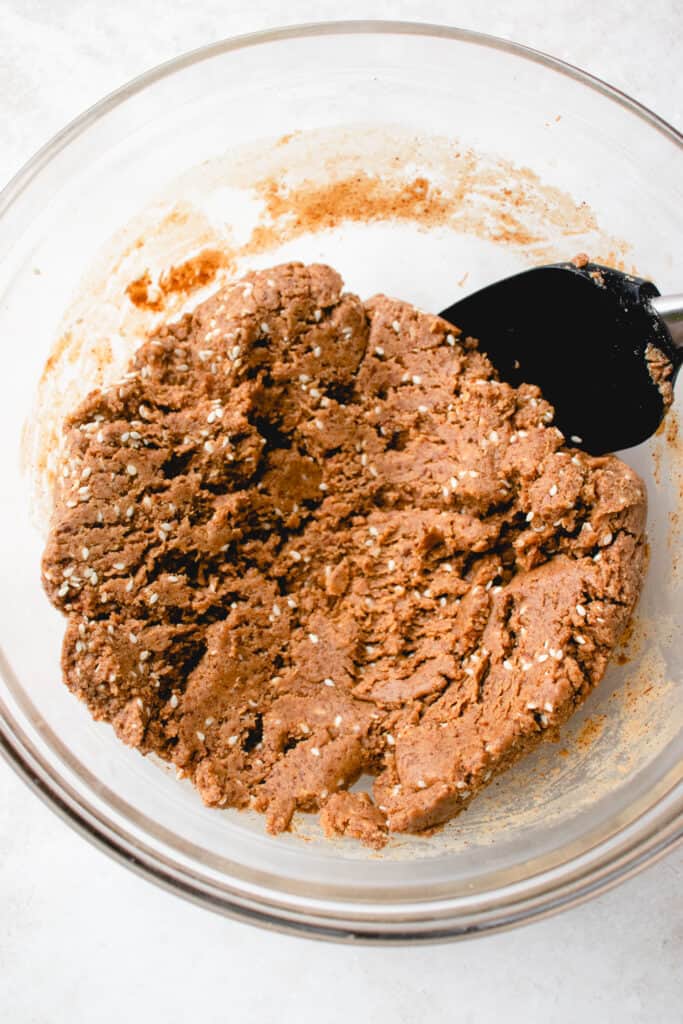
Next, add the sesame seeds and stir to to combine well, trying to evenly distribute the sesame seeds throughout the mixture.
Step 4. Transfer and Refrigerate
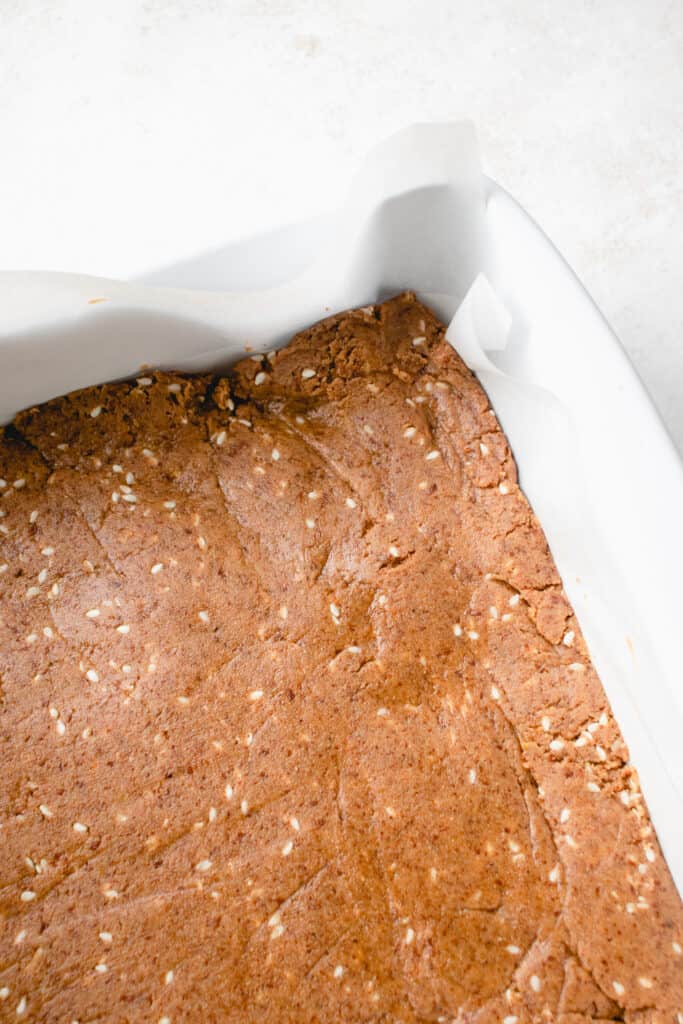
Firmly press the mixture into an 8×8 square pan lined with parchment paper. Use a spatula or the back of a spoon to smooth out the top into a flat, even layer. Then place the pan in the fridge for 15 minutes to chill.
Step 5. Melt Chocolate
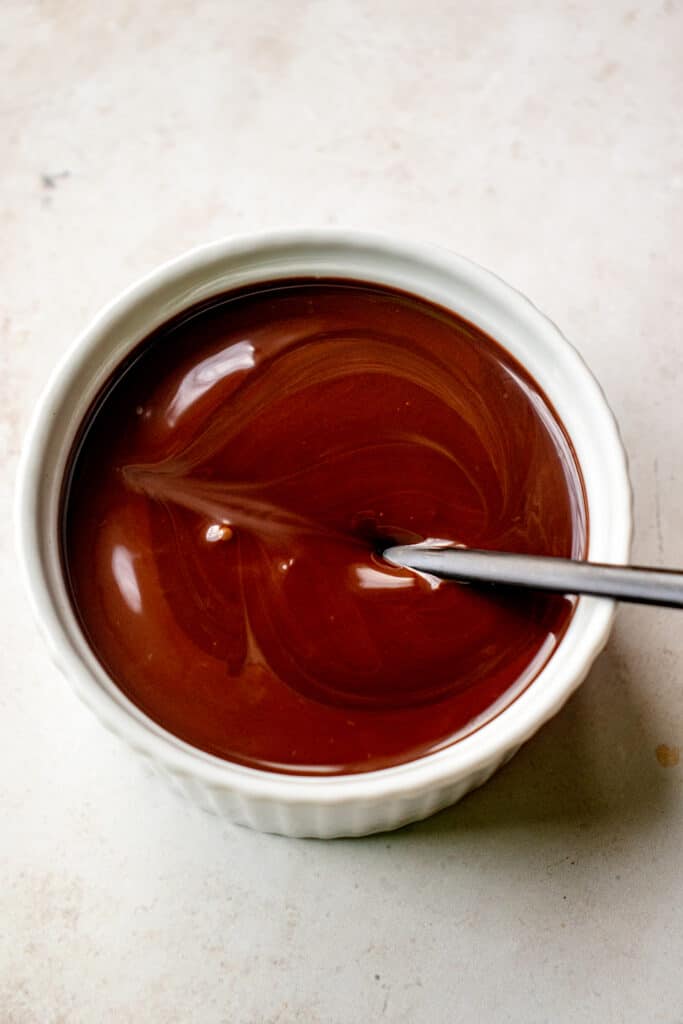
Melt the chocolate either in the microwave or using the double boiler method.
Step 6. Cover with Chocolate and Refrigerate
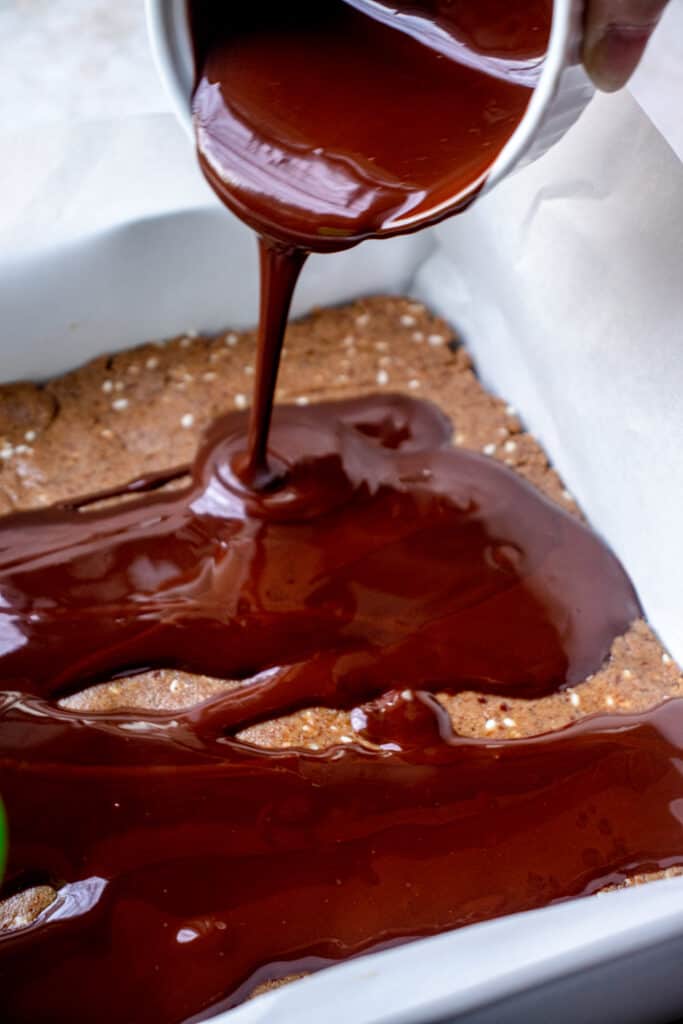
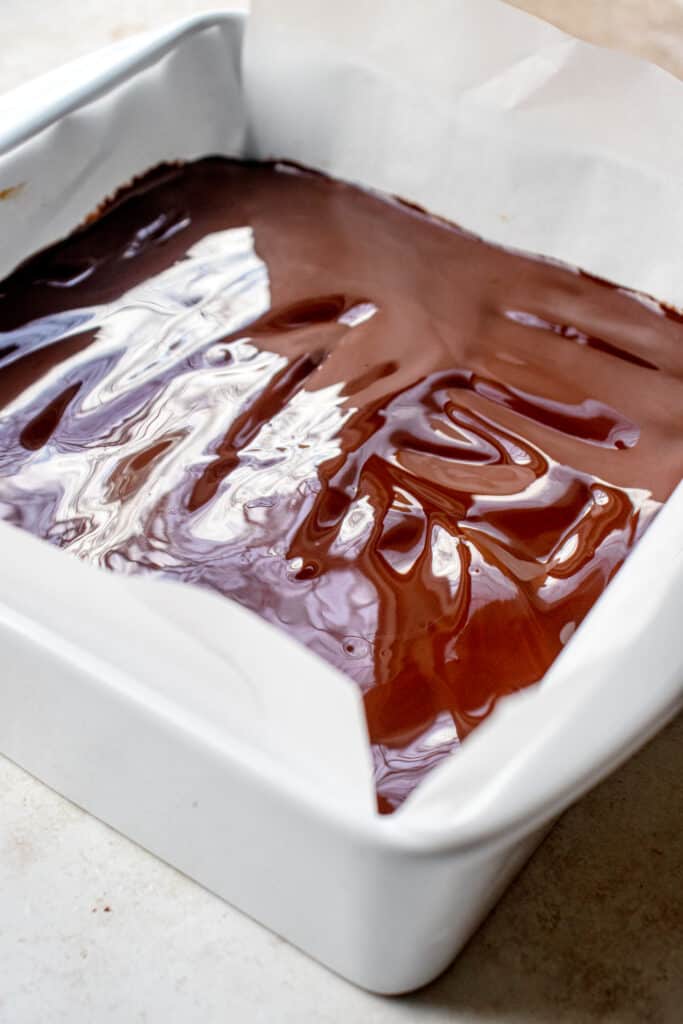
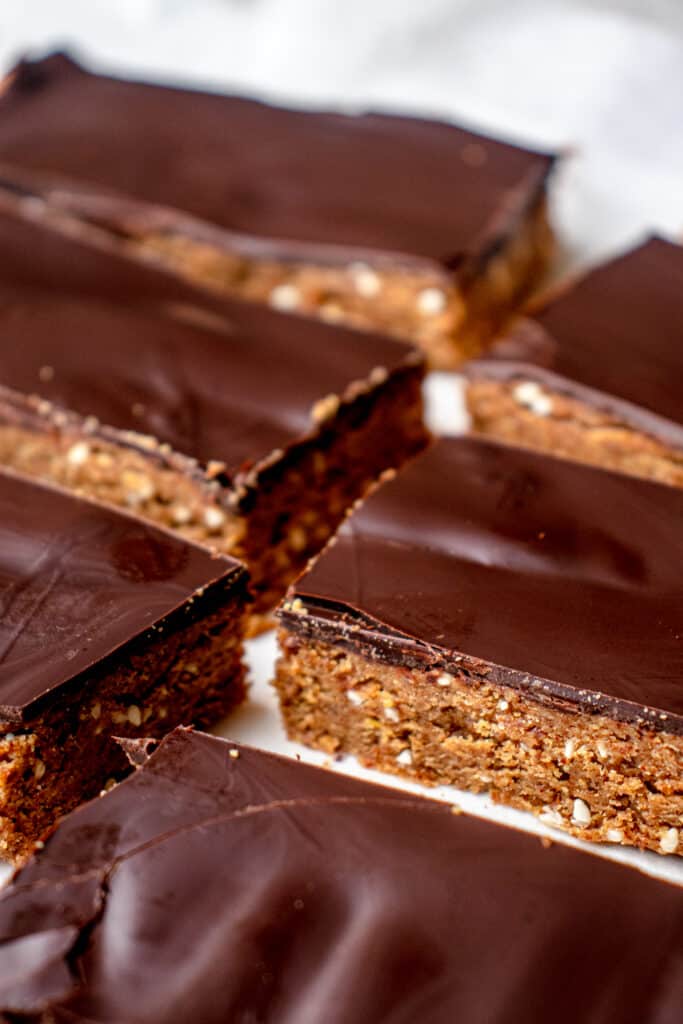
Pour the chocolate over the mixture, spreading it evenly across the top with a spoon or spatula. Return the pan to the fridge for another 15-20 minutes or until the chocolate sets.
Step 7. Remove from Fridge
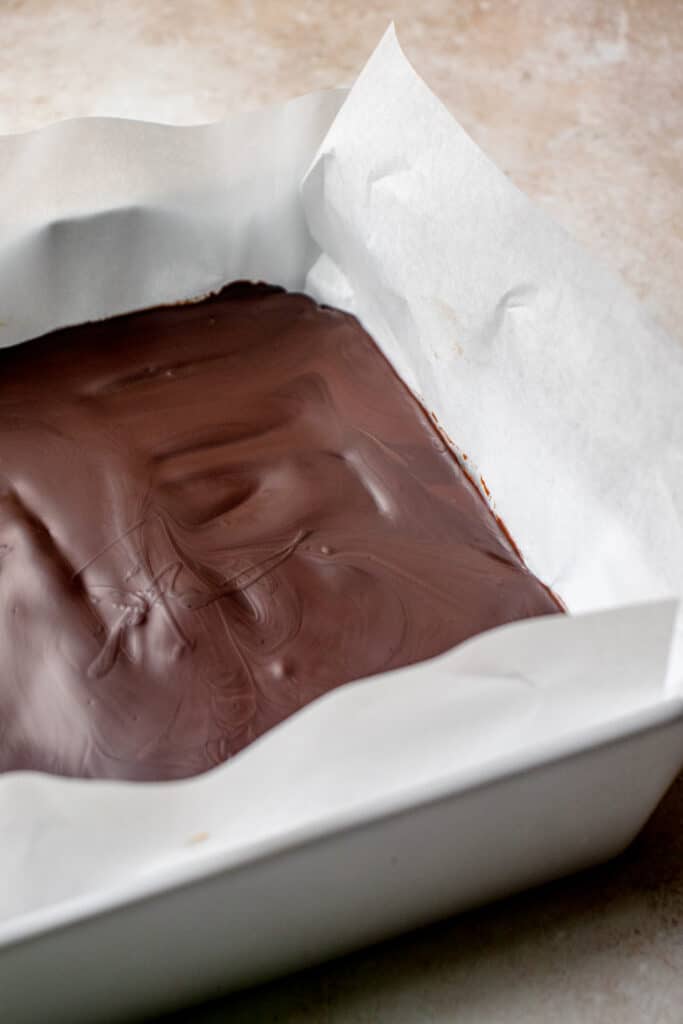
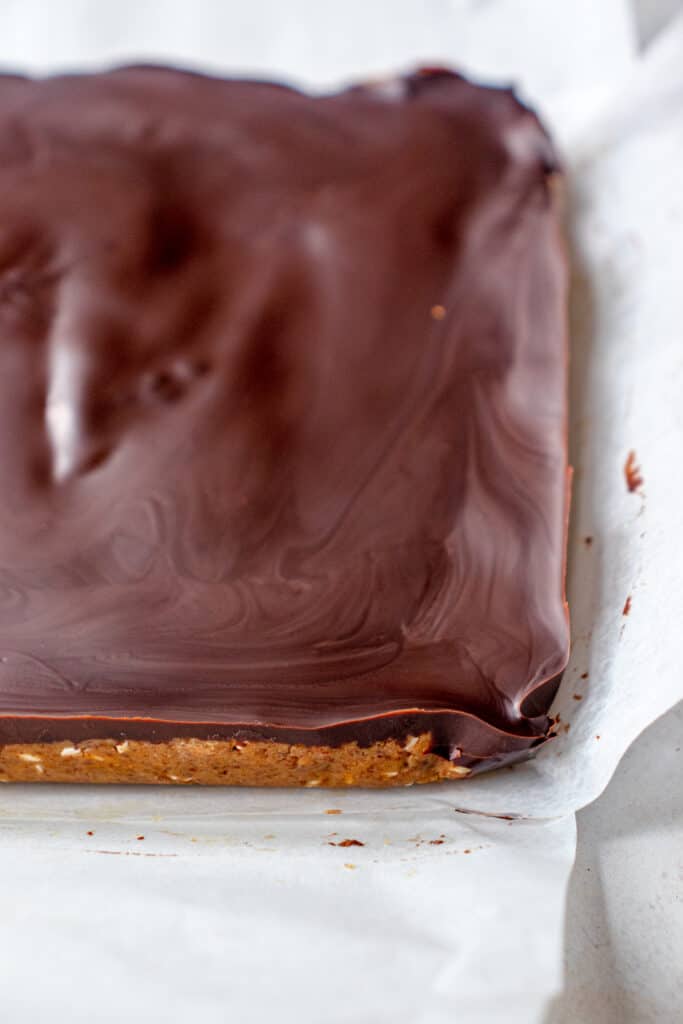
Once the chocolate hardens, remove the pan from the fridge and remove the parchment paper with the protein bar square. Cut into squares or rectangular bars.
Step 8. Serve
Top with sea salt flakes if desired and enjoy! Keep them in the fridge until ready to serve.
Tips & Tricks
Almond Butter Consistency
Before measuring the almond butter or nut butter of choice, ensure it is well-mixed to incorporate any separated oil. This ensures the butter is smooth and runny, making it easier to mix so it binds effectively, otherwise the mixture will be too thick once you incorporate the other add-ins.
If your nut butter is hard and dry it won’t work well in this recipe.
Use Room Temperature Ingredients
Ensure the maple syrup and nut butter are at room temperature rather than very cold straight from the fridge, so that they mix easily and evenly. If necessary, slightly warm them first to remove the chill to prevent the oil in the nut butter from solidifying and creating a dough that’s too crumbly.
Customize
I included a range for the maple syrup so you can adjust the sweetness by adding more or less to suit your taste.
You can also create a crunchy texture by sprinkling some cacao nibs on top of the pressed mixture before pouring the melted chocolate over the top.
Thin the Chocolate
You can use 1 TBSP or so of melted coconut oil to thin out the chocolate if you’d like.
Make them Portable
Make these homemade protein bars travel-friendly by wrapping each square or bar in foil, plastic wrap, or parchment paper. This makes them a convenient grab-and-go snack to take with you to work, school, the gym, or any activity.
Note that these bars do soften once out the fridge and the chocolate layer may separate. If you want to keep them firm while you’re out, put a small ice pack with the protein bars in a snack pouch, resealable plastic bag, food container or lunch bag.
Label for Sharing
If you plan on sharing these protein bars with friends or family, consider labelling the package with the date they were made and the ingredients so recipients are aware of any potential allergens.
Frequently Asked Questions
The mixture’s ideal consistency should be like cookie dough. If it’s too dry, add a bit more drippy almond butter. If it’s too wet, add some more flaxseed meal.
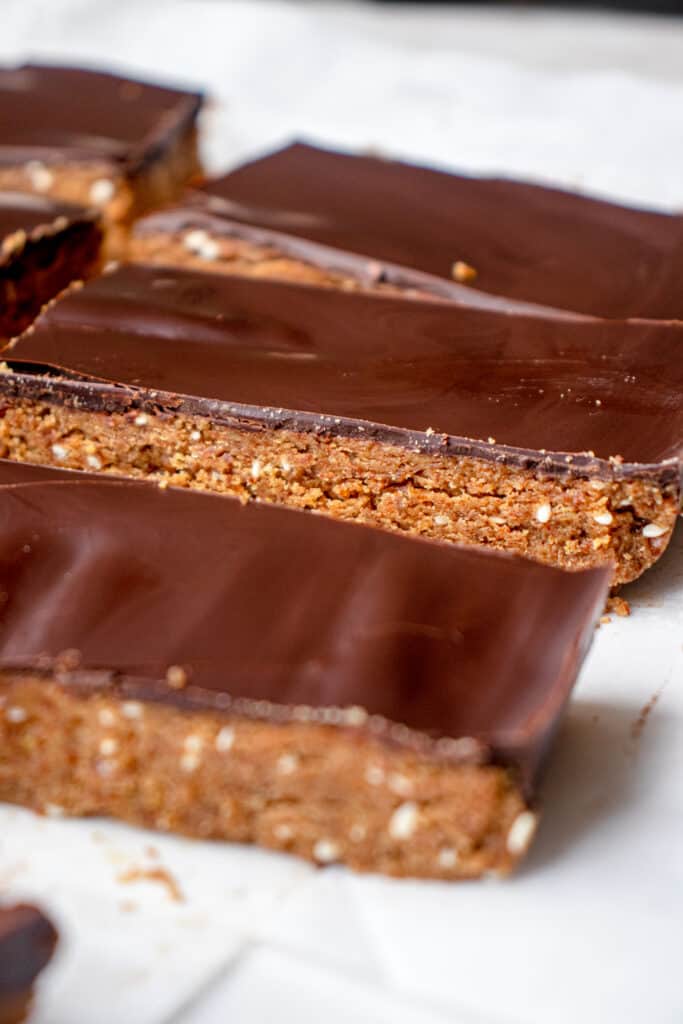
You can use any size pan you like for these no-bake protein bars. However, the size of the pan will affect the bars’ thickness, yield and possibly the chill time. For instance, a smaller pan like a loaf pan will create thicker bars and may require a longer chill time, while a larger pan such as a 9×13 inch baking dish will create a thinner bar than the ones I made which are about 3/4 inch thick.
Yes, you can omit it completely, use just a drizzle across the top, or replace it with a different topping of your choice.
These are meant to be a softer textured protein bar especially when compared with a crunchy granola bar. To get them a bit firmer, I suggest thawing them from frozen at room temperature for an hour or so before consuming.
Storage Instructions
Fridge: Keep the gluten-free dairy-free protein bars in the fridge for up to 2 weeks:
- In an airtight container with parchment paper between layers.
- With the bars individually wrapped in foil, plastic wrap, or parchment paper then stacked in an airtight container.
- In a resealable plastic bag (like a Ziploc) with excess air pressed out of it to maintain freshness.
You can also individually wrap them before storing in the food storage bag.
Freezer: For longer storage, keep them in the freezer for up to 3 months. Defrost in the fridge overnight or at room temperature for a few hours.
- In an airtight, freezer-safe container with parchment paper between layers or with the bars individually wrapped then stacked in the container.
- In a resealable freezer bag (like a Ziploc) with excess air pressed out of it to maintain freshness.
You can also wrap them individually before storing in the freezer-safe food storage bag.
I hope you love these Gluten-Free Dairy-Free Protein Bars. If you do, I would appreciate it if you would give the recipe a rating and review. Be sure to snap a picture of the finished product and share it with me on Instagram by tagging @healmedelicious and using the hashtag #healmedelicious.
Print
Best Gluten Free Dairy Free Protein Bars Recipe
- Total Time: 40 minutes
- Yield: 16 bars 1×4 inches* 1x
- Diet: Gluten Free
Description
These are the Best Gluten-Free Dairy-Free Protein Bars! They’re soft and fluffy, packed with fiber and protein, and topped with a smooth chocolate coating. These homemade, no-bake paleo protein bars are vegan- and modified AIP-friendly. They’re the perfect grab-and-go snack or wholesome treat!
Ingredients
- 1.5 cups almond butter** or other nut butter
- 3-4 TBSP maple syrup***
- 2 tsp vanilla extract
- 1/2 tsp cinnamon
- 1/4 tsp sea salt
- 1/2 cup flaxseed meal
- 3 TBSP unflavored, unsweetened protein powder**** (any kind)
- 3 TBSP sesame seeds
- 6 ounces dairy-free dark chocolate, chopped or dairy-free chocolate chips (approx 1 cup)
- flaky sea salt (optional, for garnish)
Instructions
- Line a 8×8 pan with parchment paper and set aside.
- In a large bowl, add almond butter, maple syrup, and vanilla. Stir to combine.
- Then, add cinnamon, sea salt, flaxseed meal and protein powder. Stir to combine.
- Add the sesame seeds and stir well to combine.
- Transfer the mixture into the prepared pan and use your hands to firmly press it into the pan to help form cohesive bars. Use the back of a spoon or spatula to smooth out the top into a flat, even layer. Refrigerate it for 15 minutes to set.
- Melt the chocolate either in the microwave in 20-30 second increments, stirring in between, or using a double boiler method, stirring constantly with a heat resistant spatula until completely melted.
- Pour the chocolate over the mixture and use a spoon or spatula to smooth and spread it out evenly.
- Return to the refrigerator for 15-20 minutes or until the chocolate sets completely.
- Once hardened, cut into bars or squares. Store in the fridge or freezer.
Notes
*The yield will vary depending on the size you cut your bars or squares and if you use a different size baking pan.
**Ensure your almond butter or nut butter of choice is very well mixed with the oil distributed throughout so it’s runny, drippy and easy to mix.
***You can use even more maple syrup if you want them sweeter. Add up to 6 TBSP without affecting the dough’s texture.
****I used this unflavored Equip Prime Protein Powder which has 21 grams of protein per scoop (approximately the 3 TBSP used here) and has grass-fed beef as its only ingredient. If you’d like to try it, you can use the code HMD at checkout for 15% off your first order.
Store in the fridge until ready to eat or freeze and defrost overnight in the fridge or leave out at room temperature for an hour or so to soften.
Please note that I don’t provide nutritional information for my recipes as I am not a health or nutrition coach. However, if you’d like to get this information I recommend plugging this recipe into a free online nutrition calculator.
- Prep Time: 10 minutes
- Chill Time: 30 minutes
- Category: Snacks
- Method: No Bake
- Cuisine: American
Can you omit or sub the sesame seeds? We have an allergy.
Totally!