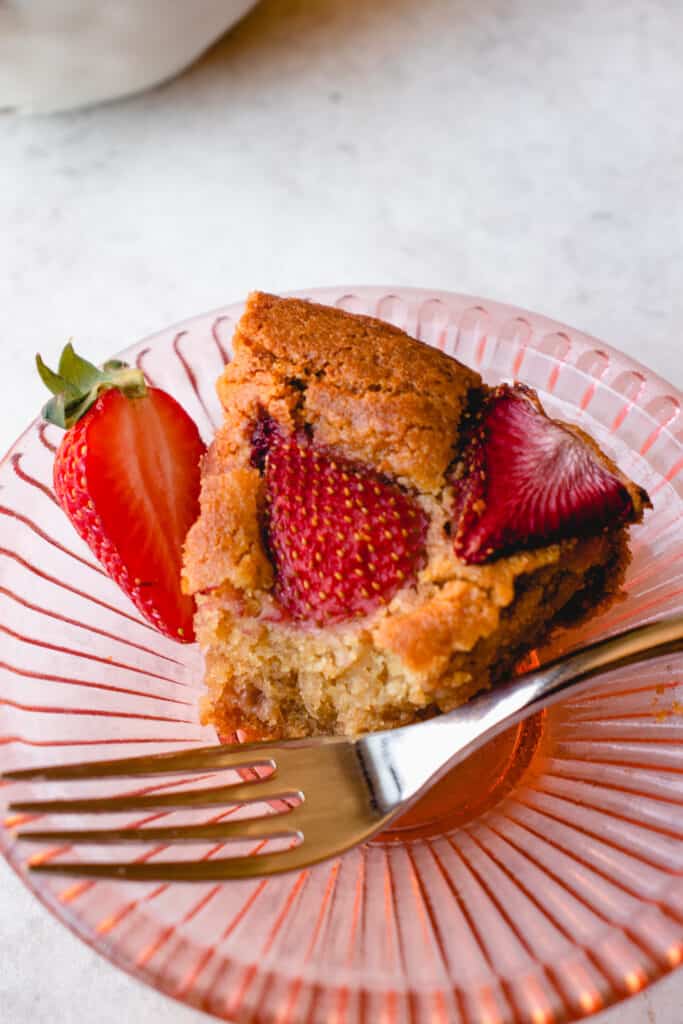
This Gluten-Free Strawberry Cake is soft and moist with fresh strawberries baked in and on top the cake. It’s warm and sweet with a bright lemon flavor. This tender cake is also dairy-free and vegan. A delightful spring or summer dessert.
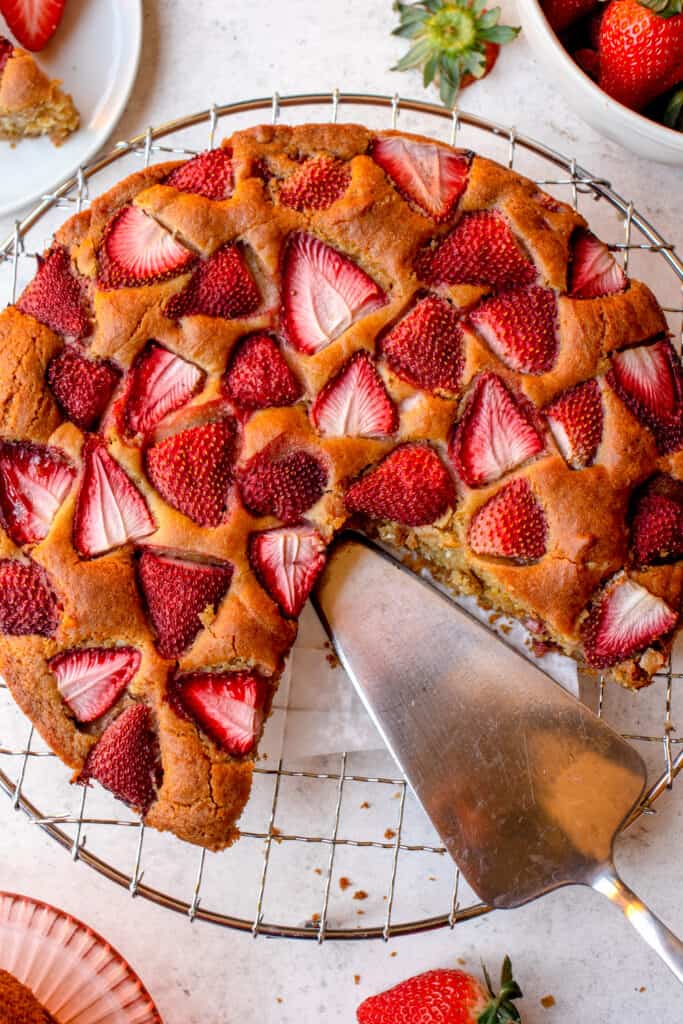
As the creator of an online dairy-free and gluten-free baking school, I understand how challenging it is to find dairy and gluten-free baked goods that taste as delicious as their conventional counterparts. This cake is filled with lemon-infused strawberry sweetness and is fluffy and tender without any gluten, dairy, or eggs. An allergy-friendly strawberry treat that everyone can enjoy!
You might also like these grain free and gluten free recipes: Rhubarb Upside Down Cake, Mixed Berry Galettes and these Strawberry Baked Pancakes.
Table of contents
Gluten-Free Strawberry Cake Recipe
I really love the simplicity of this Gluten-Free Strawberry Cake. No special equipment needed, just a few bowls, a spoon, and a zester — easy!
The fresh strawberries provide natural sweetness and moisture inside the cake and look beautiful studded on top. Coconut milk with apple cider vinegar creates a thick and tangy vegan buttermilk. Along with the oil, gluten-free flours, and the leavening agents, they create the light, moist texture. I especially love the lemon zested maple sugar to infuse the cake with rich, zesty lemon flavor and sweetness. Vanilla adds some warmth and enhances the overall flavor while sea salt balances the sweetness.
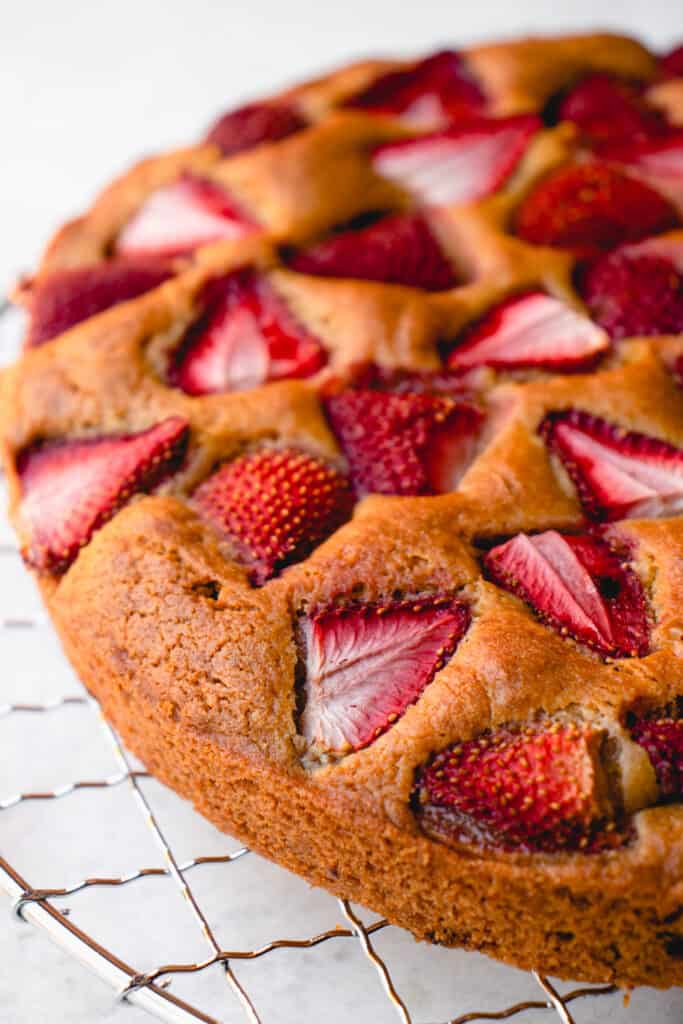
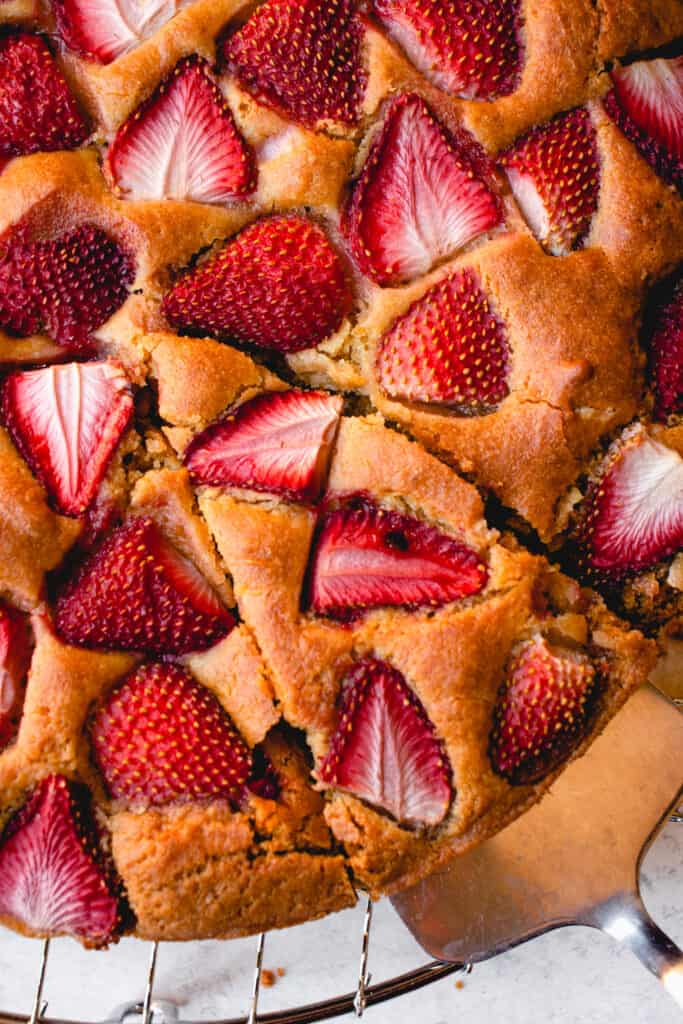
With its warm golden brown color with bright pops of red, its rustic beauty is enough to make this your go-to strawberry dessert this spring!
Ingredients
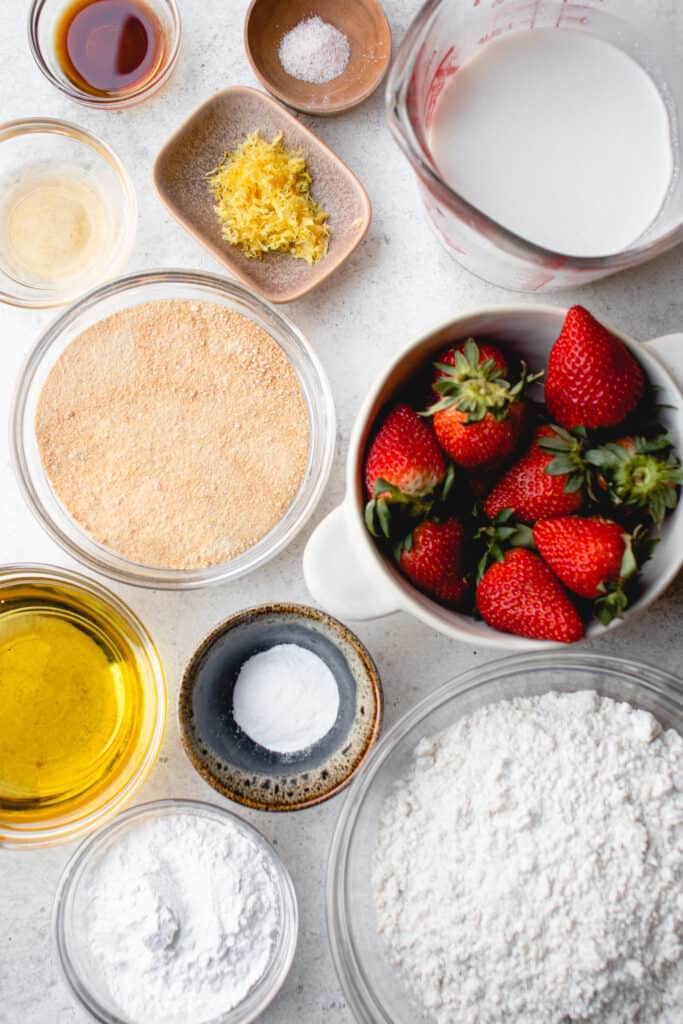
- fresh strawberries
- full-fat coconut milk – I recommend using full-fat coconut milk, from a can, instead of boxed coconut milk beverage or ‘lite’ coconut milk.
- apple cider vinegar
- avocado oil
- lemon zest – use an unwaxed lemon if possible.
- maple sugar
- vanilla extract
- Bob’s Red Mill Gluten-Free 1-to-1 Baking Flour
- arrowroot starch
- baking powder – ensure it’s gluten-free – I like this brand of baking powder.
- baking soda
- sea salt
Ingredient Substitutions
- Coconut milk: I recommend using full-fat coconut milk from a can as its thickness from the high fat content creates the ideal texture for the vegan buttermilk. However, you can use any dairy-free milk that you’d like.
- Avocado oil: You can use olive oil instead.
- Maple sugar: Substitute with coconut sugar or granulated cane sugar if tolerated. If you use coconut sugar, it will create a more prominent caramel-like flavor and the cake will be darker in color.
- Bob’s Red Mill Gluten-Free 1-to-1 Baking Flour: I have only tested this recipe with this brand and recommend weighing the flour, especially if using another 1-to-1 blend. Note that this gluten-free flour blend contains grains, nightshades, and xanthan gum but excludes yeast.
- Arrowroot starch: You can use tapioca starch instead.
- I don’t recommend any other ingredient substitutions.
Instructions
Step 1. Prep
Preheat the oven to 375F and grease the cake pan with avocado or olive oil. Finely dice 1/2 cup of the whole strawberries and hull and slice the remaining 1 cup into halves.
Step 2. Make the Vegan Buttermilk
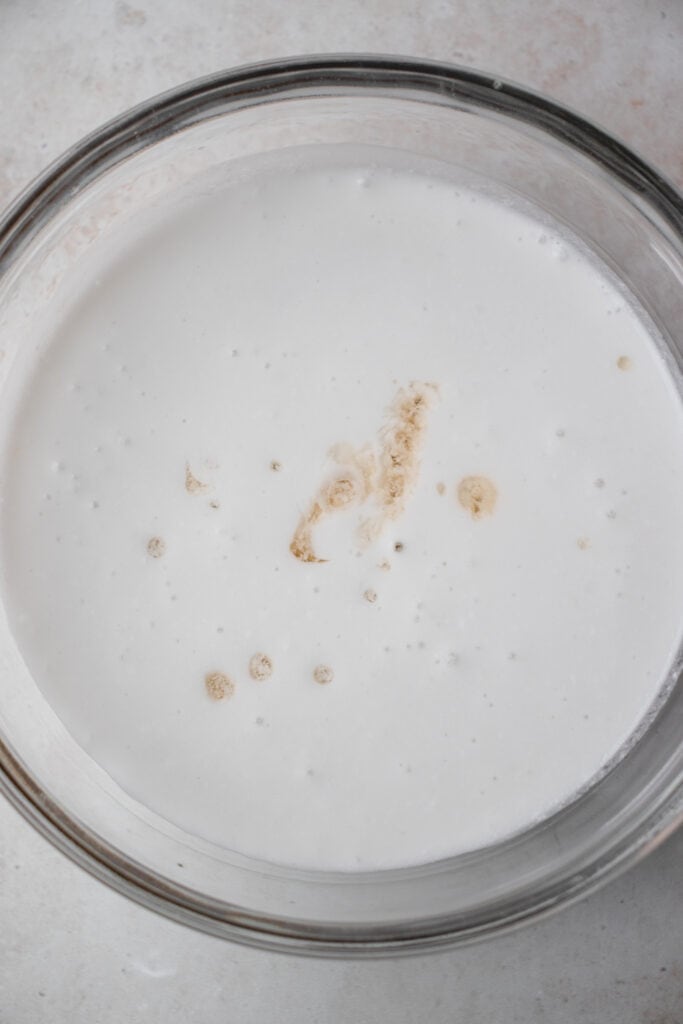
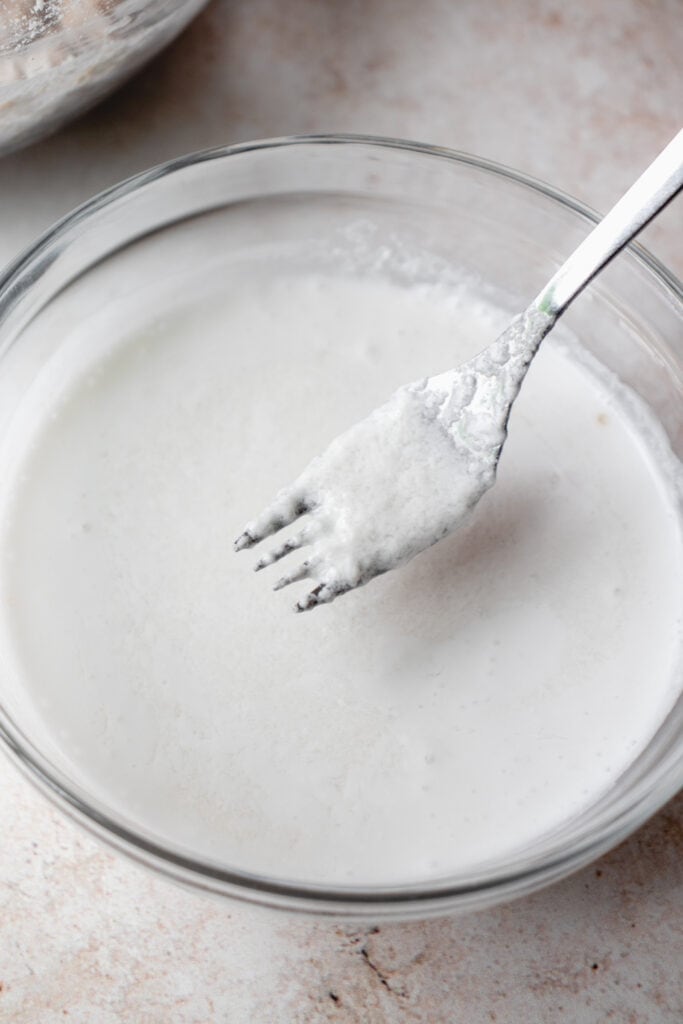
Combine coconut milk and apple cider vinegar in a small bowl. Let sit at least 5 minutes to curdle and create a vegan buttermilk.
Step 3. Combine Maple Sugar and Lemon Zest
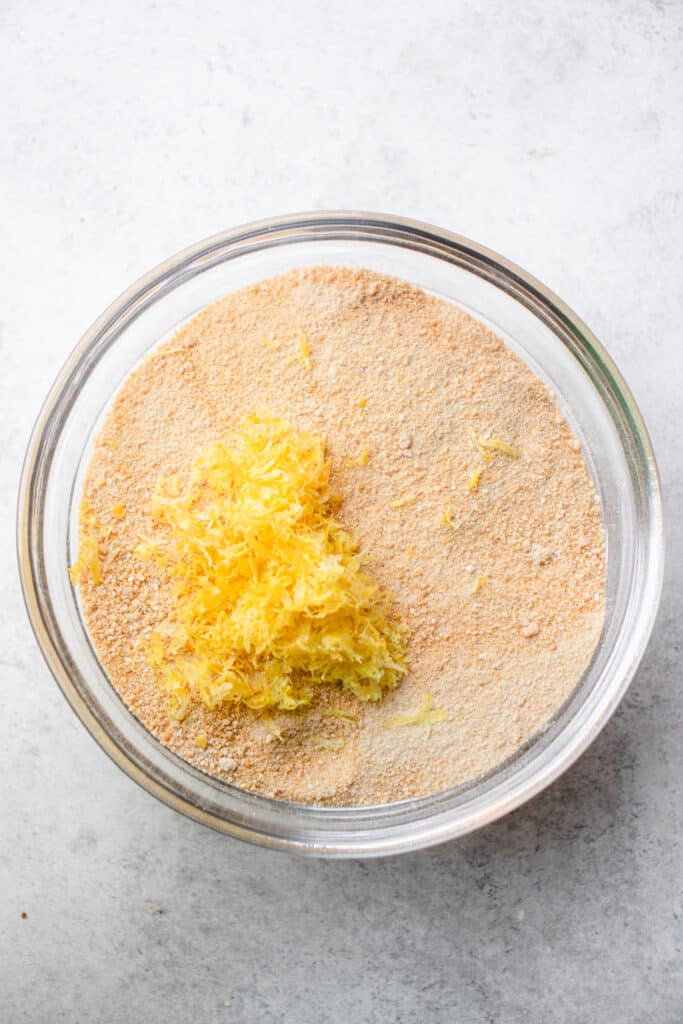
Rub the lemon zest into the maple sugar with your fingers to release the oils from the zest. This infuses the cake with much more flavor than merely stirring the two together.
Step 4. Make the Cake Batter
First, add the avocado oil, vanilla extract, and zested maple sugar, and stir to combine.
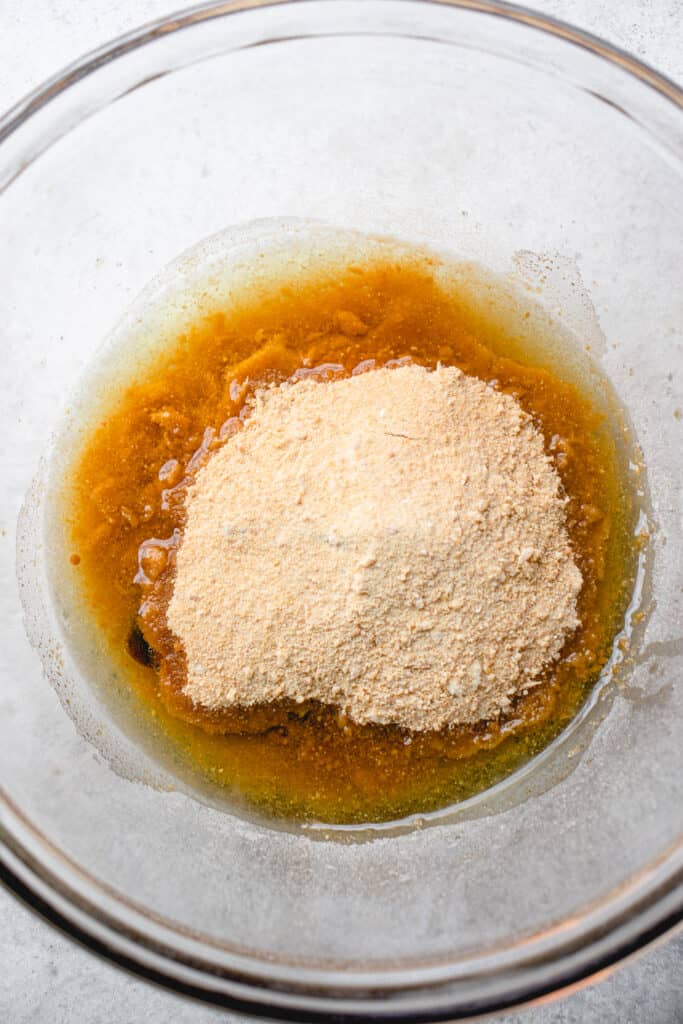
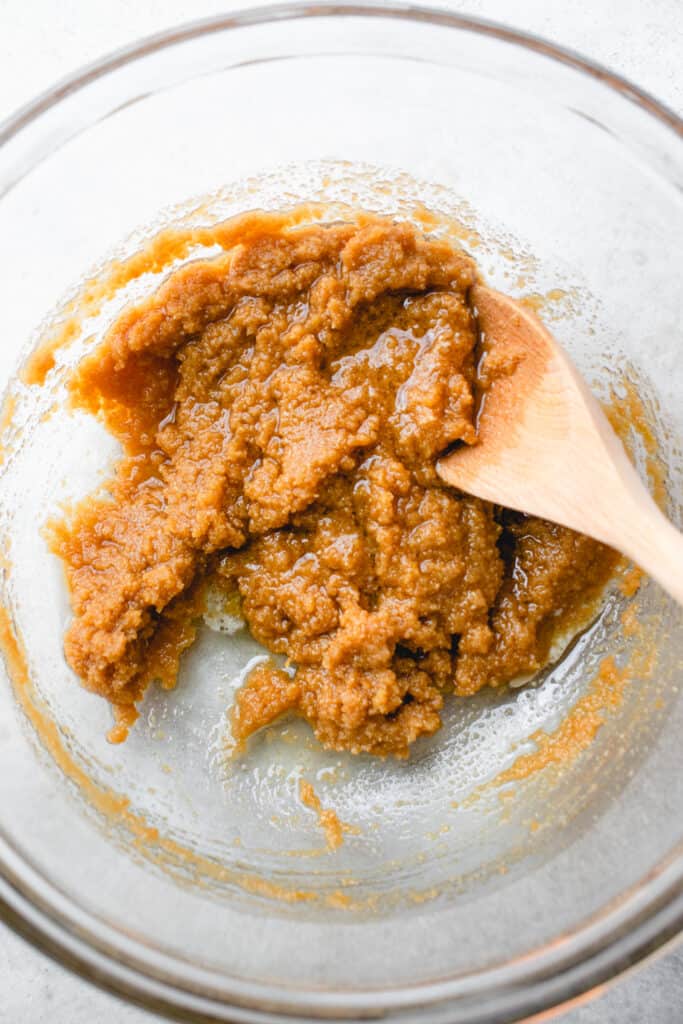
Then, add the vegan buttermilk and stir to combine.
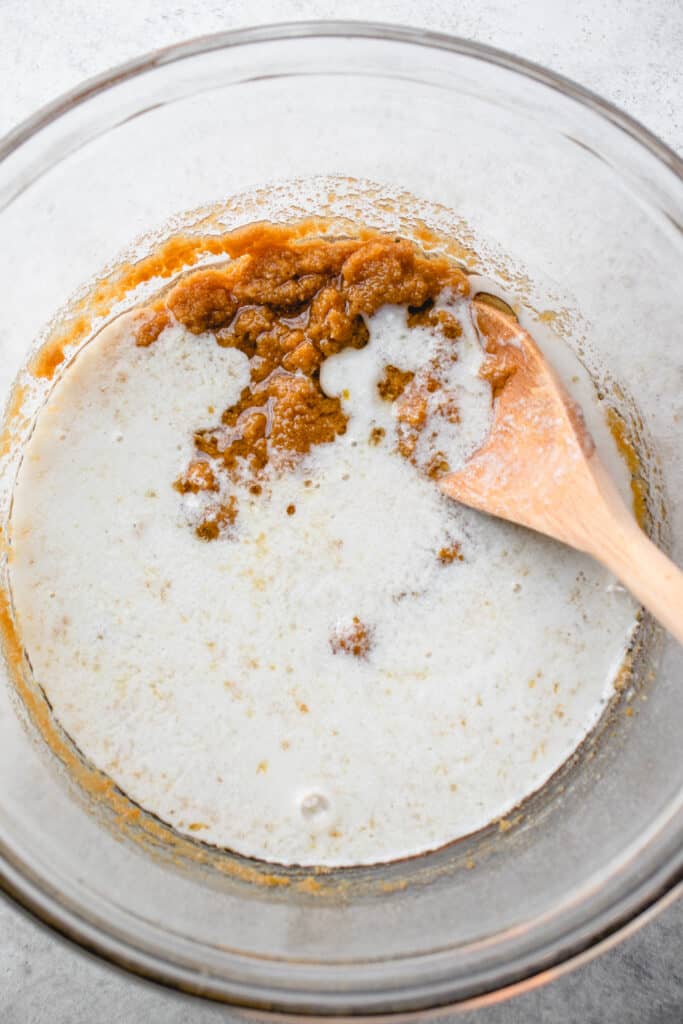
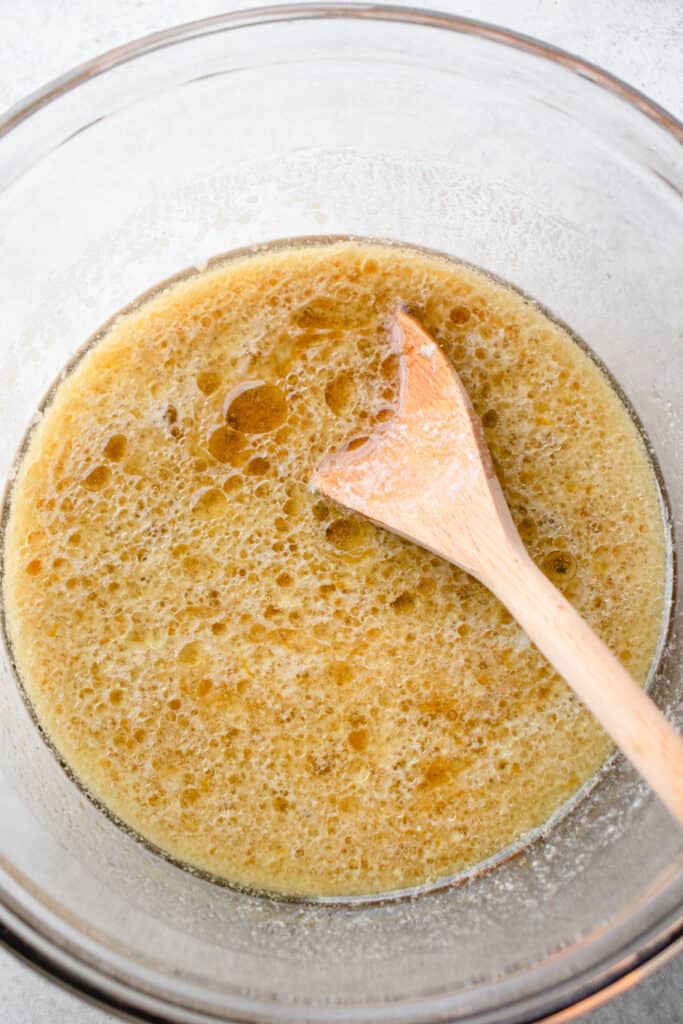
Next, add the dry ingredients and gently stir until just combined so you don’t over-mix the batter.
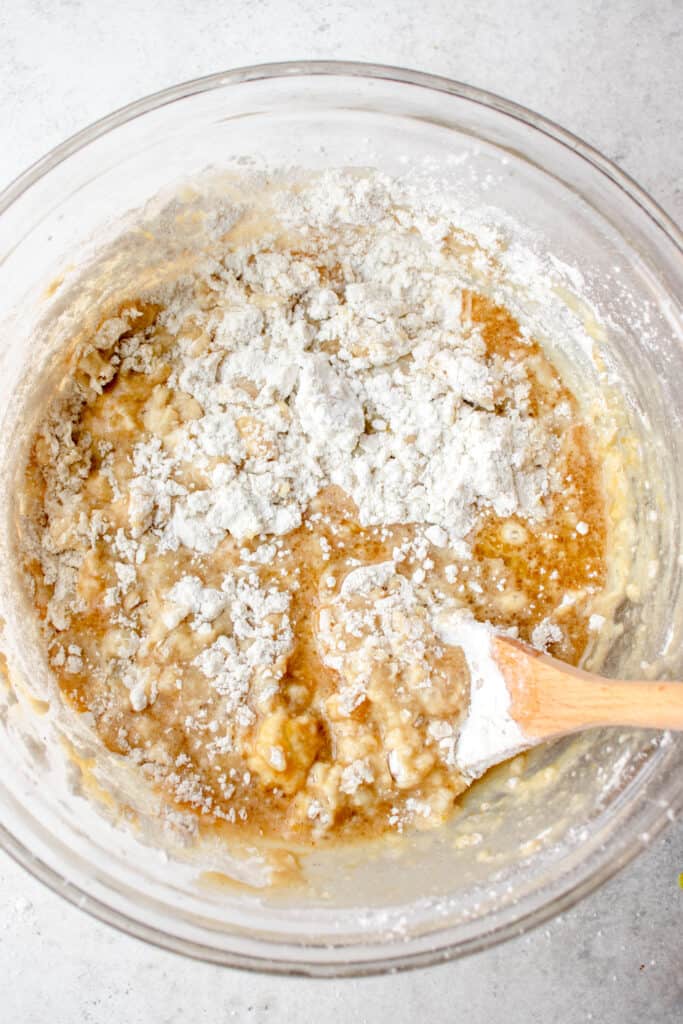
Lastly, fold in the finely diced strawberries.
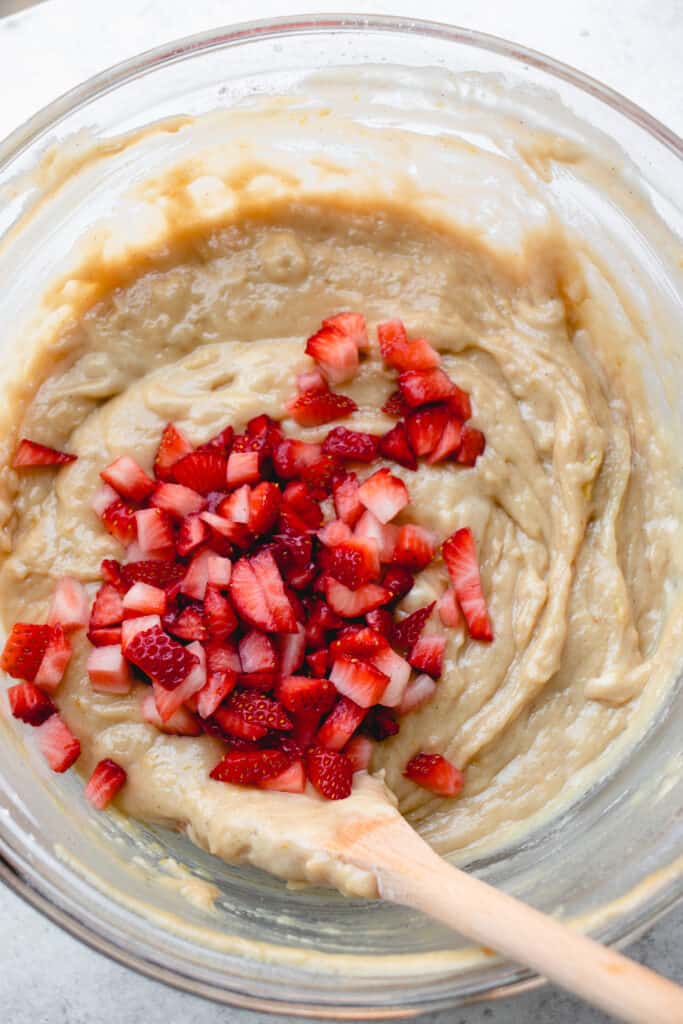
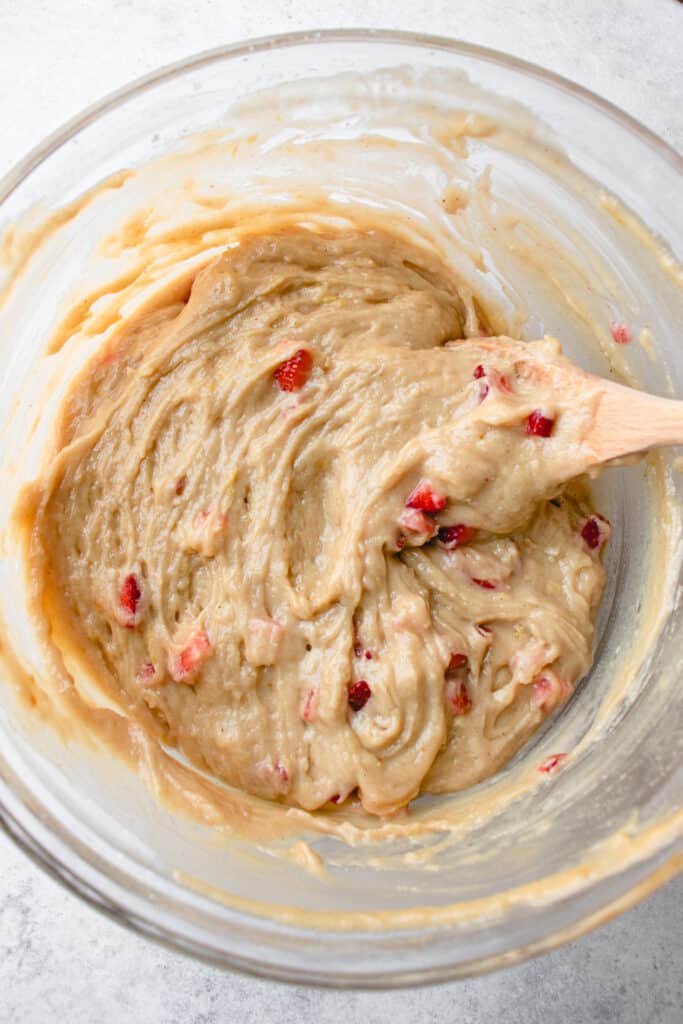
Step 5. Transfer the Batter
Transfer the batter to the prepared pan. Use a spatula or the back of a spoon to smooth out the top of the batter.
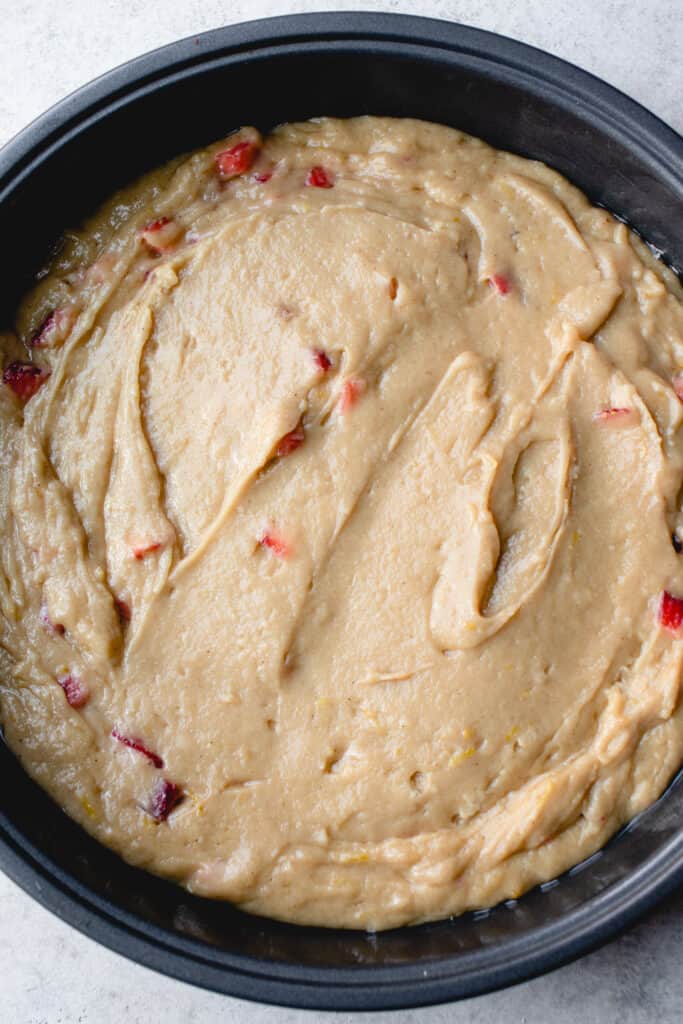
Step 6. Arrange the Strawberries
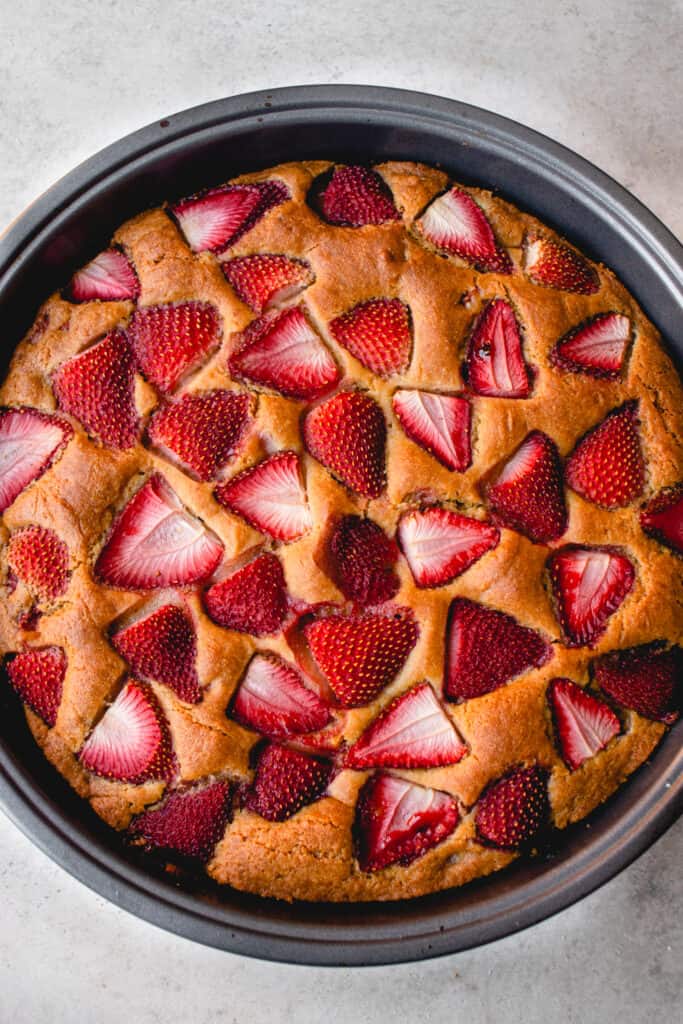
Decorate the top of the batter with the halved strawberries in any arrangement you’d like.
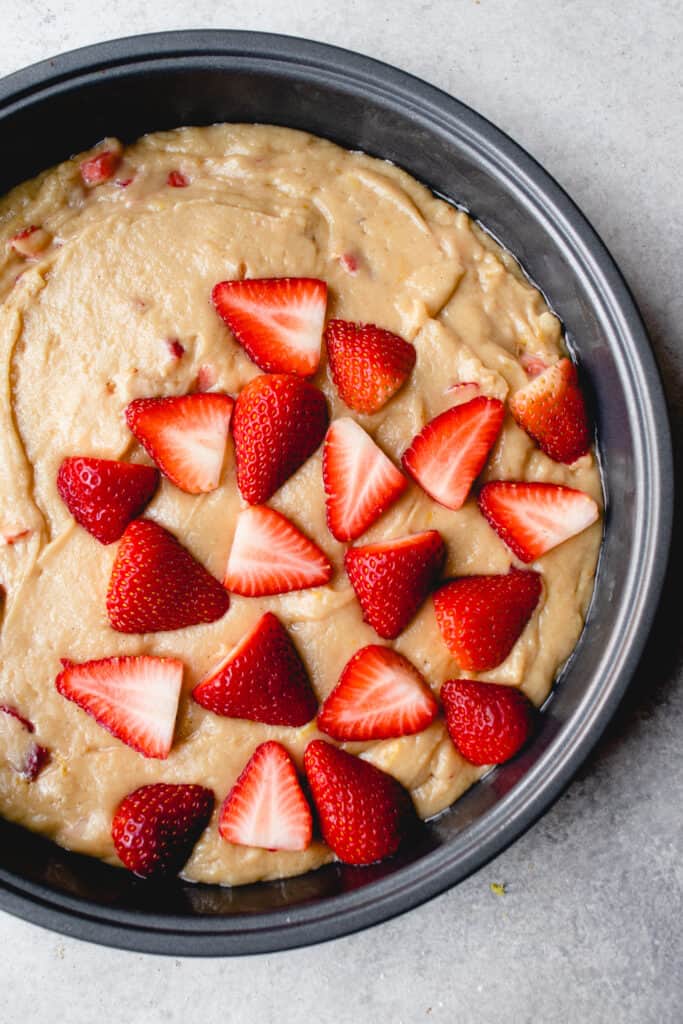
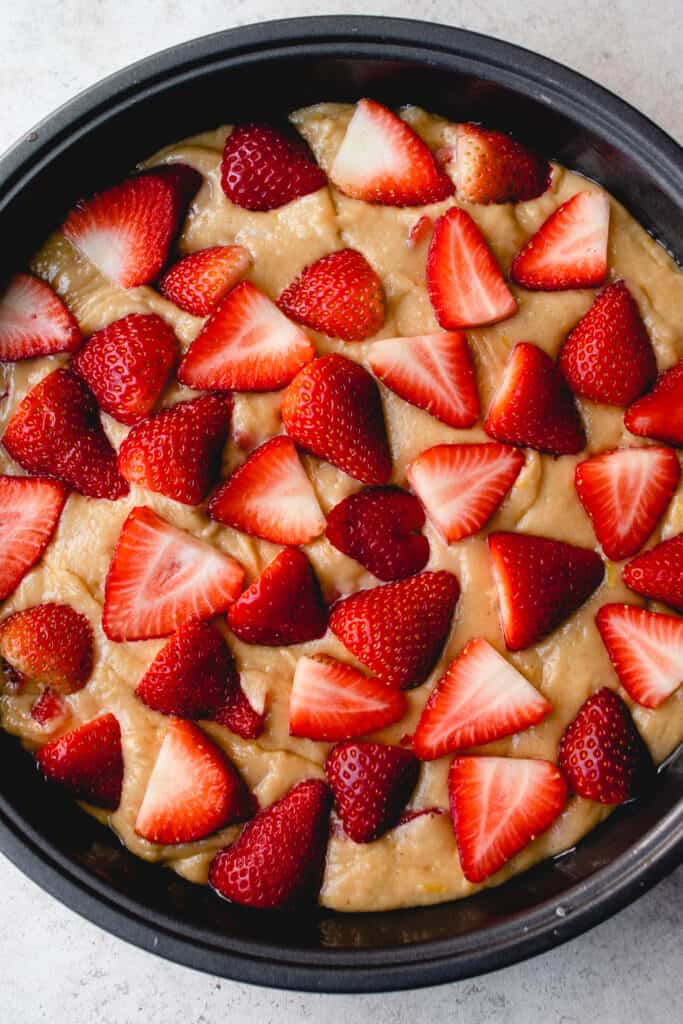
Step 7. Bake the Cake
Bake in the middle rack of the oven for 40-45 minutes or until a toothpick inserted in the cake comes out clean or with a few moist crumbs. You can begin checking for doneness at the 35 minute mark.
Step 8. Cool
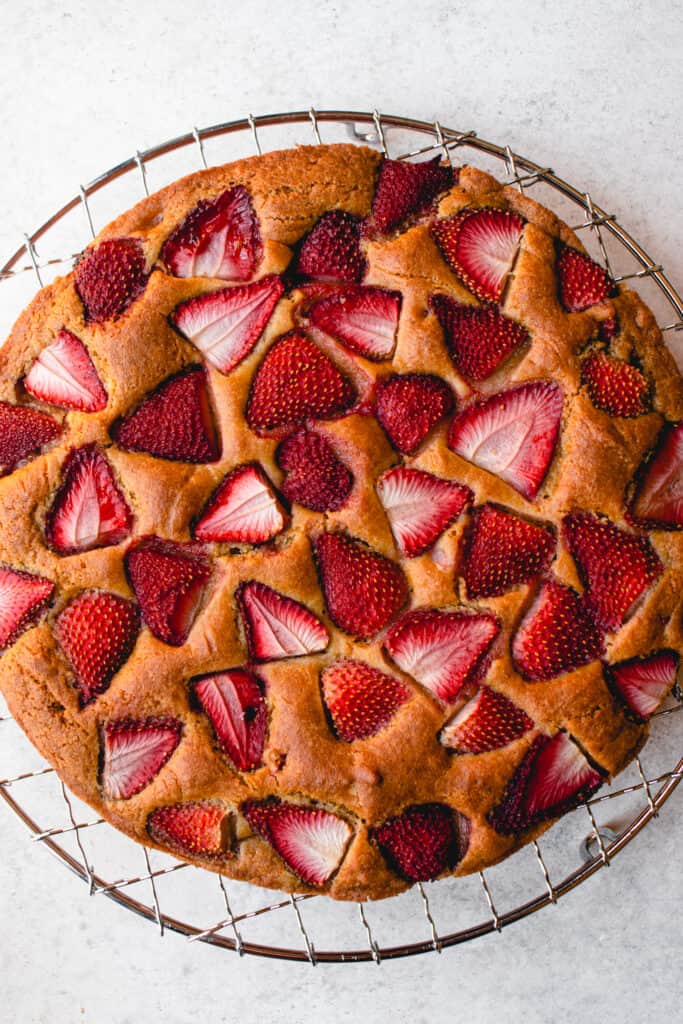
Let cool in the pan for about 10 minutes. Transfer the cake to a wire cooling rack and allow to cool completely before slicing into it for the optimal texture.
Tips & Tricks
Lemon Zest Tips
Unwaxed lemons are best for zesting to avoid pesticides and additives. More importantly, without the wax coating, it’s easier to release the lemon oil from the zest, providing a more vibrant flavor.
If you only have waxed lemons, remove the wax by soaking them in boiled water for about 5 minutes. Then, gently scrub with a cloth or brush and rinse under cool water. You can also spray them with a solution of equal parts vinegar and warm water and let them sit for 5 minutes before rinsing them.
Use a zester, a rasp-style grater (Microplane), or the smallest side of a box grater to zest the lemon. Rotate the lemon as you grate gently and don’t go too deep in one spot to avoid the bitter white pith underneath.
Massaging the lemon zest into the sugar releases the lemon oil (where the flavor is most concentrated) for more even distribution and better infuses the cake with the flavor than just mixing the two together or mixing the zest into the batter on its own. You can grate the lemon peel directly onto the sugar then squeeze and rub the zest and sugar together with your fingertips for a few minutes.
Weigh the Flour
I recommend weighing the flour on a kitchen scale for the best results, especially if using a different brand than the one I used, as the amount makes a difference in this recipe. Measuring the flour properly is necessary for this recipe as too much flour will create a dry, dense cake.
Use room temperature ingredients
For best results, allow liquid ingredients like the coconut milk (or dairy-free milk of choice) and apple cider vinegar to come to room temperature before using. If they are cold from the fridge you can warm them up slightly in the microwave or on the stovetop, then let it cool to room temp. This ensures more even mixing and a smoother batter.
If using full-fat coconut milk from a can that has separated, warm it up on the stovetop first to allow it to recombine, whisking as needed.
Avoid overmixing the batter
Once the dry ingredients are added, remember to gently mix until just combined to maintain a light and fluffy texture. Similarly, gently fold in the diced strawberries. Overworking the batter can result in a tough, dense or gummy texture.
Testing for Doneness
Choose a few spots to test, trying to avoid the internal strawberries– the toothpick will be wet if it touches the strawberries inside. The cake is ready if the toothpick comes out clean or with a few moist crumbs.
Let the Cake Cool Fully
As with all gluten-free baked goods made without eggs, let the cake cool properly so it fully sets and doesn’t crumble. However, reheating it slightly before serving really enhances the texture and brings out the flavor, especially after storing it in the fridge.
To transfer to a cooling rack: Cover the top of the cake with an inverted cooling rack and gently flip them over so the cake is upside down. Slide the pan off the cake. Replace with the flat part of another cooling rack and flip the cake onto it so it’s upright.
Cutting the Cake
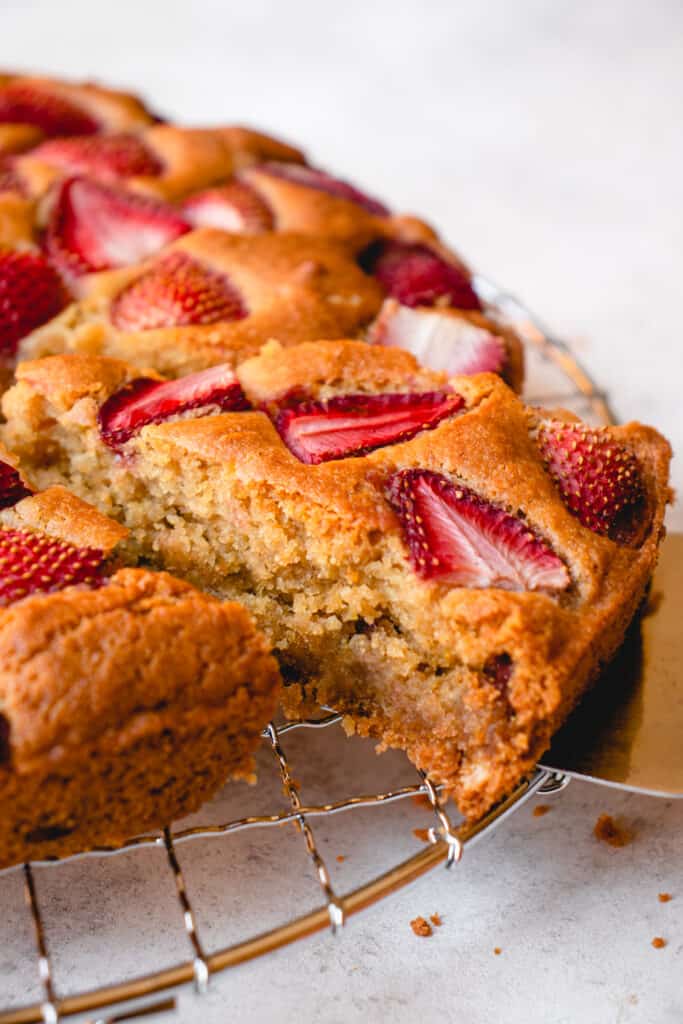
A sharp, serrated knife is best to cut through this gluten-free cake because of its tender crumb. Run the knife under hot water and dry; the warmth allows it to slice through more easily. Use a gentle sawing motion instead of pressing down too hard to maintain the cake’s structure so it doesn’t crumble. Wipe the knife between slices for clean cuts.
Optional Decor
I think this cake is gorgeous as is and really doesn’t need additional decoration. But if you’d like to dress it up it bit, try these options:
- Sift some powdered sugar or arrowroot starch (to mimic powdered sugar) over the top.
- Try a frosted version with my vegan vanilla icing from my Strawberry Cookies recipe.
- Omit the halved strawberries on the top of the cake and bake as directed.
- Once the cake fully cools, spread the icing on top with a knife or offset spatula.
- Arrange the halved strawberries on top of the icing.
- Store the frosted strawberry cake in the refrigerator.
Frequently Asked Questions
No, this cake is not paleo or AIP compliant due to the ingredients in the baking flour. For AIP/paleo strawberry treats try my Strawberry Basil Ice Cream, Lemon Custard with Strawberry Compote, or Strawberry Cookies. These Lemon Bars and Lemon Olive Oil Cupcakes are also delicious lemon-flavored AIP/paleo desserts you might like.
No, frozen strawberries will release too much moisture and create a really soggy cake.
I tested this recipe with Bob’s Red Mill Gluten-Free 1 to 1 Baking Flour. Note that all gluten-free flour blends are not the same and results may vary. If you use another brand, I recommend weighing the flour with a kitchen scale for the best results. Also, if you’re using a blend without xanthan gum you will need to add 1/2 tsp to the dry ingredients. Xanthan gum is necessary in this gluten-free cake for binding and structure since we aren’t using any eggs or vegan egg substitutes.
If you don’t use the recommended brand, I suggest trying another gluten-free 1:1 baking flour rather than a gluten-free all purpose baking flour for this recipe.
No, I don’t recommend doing this. Once the apple cider vinegar combines with the baking soda and baking powder it will activate these ingredients and shouldn’t sit for long. Make the batter just before baking to ensure optimal rise and texture.
Yes, you can use an 8 or 9 inch cake pan, just note the baking time will vary. Start checking the cake for doneness at the 35 minute mark, in about 5 minute increments.
Storage & Reheating Instructions
This Gluten-Free Strawberry Cake is best enjoyed fresh for optimal moisture levels and texture.
Room Temperature: Once fully cooled, store in a closed container in a cool dry place for 1-2 days.
Fridge: Refrigerate either after the 1-2 days or immediately, for up to 1 week. Store the cake in an airtight container or resealable bag.
Freezer: Slice the cake into pieces and store them in a freezer-safe resealable bag or container in the freezer for up to 1 month. Thaw in the fridge overnight.
Reheating: Whether storing at room temp, in the fridge, or after defrosting, it’s best to reheat this strawberry cake for the best texture. Warm in the microwave or toaster oven.
I hope you love this Gluten-Free Strawberry Cake. If you do, I would appreciate it if you would give the recipe a rating and review. Be sure to snap a picture of the finished product and share it with me on Instagram by tagging @healmedelicious and using the hashtag #healmedelicious.
Print
Gluten-Free Strawberry Cake Recipe (Vegan)
- Total Time: 1 hour
- Yield: 1 10 inch wide cake 1x
- Diet: Gluten Free
Description
This Gluten-Free Strawberry Cake is soft and moist with fresh strawberries baked in and on top the cake. It’s warm and sweet with a bright lemon flavor. This tender cake is also dairy-free and vegan. A delightful spring or summer dessert.
Ingredients
- 1.5 cups fresh strawberries, washed and divided (.45 lbs or about 200 g)
- 1 cup full fat coconut milk (from a can), room temperature
- 2 TBSP apple cider vinegar
- 1/2 cup avocado oil
- Zest of 1 large lemon (about 1 TBSP)
- 3/4 cup maple sugar
- 2 tsp vanilla extract
- 1 3/4 cup Bob’s Red Mill Gluten-Free 1 to 1 Baking Flour (240 g)
- 1/4 cup arrowroot starch (30g)
- 1 1/2 tsp baking powder
- 1 tsp baking soda
- 1/2 tsp sea salt
Instructions
- Preheat oven to 375F.
- Grease a 10 inch round cake pan with avocado or olive oil.*
- Finely dice 1/2 cup of the strawberries to incorporate in the batter.** Hull and slice the remaining 1 cup of strawberries into halves for decorating the top of the cake.
- In a small bowl, combine coconut milk and apple cider vinegar. Allow to sit for at least 5 minutes for it to curdle, making a vegan buttermilk.
- In a small bowl, rub the lemon zest into the maple sugar with your fingers for a few minutes to release the oils from the zest.
- In a large bowl, stir together the avocado oil, vanilla, and maple sugar-lemon zest mixture. Then add the vegan “buttermilk” and stir.
- Add in gluten-free flour, arrowroot starch, baking powder, baking soda, and sea salt, and stir until just combined, being careful not to overmix the batter.
- Finally, gently fold in the finely diced strawberries.
- Transfer the batter to the prepared pan. Use a spatula or the back of a spoon to smooth out the top.
- Arrange the halved strawberries on the top of the cake batter in any way you’d like (cut side up and/or down).
- Bake in the middle rack of the oven for 40-45 minutes or until a toothpick comes out clean or with a few moist crumbs when inserted.***
- Allow the cake to cool in the pan for at least 10 minutes before removing to a wire rack to cool completely. Let the cake cool fully before slicing into it for optimal texture.
Notes
I tested this recipe with this specific brand of flour. Add 1/2 tsp xantham gum if the gluten-free flour blend you are using does not have any. See the FAQs for more info on gluten-free flours.
*You can use an 8 or 9 inch round cake pan, noting the bake time will vary.
**Refrain from adding more than 1/2 cup strawberries (finely diced) to the batter or the cake’s texture will be too moist.
***You can begin checking for doneness at the 35 minute mark, especially if using a smaller pan. Choose a few spots to test because if the toothpick pierces a strawberry inside the cake, it will get wet and not be a good indication of whether or not its ready.
Store at room temperature, in the fridge, or in the freezer. Reheat in the microwave or toaster oven for the best texture.
- Prep Time: 15 minutes
- Cook Time: 45 minutes
- Category: Desserts
- Method: Baked
- Cuisine: American
This was awesome and so easy to follow!
Hi what size can of coconut milk please
Hi! Youll need one cup
This looks amazing! Any sugggestions instead of coconut milk?
Yay! Hope you can try it! We have a whole section in the blog post on recipe substitutions and on ingredients for you 🙂