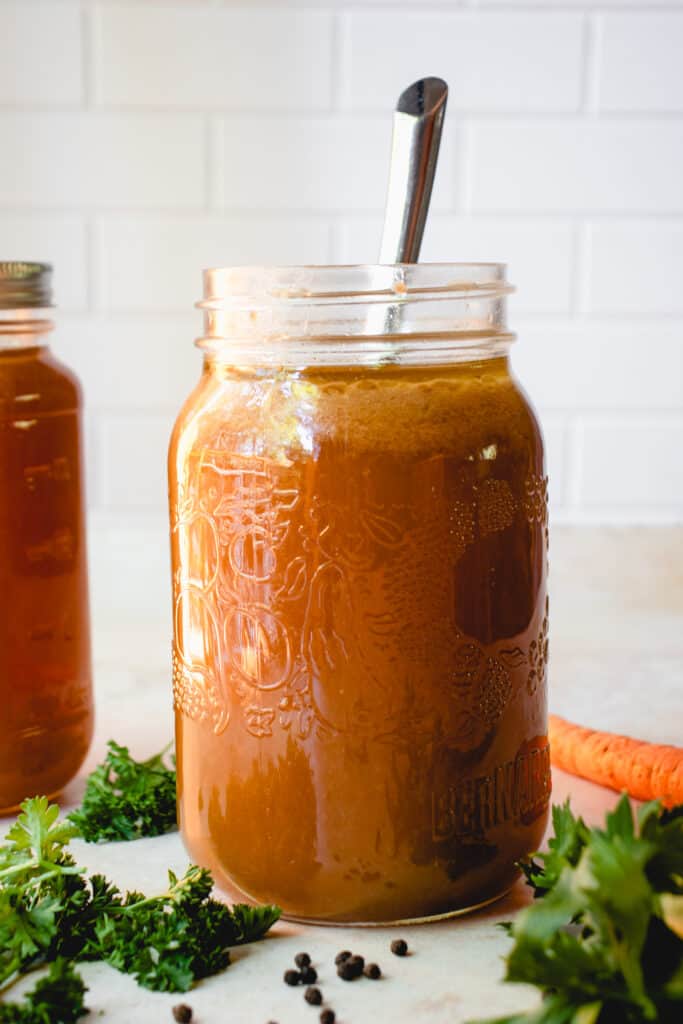
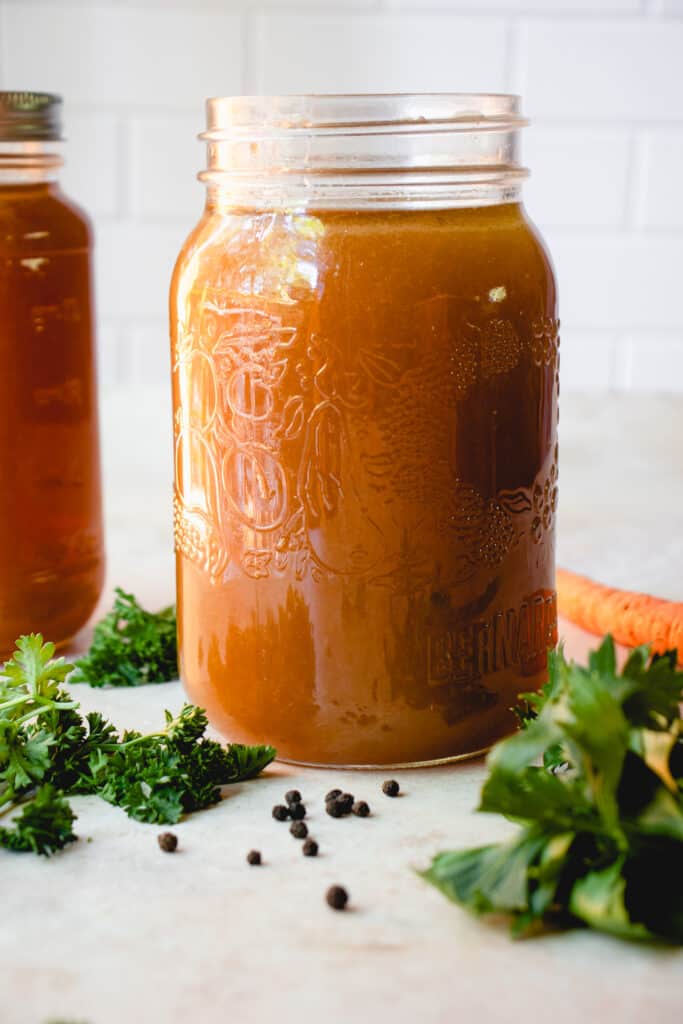
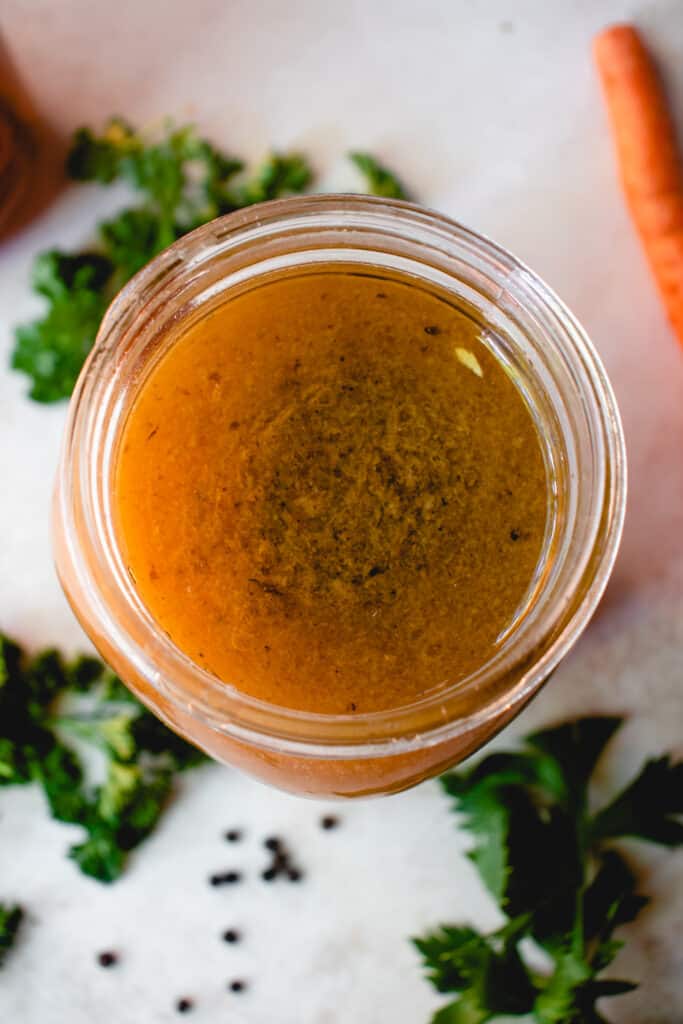
A rich, deeply flavored Gluten-Free Bone Broth is so easy to make with this step-by-step guide. This bone broth recipe is made with simmered beef bones, aromatic vegetables, fresh herbs, black peppercorns, and apple cider vinegar for a nourishing, savory bone broth perfect for soups, sauces, and more!
This post provides general information and should not be taken as medical advice.
Table of contents
Bone broth is the liquid produced from boiling animal bones in water, along with vegetables, herbs and spices, and has prehistoric roots and culinary and medicinal traditions across cultures worldwide. It has many purported benefits and is commonly known as a healing food that is foundational for a nutrient-dense diet, due to its high collagen, amino acid and mineral content. Its been touted to help boost gut health and our immune systems, and is a staple of the paleo and AIP diet.
Though widely available, store-bought bone broth products can get expensive over time and may contain hidden traces of gluten — a no-no for folks with celiac disease or gluten sensitivity. Whether you enjoy bone broth for its potential benefits or because of its flavor and versatility in recipes, my homemade bone broth is gluten-free, allergy- and AIP-friendly, and really easy to make.
Gluten-Free Bone Broth Recipe
In this Gluten-Free Bone Broth recipe I opted to use beef bones but you can use any type of bones you’d like. I sautéed the bones first so that the caramelization builds a great base of flavor. Caramelized celery, carrots, onions, and garlic add a sweet and savory element. Fresh herbs lend an aromatic earthiness while black peppercorns add a bit of spice and depth of flavor. A splash of apple cider vinegar adds some acidity and can help to extract the minerals from the bones. It’s all simmered low and slow (I made mine for about 16 hours), and yields a beautiful, rich and flavorful broth that’s super versatile.
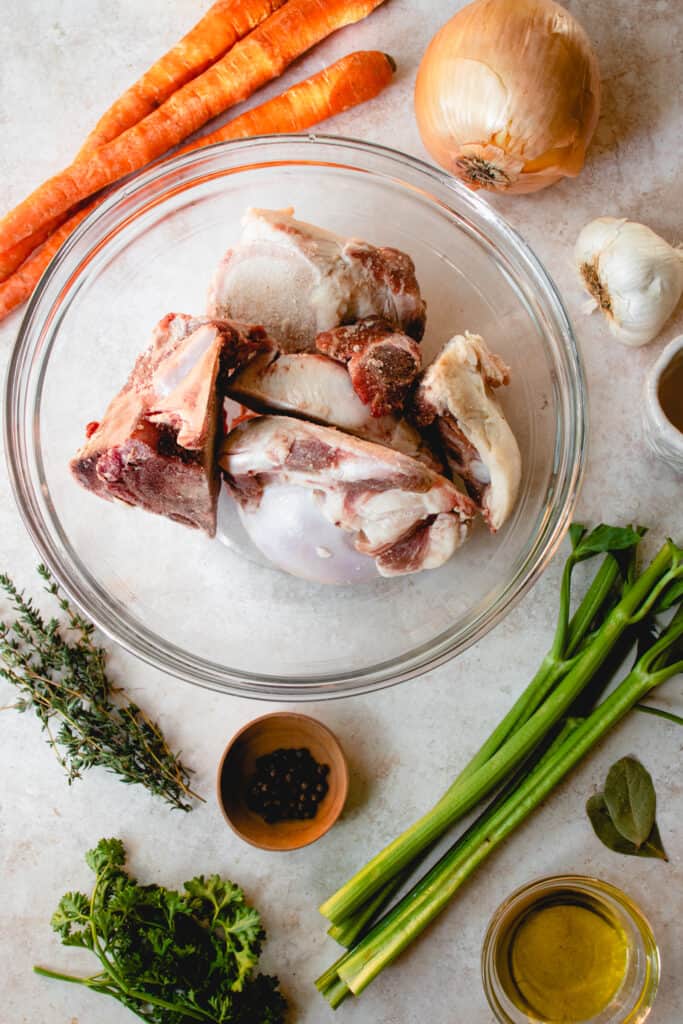
Ingredients
- olive oil
- beef bones
- celery
- carrots
- onion
- garlic
- bay leaves
- parsley
- thyme
- black peppercorns
- apple cider vinegar
- sea salt – to taste, optional.
Ingredient Substitutions/Variations
- Beef bones: I used a mix of beef bones from the butcher, including knuckles, neck bones, marrow bones, and oxtail. You can use one kind, a mix, or even a combination of bones from different meats.
- To make chicken bone broth: use chicken bones or a whole chicken carcass.
- To make turkey bone broth: use turkey bones or a whole turkey carcass.
- To make pork bone broth: use pork bones.
- To make lamb bone broth: use lamb bones.
- To make fish bone broth: use fish bones including the head. These are more delicate and can be simmered for much less time, about 2-3 hours.
- Apple cider vinegar: You can replace apple cider vinegar with other acids like red or white wine vinegar or lemon juice.
- AIP modification: To make this bone broth compliant with the autoimmune protocol (AIP diet), omit the black peppercorns.
How To Make Gluten-Free Bone Broth
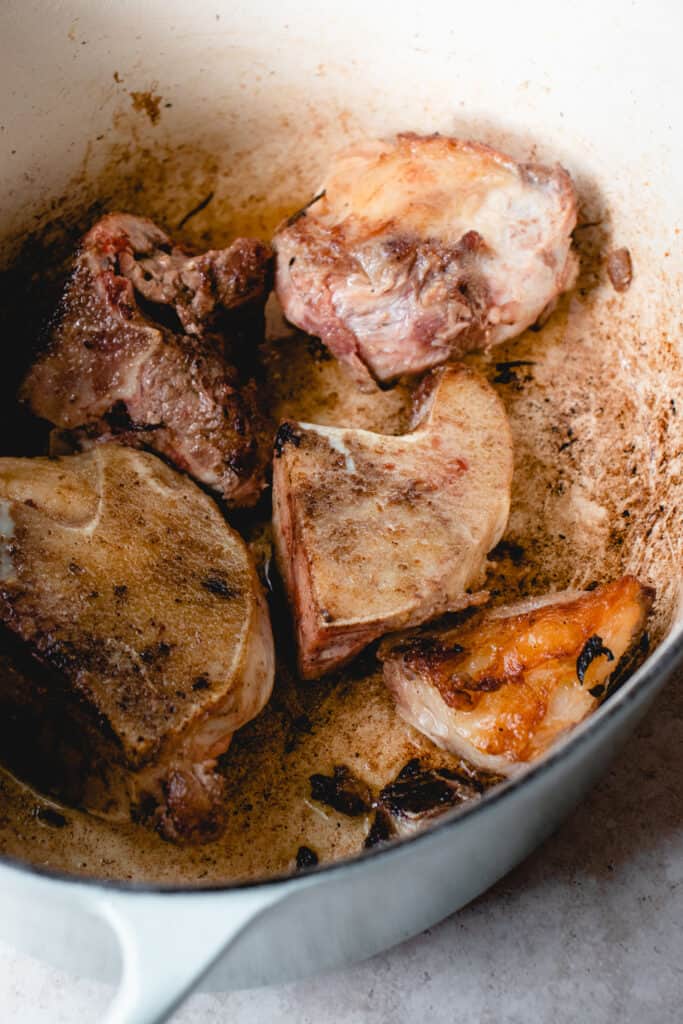
Step 1. Sauté the Bones
To a large stockpot, add olive oil and bones. Sauté them for 5 – 10 minutes, until they begin to brown. This caramelization step builds a rich depth of flavor and prevents a potential metallic taste that raw bones can produce. Once sautéed, remove the bones and set aside.
Step 2: Sauté the Aromatics
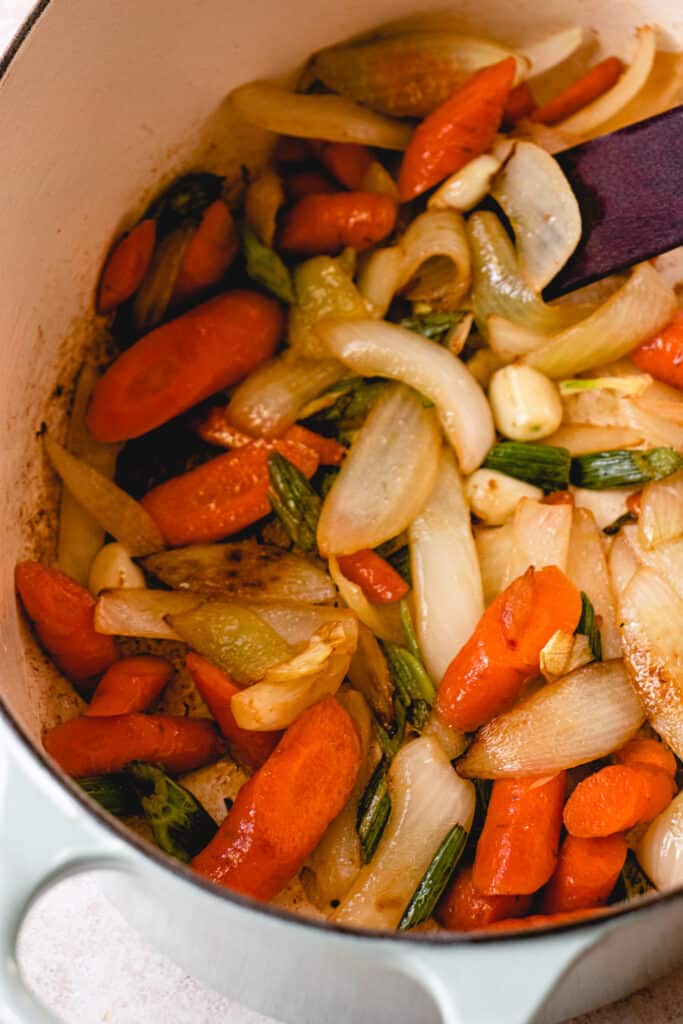
Next, add the vegetables and sauté until they soften and begin to brown, stirring as needed so they don’t burn. Again, caramelizing the vegetables builds the flavor base.
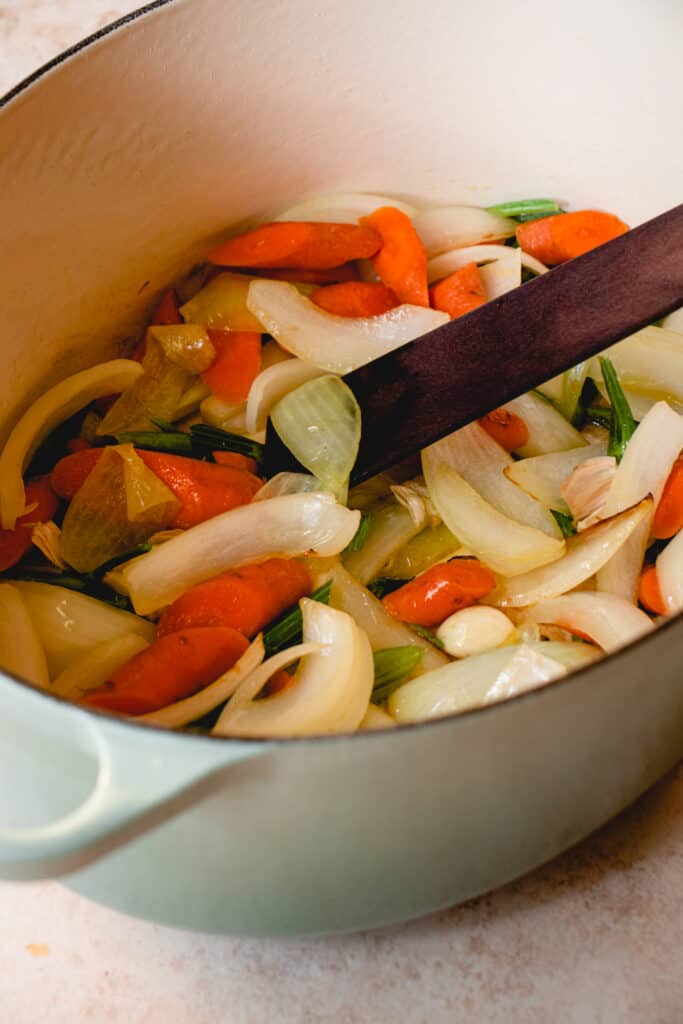
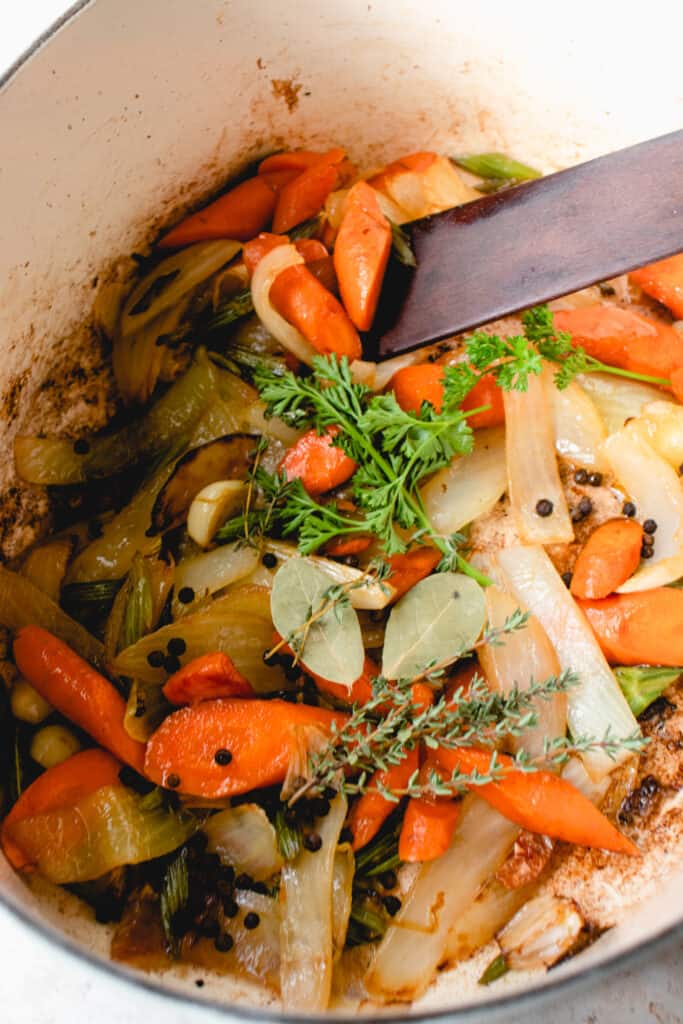
Then, add the fresh herbs and peppercorns to the pot. Ensure they get some direct contact with the heat and oil so they can release their aromatics fully. Then stir to combine with the vegetables.
Step 3: Return the Bones and Cover
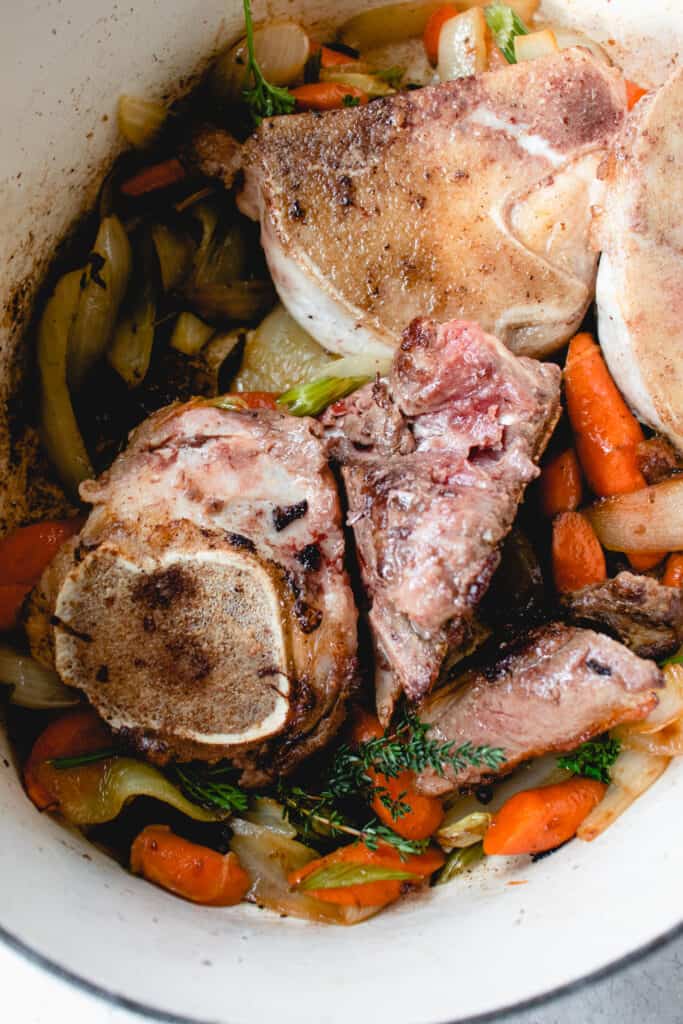
Return the bones to the pot. Next, add cold water and apple cider vinegar to cover.
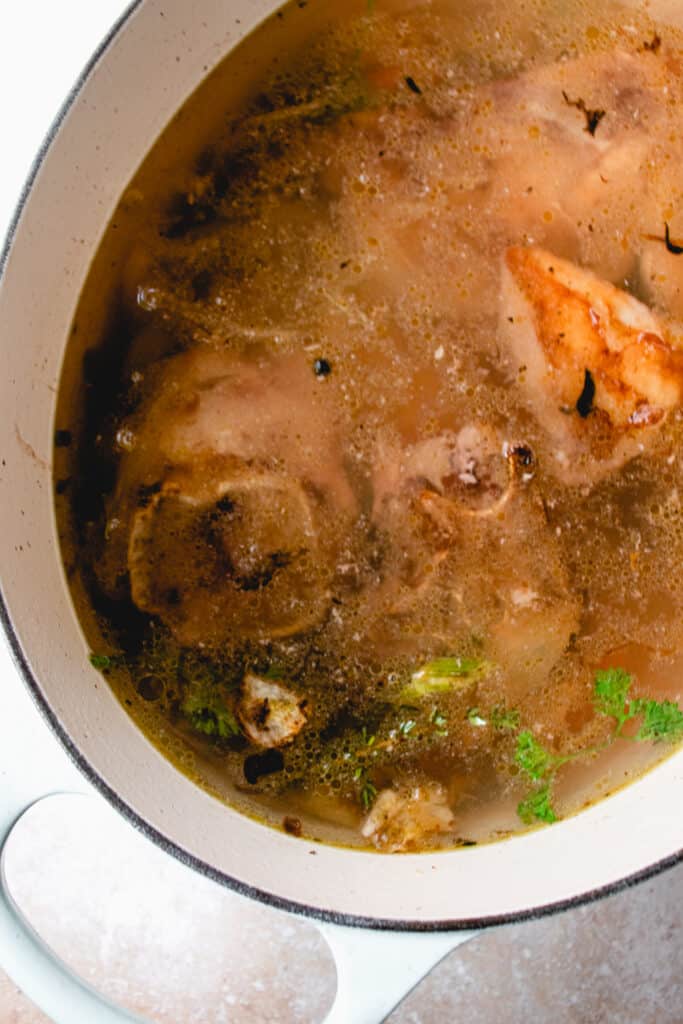
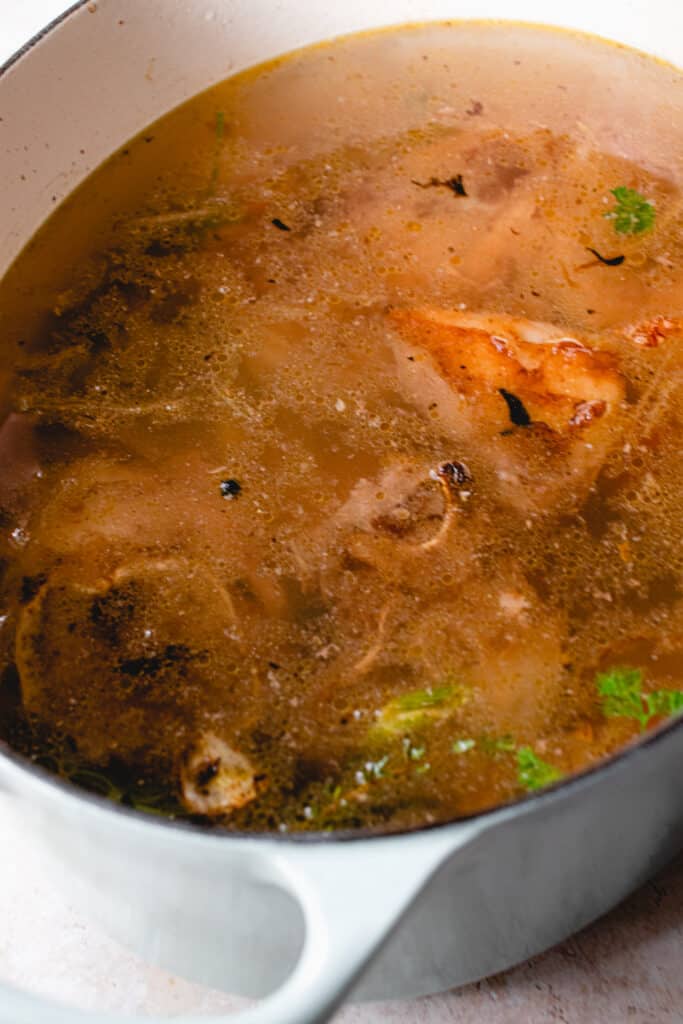
Bring the broth to a boil, then reduce the heat and let simmer over very low heat. Leave covered as it simmers for the desired length of time.
Step 4: Simmer
Let the bone broth simmer, covered, for the desired length of time, 12+ hours.
Step 5: Strain the Bone Broth
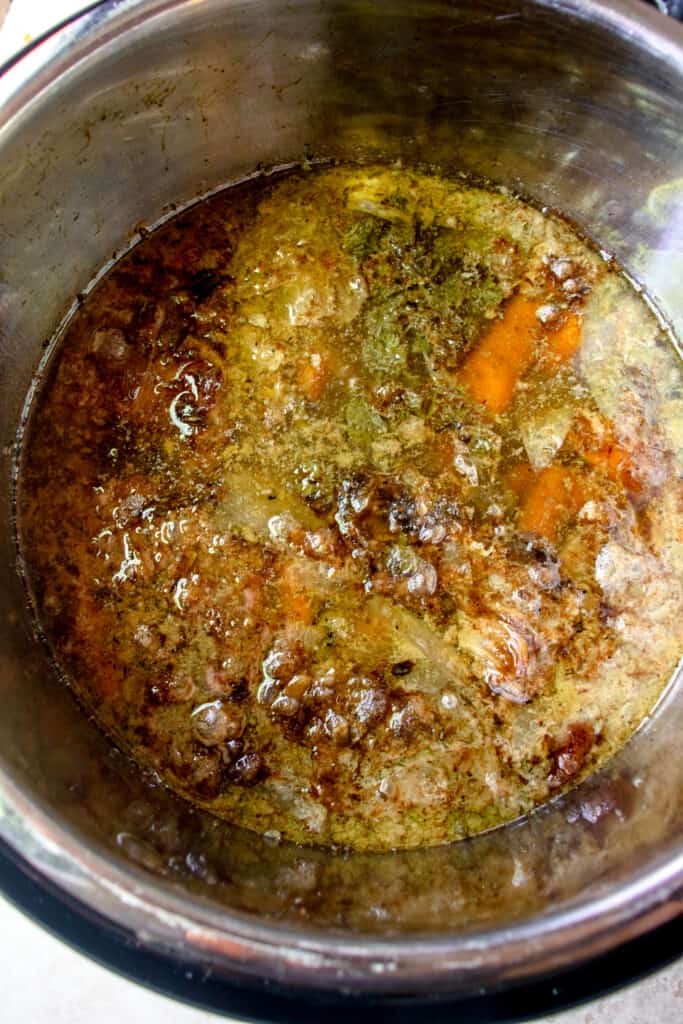
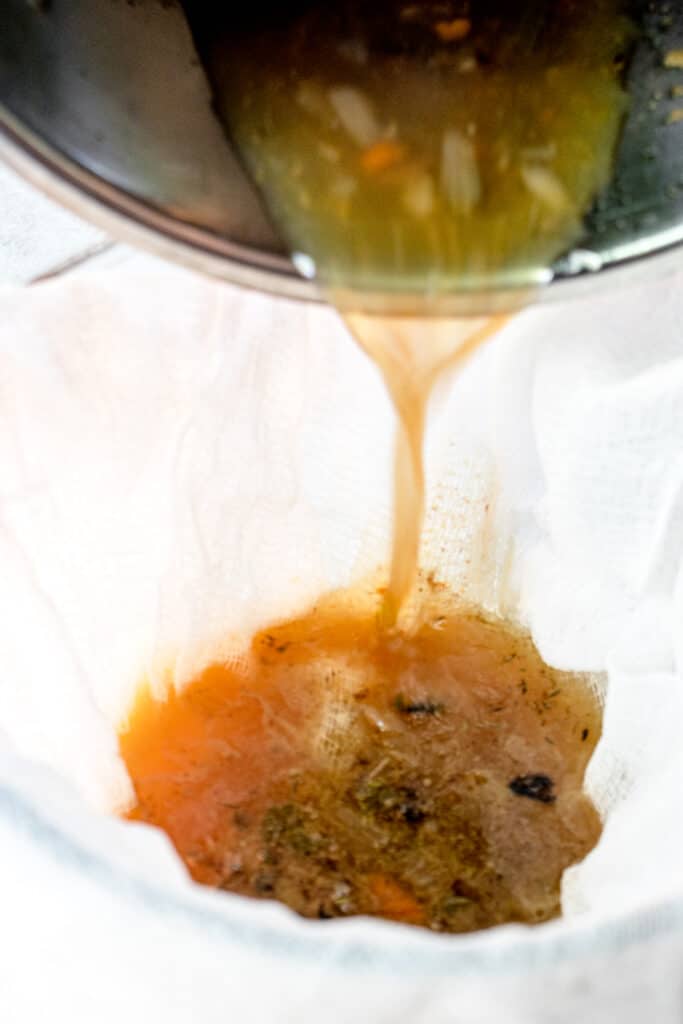
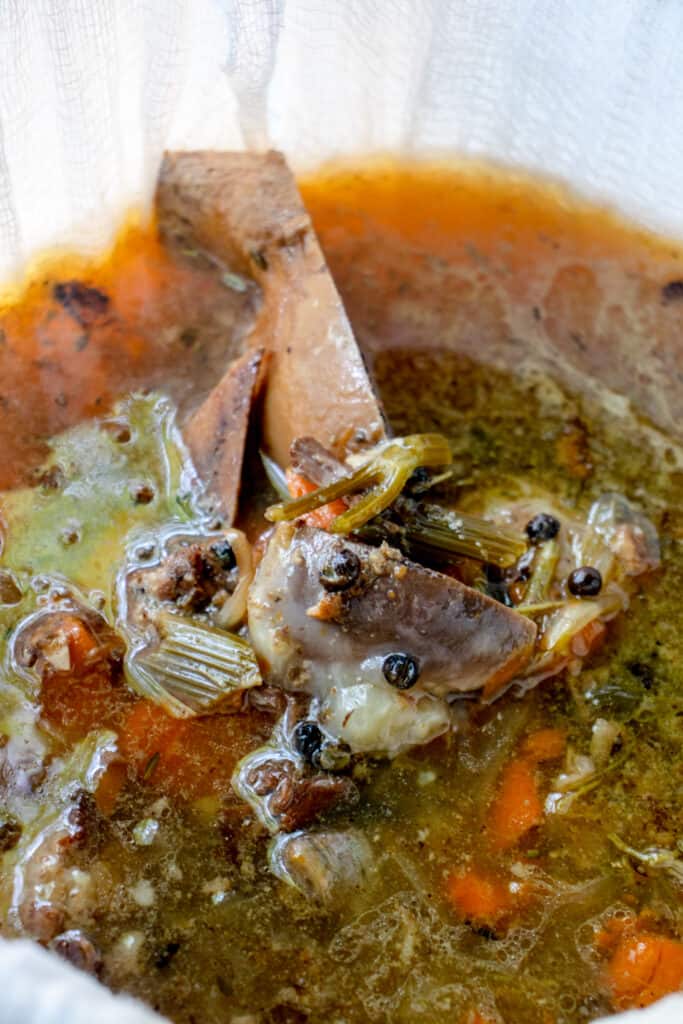
Once cooked, strain the bone broth. You can use a slotted spoon or ladle to remove large bones and vegetables. Set a strainer or colander over a large, heat-safe bowl, or line the bowl with a cheesecloth. Pour the broth through the strainer or into the cheesecloth-lined bowl.
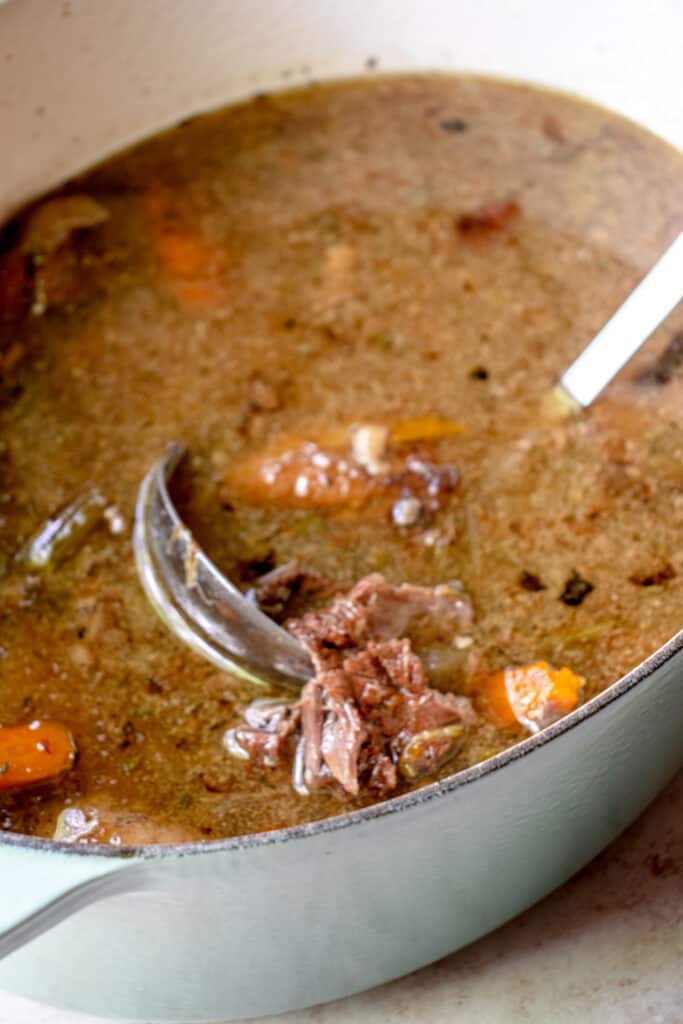
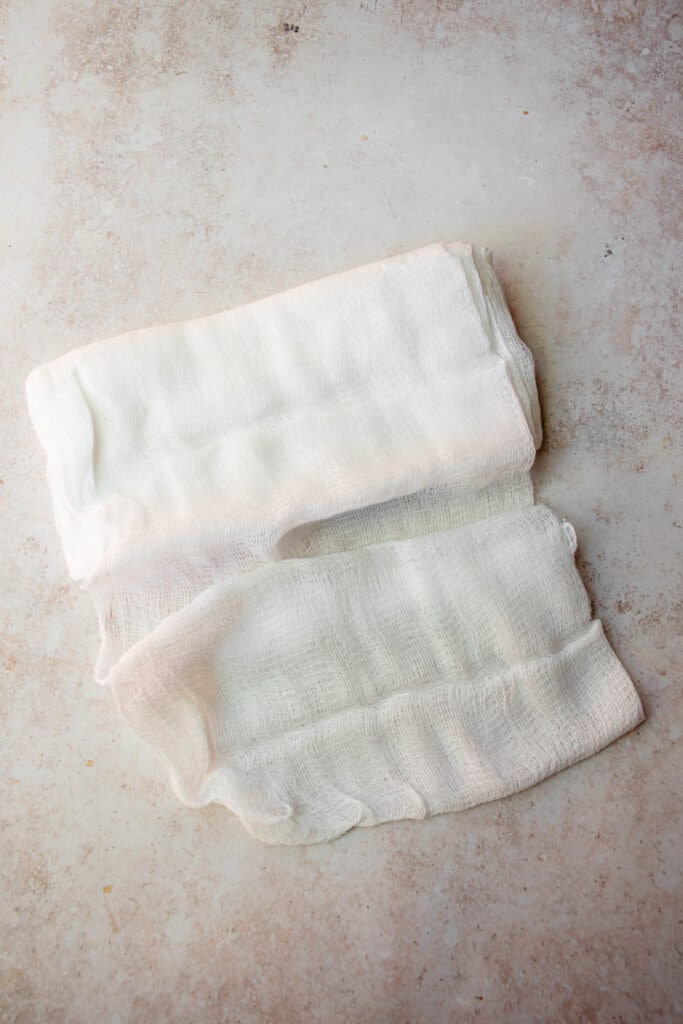
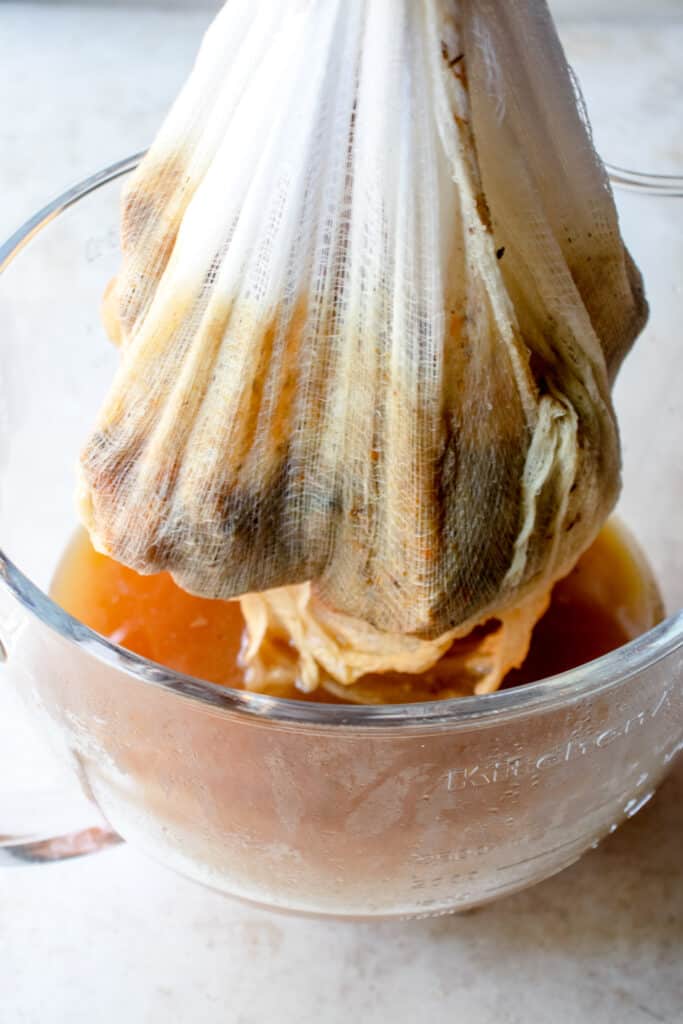
Remove the cheesecloth or strainer, and discard the spent bones, vegetables, and herbs.
Step 6: Let Cool
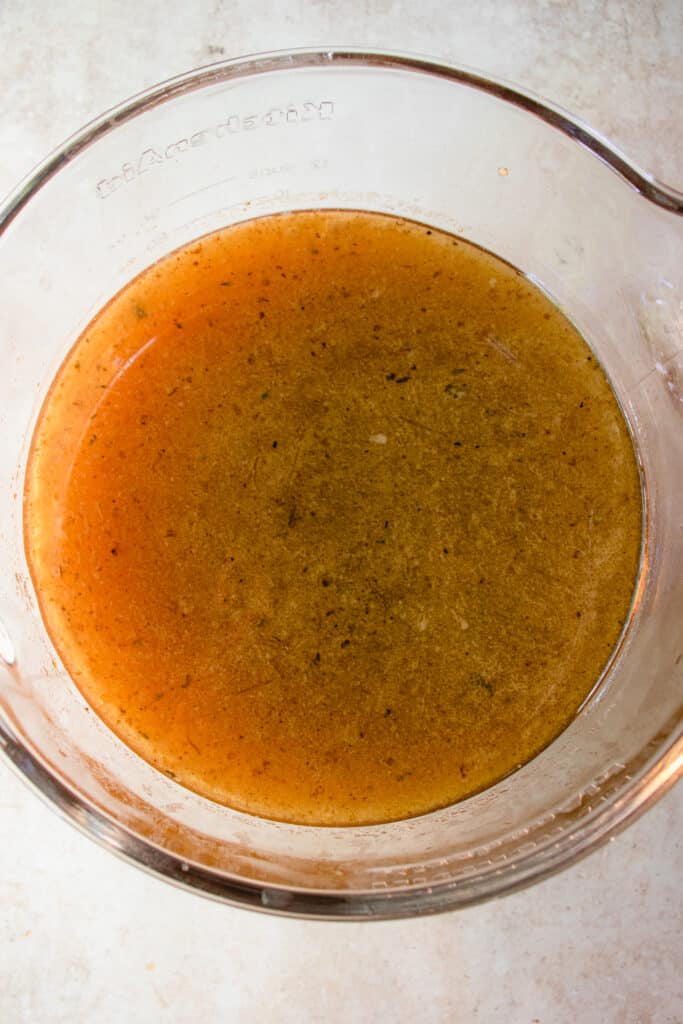
While the bone broth is warm, add sea salt to taste (if desired). Let the bone broth cool completely before storing.
Slow Cooker/Crockpot Instructions
You can make this recipe in a slow cooker or crockpot and cook for even longer; up to a few days! This method can also be used with an Insta Pot using the Slow Cooker function.
- If your slow cooker has a Sauté function, sauté the bones and aromatics as per the recipe card instructions. Otherwise, sauté them on the stovetop first, then transfer to the slow cooker.
- Add the water and apple cider vinegar.
- Bring to a simmer over High heat.
- Reduce to Low heat and cook for 12-24 hours.
- Strain the broth.
- Let cool.
Pressure Cooker Instructions
You can use a pressure cooker and cook the broth for about a quarter of the time as the stovetop method.
- Sauté the bones and aromatics as per the recipe card instructions.
- Add the water and apple cider vinegar.
- Secure the lid and bring it to full pressure.
- Once at full pressure, lower the heat and cook four 4 hours.
- Once cooked for the 4 hours, turn off the burner and let the pot release the pressure.
- Strain the broth.
- Let cool.
Expert Tips & Tricks
Choosing Bones
- Use a variety of bones for the most flavorful and nutritious bone broth. A combination of meaty bones like oxtail or short ribs to add richness and depth of flavor, large or long bones with bone marrow, bones high in collagen and gelatin like knuckles and joint bones, plus neck bones and smaller bones and cartilage is ideal.
- Save the bones from meat that you cook (like ribs, chicken or turkey carcasses, pork or lamb chops, t-bone steaks, etc.) and store in the freezer. When you’ve collected enough, make your bone broth. Alternatively, you can purchase bones from your local butcher or grocery store.
Cooking Times
- If you’ve started this recipe later in the day and don’t want to leave the oven on overnight (to achieve the 12+ hours), turn the stove off, let the broth cool and store it in the fridge overnight. Then the next day, bring it back to a boil then reduce to a simmer, and continue cooking for the remaining number of hours. You can use this ‘interval’ cooking method to cook the broth for 24 hours+.
- The longer that the broth simmers, the better it’ll be. However, you can still achieve a flavorful broth after 4-6 hours. It really depends on your time and preference! For cooking longer than 16 hours, I recommend using the slow cooker method.
Additional Tips
- Skim off impurities or the foam that rises in the broth, especially within the first hour. This is optional but can result in a ‘cleaner,’ less bitter taste.
- If you want an even richer, concentrated broth with a higher collagen content, raise the heat in the last hour of cooking to a rapid simmer and reduce the broth by half or more.
- I like using the cheesecloth method to strain the broth, as pictured in the steps above, as it prevents me from accidentally pouring the whole pot down the sink! Of course, straining with a colander, sieve or strainer is just as good!
- Add sea salt to taste if you’d like, especially if you’re drinking it on its own. You can keep it unsalted if you’re using in other recipes since you’ll likely add salt.
- Scrape off the hardened top layer of fat from the top of refrigerated bone broth and discard before using, if desired.
How to Use Bone Broth
If you’re wondering what to do with gluten-free bone broth, your options are endless! You can use it anywhere you’d typically use stock or broth. It’s flavorful on its own and is a really nourishing drink that you can sip on.
Use this bone broth as a base for soups and stews, gravies and sauces, as a cooking liquid for making rice, pasta, or their grain-free alternatives, in stir fries, for cooking veggies or for braising meats.
Here are some recipes in which I use bone broth:
- In soups like my AIP/paleo minestrone, chicken and dumpling soup, turkey soup with vegetables, ginger squash soup, and my cream of mushroom soup.
- In other dishes like my paleo chicken and orzo, gluten-free chicken piccata, gluten-free stuffing, paleo pot roast, nightshade-free paleo chili, one pan chicken thighs, white chicken chili, and my leek and fennel risotto.
Frequently Asked Questions
The typical ingredients for bone broth are naturally gluten-free, i.e. meat bones, vegetables, some herbs and spices, and water. However, unless the packaging specifically indicates that it is certified gluten-free, there may be gluten in store-bought or packaged bone broth. Traces of gluten can be hidden in ingredients like “yeast extract” or “natural flavorings” or even in some preservatives used in store-bought bone broth. Making your own homemade bone broth ensures there are no traces of gluten, or any other allergens or additives that you might want to avoid, like if you’re following the AIP diet.
In this recipe, we’re sautéeing the bones first which achieves the same caramelization and release of flavor that you get from roasting the bones in the oven, with the convenience of doing it all in one pot in less time. If you prefer, you can roast the bones in the oven at 400F for 30 minutes – 1 hour, until golden-brown.
A bone broth that gets gelatinous in the fridge means there’s a high collagen content. It will become a liquid consistency again once reheated.
Storage & Reheating Instructions
Reheat: Reheat on the stovetop or in the microwave before using.
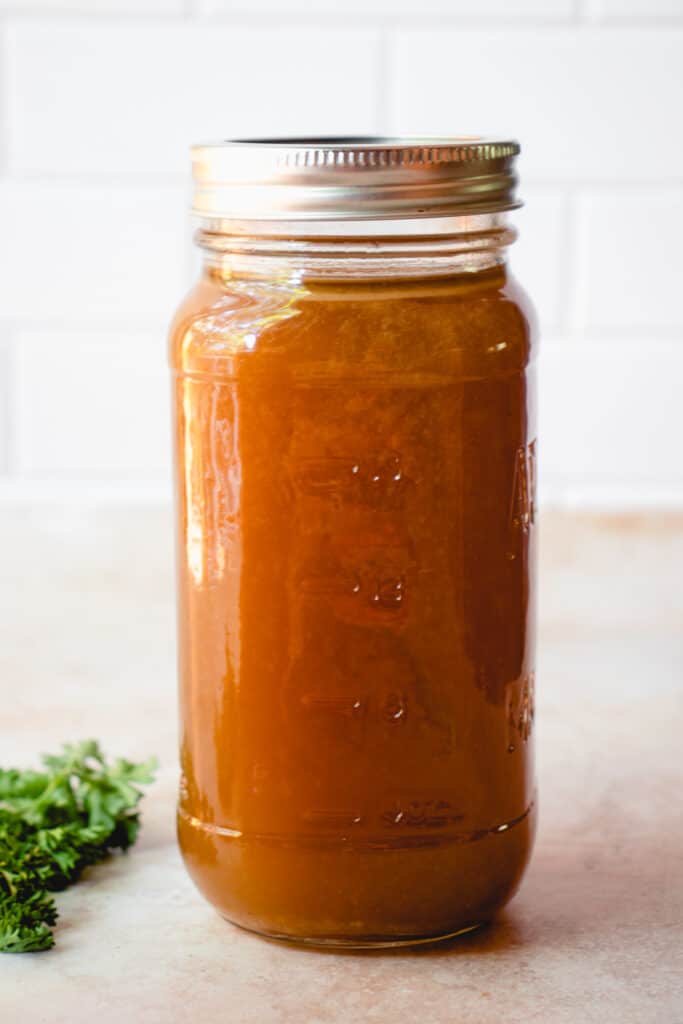
Fridge: Store cooled bone broth in glass mason jars or other sealable containers in the refrigerator for up to 1 week.
Freezer: Store cooled bone broth in glass mason jars or other sealable, freezer-safe containers, leaving space at the top of the container for expansion. For convenience you can store portioned sizes in ice cube trays (1-2 TBSP) so they defrost quickly. Once frozen, you can remove the bone broth cubes from the tray and place them in a freezer-safe resealable bag or container. Store frozen gluten-free bone broth for up to 6 months.
I hope you love this Gluten-Free Bone Broth. If you do, I would appreciate it if you would give the recipe a star rating and review. Be sure to snap a picture of the finished product and share it with me on Instagram by tagging @healmedelicious and using the hashtag #healmedelicious.
Print
Gluten-Free Bone Broth Recipe (AIP/Paleo)
- Total Time: 12-24 hours
- Yield: 12 cups 1x
- Diet: Gluten Free
Description
Making a Gluten-Free Bone Broth is easy with this stovetop recipe. Made with beef bones, aromatic vegetables and fresh herbs to produce a rich and savory homemade bone broth. It’s flavorful enough to sip on its own and a great base for soups, stews, and more! This bone broth is also paleo and AIP-friendly.
Ingredients
- 2 TBSP olive oil
- 3 lbs beef bones, rinsed (any type or a mix of bone types)
- 2–3 celery stalks, roughly chopped
- 3 large carrots, roughly chopped
- 1 large onion, roughly chopped
- 4 cloves garlic (skin on), smashed
- 2 bay leaves
- 5–6 sprigs parsley
- 5–6 sprigs thyme
- 1 TBSP black peppercorns (omit for AIP)
- 2 TBSP apple cider vinegar
- 12 cups cold water (plus more warm or hot water to cover)
- sea salt, to taste (optional)
Instructions
- To a large stockpot over medium heat, add olive oil and bones. Sauté the bones for 5-10 minutes until they caramelize and brown. Remove bones from heat and set aside.
- Add celery, carrots, onion, and garlic. Sauté for 5-10 minutes, until they begin to soften and caramelize, but not burn.
- Add bay leaves, parsley, thyme, and black peppercorns. Let them get some direct contact with the bottom of the pan first, then stir to combine.
- Return the bones to the pot.
- Add water and apple cider and stir to combine.
- Gradually bring to a boil, then cover the pot with a lid and reduce the heat to a low simmer. Cook for at least 12 hours and as long as 24 hours (or longer).*
- Check the water level occasionally, adding warm or hot water to cover as needed. Similarly, stir infrequently, every few hours or so.
- Once cooked for the desired length of time, strain the bone broth. You can use a slotted spoon first to help remove larger bones and vegetables. Line a large heat-safe bowl with a cheesecloth or place a colander or fine-meshed sieve over the bowl. Pour the broth into the bowl and remove the cheesecloth, colander, or sieve, to strain. Discard the vegetables and bones.
- Optional: Add sea salt to taste and stir well while the broth is still warm.
- Allow bone broth to cool completely before storing.**
Notes
*See the Slow Cooker/Crockpot Instructions for the method to cook longer than 24 hours. Alternatively, you can still cook over very low heat on a back burner for a long period of time. See the Expert Tips & Tricks for how to cook the broth in intervals on the stovetop.
**See the Storage & Reheating Instructions for storage information.
- Prep Time: 20 minutes
- Cook Time: 12-24 hours
- Category: Soup
- Method: Stovetop
Leave a Reply