These DIY Vegan Chocolate Covered Easter Eggs are a perfectly sweet chocolate Easter treat. They’re gluten-free and dairy-free and a fun, easy, no-bake dessert for your Easter basket.

Table of contents
As the creator of an online dairy-free and gluten-free baking school, I understand how challenging it is to find delicious gluten and dairy-free treats that taste as good as their conventional counterparts. These homemade vegan Easter eggs, inspired by classic chocolate peanut butter egg candies, are made without dairy, soy, peanuts, or refined sugar. An allergy-friendly, luscious treat everyone will enjoy!
Want more dairy-free and gluten-free Easter treats? Try my paleo carrot cake, these gluten-free vegan lemon bars, or these lemon olive oil cupcakes.
DIY Vegan Chocolate Covered Easter Eggs Recipe
These paleo and vegan chocolate covered Easter eggs bring back the nostalgia of enjoying my favorite childhood Easter candies. They’re cute and fun and really easy to make from scratch. No need for special equipment like egg molds, just some simple ingredients and your fridge!
The filling is made with tahini and almond butter for a spin on the traditional peanut butter egg. I love the warm, slightly nutty flavor of this rich, creamy filling. It’s naturally sweetened with maple syrup, with gluten-free coconut flour to help bind and thicken it and sea salt to balance the overall flavor. Velvety smooth vegan chocolate coats the filling, with a perfect ratio of chocolate to filling in every bite!
These irresistible vegan chocolate Easter eggs are sure to please kids and adults alike and are a ‘healthier’ option for your Easter egg hunt.

Ingredients
See the recipe card below for ingredient quantities.
- tahini
- almond butter
- maple syrup
- coconut flour – absorbs excess moisture to create the filling’s fluffy texture. This won’t be achievable with other gluten-free flours or starches.
- sea salt
- vegan chocolate chips or dark chocolate – Most dairy-free chocolate chips and chocolate are vegan but check the ingredients to be sure. I like and used these Pascha brand chocolate bars.
- coconut oil
- sea salt flakes – I highly recommend the flaky sea salt! The flavor contrast of the salt and chocolate is so delicious and it adds a nice crunch to the otherwise smooth candy.
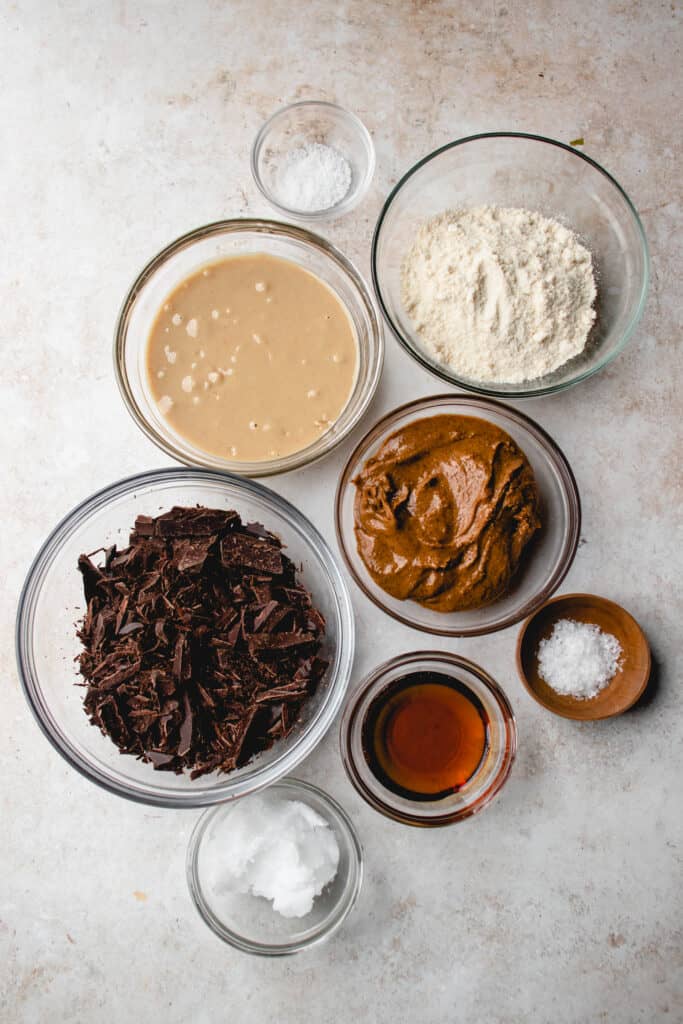
Ingredient Substitutions
- Use sunflower seed butter or tigernut butter instead of the almond butter for a nut-free version.
- AIP Modifications: You can make these chocolate eggs compliant with the Modified AIP version of the AIP diet. Omit the almond butter and use 1 cup tahini in the filling. You may want to increase the amount of maple syrup as the tahini flavor is slightly bitter. Also, ensure the vegan chocolate uses compliant ingredients like this Hu Kitchen Gems chocolate made with only cacao, coconut sugar, and cocoa butter.
- I don’t recommend any other substitutions.
How to Make Vegan Chocolate Covered Easter Eggs
Step 1: Prepare a Baking Sheet
Line a large baking sheet with parchment paper and set aside.
Step 2: Make the Filling
Combine the tahini, almond butter, maple syrup, sea salt, and coconut flour in a large bowl. The ‘dough’ or filling shouldn’t be overly wet and sticky nor dry and crumbly.
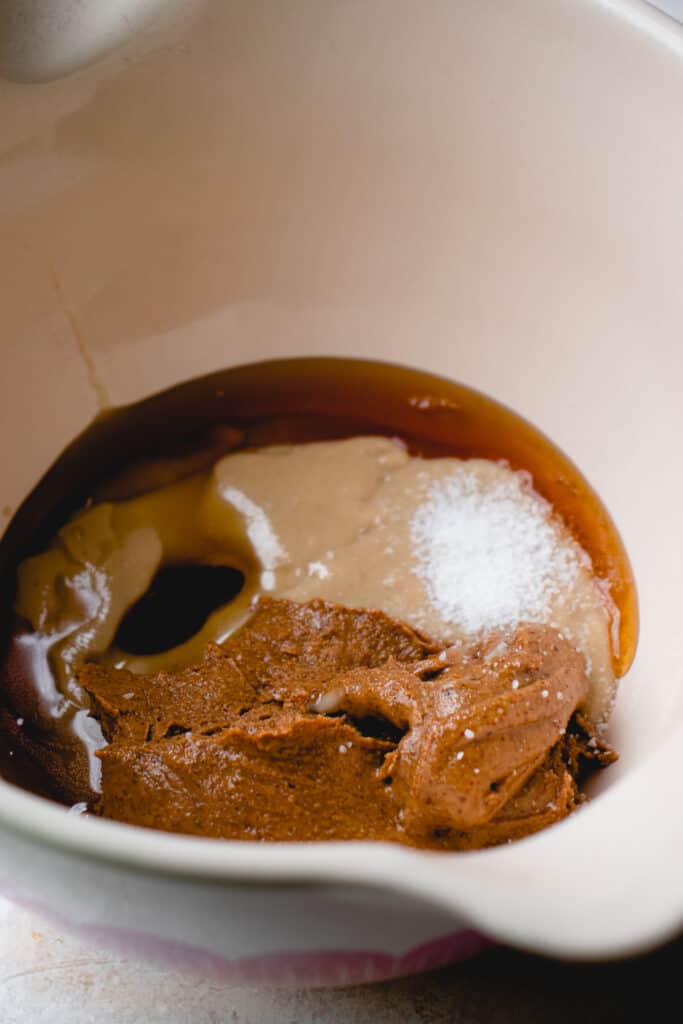
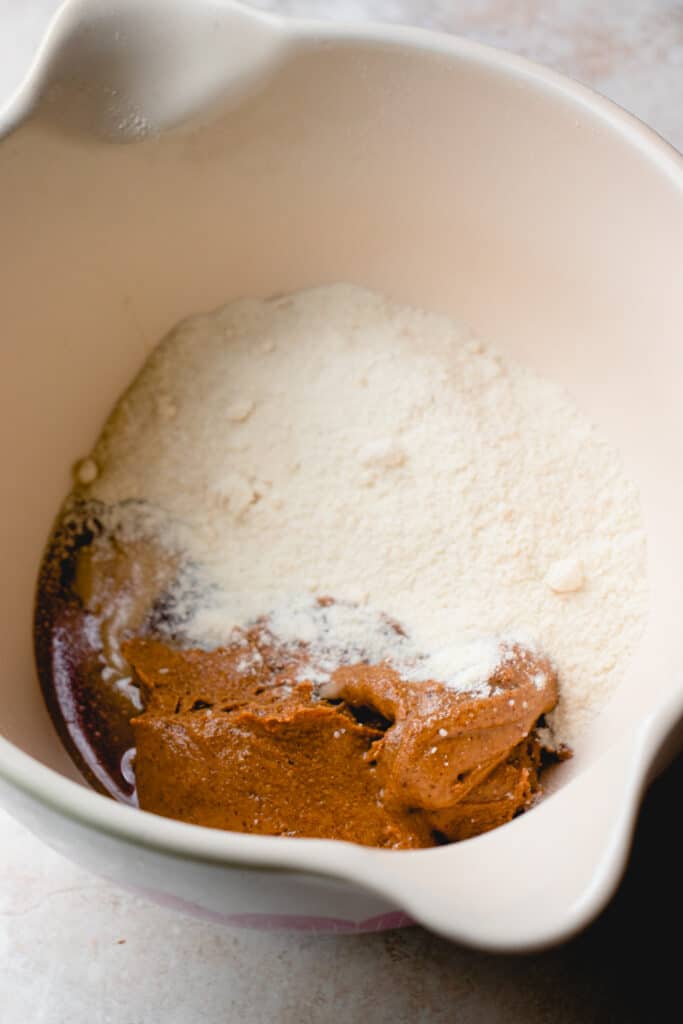
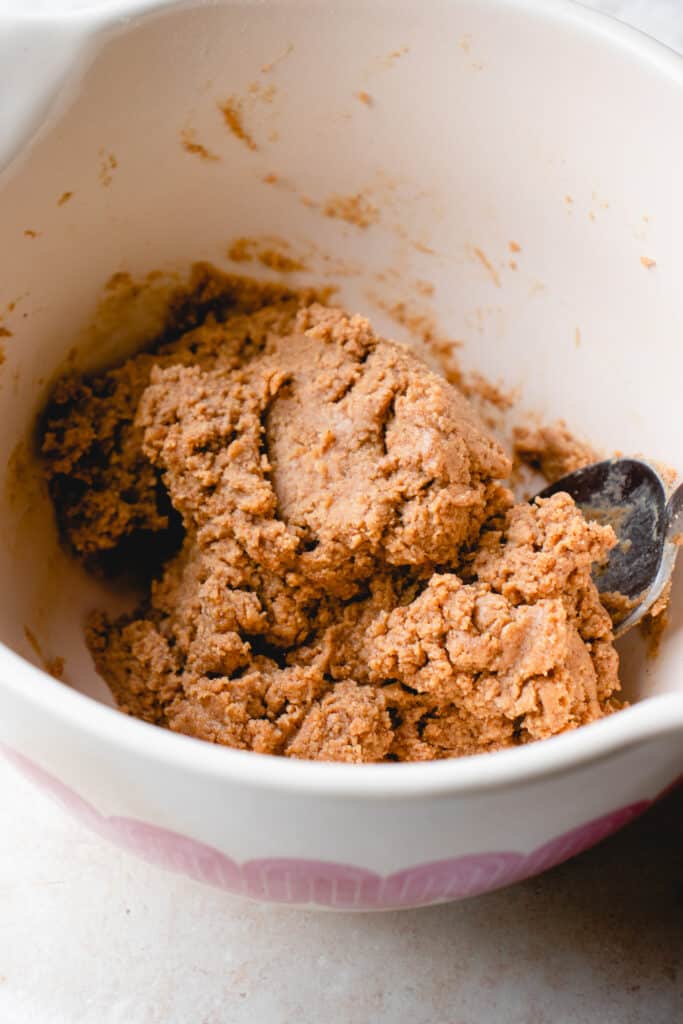
Step 3: Shape the Eggs
Scoop 1.5-2 TBSP of the mixture and roll into a ball. Flatten the ball between your palms and form an egg shape by narrowing one end with your fingers. Place on the prepared baking sheet and repeat with remaining egg filling mixture.
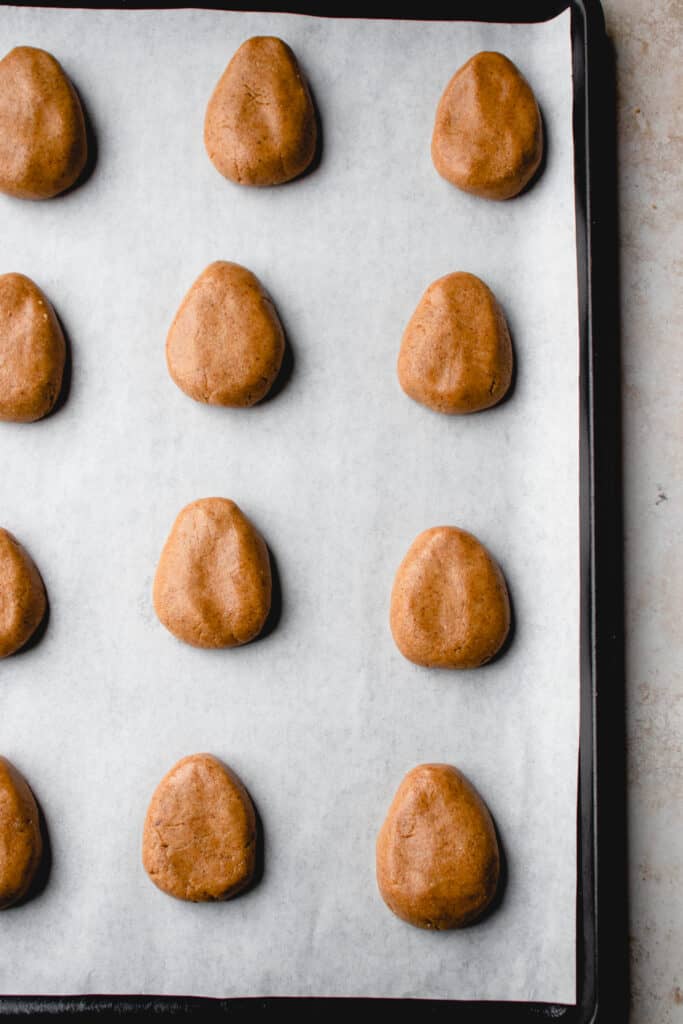
Step 4: Chill the Eggs
Refrigerate the baking tray with shaped eggs for at least 1 hour or until they harden a bit. This ensures they keep their shape and makes them easier to handle when dipping them.
Step 5: Melt the Chocolate
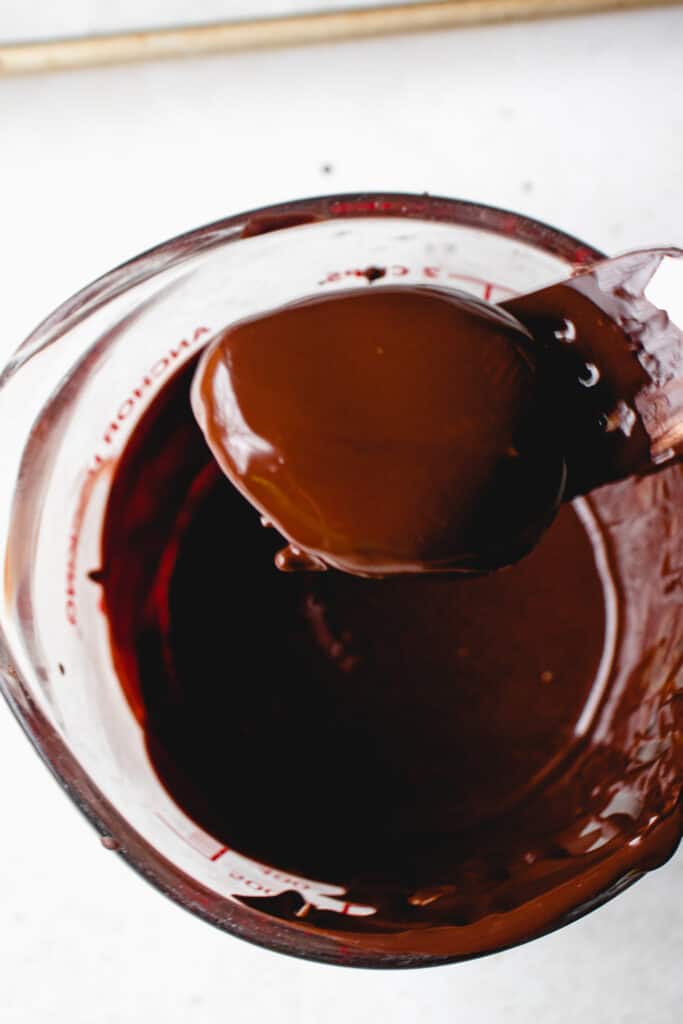
In the last few minutes of chilling, melt the coconut oil and vegan chocolate. You can melt them in the microwave in 20-30 second intervals, stirring in between to achieve a smooth consistency, or by using the double boiler method, stirring constantly until fully melted. Allow the chocolate sauce to cool for a few minutes before coating the eggs.
Step 6: Dip the Eggs in Chocolate
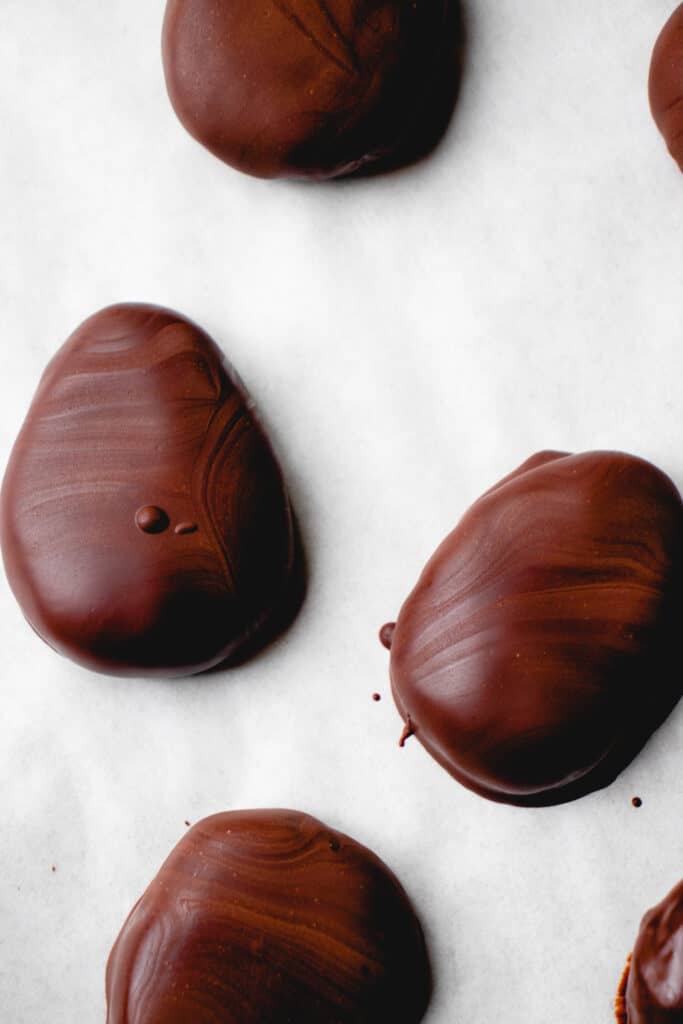
Remove the eggs from the fridge. Individually dip them in the melted chocolate with a fork to create the chocolate covered eggs, allowing any excess to drip off.
Step 7: Decorate the Eggs
Use a small spoon to drizzle extra chocolate mixture over the tops and sprinkle with coarse or flaky sea salt or sprinkles (optional).

Step 8: Chill to Set
If necessary, return the coated eggs to the fridge for an additional 15-20 minutes to let the chocolate harden.

Step 9: Serve
Once set, serve these Vegan Chocolate Covered Easter Eggs either cold from the fridge or at room temperature.

Tips & Tricks
Butter Consistency
Ensure the almond butter and sesame seed butter (tahini) are well-mixed before measuring out so that the oil is fully incorporated. Doing so ensures the butters are smooth and creamy instead of hard and dry, making them easy to mix in the filling.
Perfect the Sweetness
Sweeten the filling to your preference by customizing the amount of maple syrup. 3 TBSP makes a subtly sweet filling with a stronger tahini flavor while 4 TBSP create a sweeter filling with a less prominent tahini flavor.
Shaping the Eggs
Use a cookie or ice cream scoop (about 1.5 TBSP size) or measuring spoons to portion the filling for uniform-sized eggs.
Once flattened to about 3/4-inch thick pinch and taper one end to create the egg shape.
If the filling is too soft or sticky, refrigerate it for about 10 minutes before shaping the eggs. Conversely, if the filling is crumbling, keep working it between your hands until it warms up and comes together.
If the eggs are breaking or losing shape when you’re coating them in the chocolate, return them to the fridge for about 10 minutes to harden more.
Melting the Chocolate
Ensure the melted chocolate and coconut oil mixture is smooth and well-combined by stirring often. Remember to let it cool before coating the eggs so its heat doesn’t melt the cold eggs. Also, if your chocolate starts hardening while you dip the eggs, microwave and stir it again.
Refrigerating to Harden
Depending on your climate, you may not need to refrigerate the eggs after covering them with chocolate. They only need to be refrigerated again to allow the chocolate to set and keep the eggs firm. If they’re solid enough, it’s fine to leave as is and only refrigerate when storing long term. For example, I made these next to an open window on a cold day and didn’t need to refrigerate the eggs after coating them as the chocolate solidified after a few minutes.
Serving the Chocolate Eggs
While these vegan chocolate eggs should be stored long-term in the fridge because of the fresh ingredients, they can be kept out at room temperature for a few hours without melting (depending on the climate). So you can package or present them (i.e., keep them out of the fridge) without worry.
Packaging & Presentation
Whether you want to gift these vegan chocolate treats or set up a cute Easter theme, here are some decor and packaging ideas:
- Place the chocolate eggs in cellophane bags and tie with twine or ribbon.
- Individually wrap the chocolates in colored foil.
- Place chocolates either wrapped or unwrapped in small paper or cardboard boxes and include them in an Easter egg hunt.
- Stack them in mason jars.
- Place them in small Easter baskets atop parchment paper. If they’re individually wrapped, place them atop shredded paper for a nest theme.

Frequently Asked Questions
See the Ingredient Substitutions for recommendations. In addition, you can use one type of nut or seed butter if you like, keeping in mind this will change the flavor profile.
You can stuff the filling into a silicone mold but I recommend refrigerating them for significantly longer so that they are easier to remove from the mold. I haven’t tested these chocolate eggs with a cookie cutter and suspect the filling might be too fragile.
Yes! The uncoated, shaped eggs can be refrigerated for up to 1 day. The coated chocolate eggs stay well for up to 2 weeks in the fridge.
Storage Instructions
Fridge: Layer the chocolate Easter eggs between parchment paper and store in an airtight container in the refrigerator for up to 2 weeks.
Freezer: Layer the Easter eggs between parchment paper and store in a freezer-safe container or resealable bag in the freezer for up to 3 months. Thaw overnight in the fridge.
I hope you love these DIY Vegan Chocolate Covered Easter Eggs. If you do, I would appreciate it if you would give the recipe a rating and review. Be sure to snap a picture of the finished product and share it with me on Instagram by tagging @healmedelicious and using the hashtag #healmedelicious.
Print
DIY Vegan Chocolate Covered Easter Egg
- Total Time: 1 hour 30 minutes
- Yield: 12 Easter eggs 1x
- Diet: Vegan
Description
Make these DIY Vegan Chocolate Covered Easter Eggs for an easy and delicious Easter treat. The smooth, rich filling is made with tahini, almond butter and maple syrup, and coated in luscious vegan dark chocolate. A fun, no-bake paleo Easter dessert that everyone will enjoy!
Ingredients
- 1/2 cup tahini
- 1/2 cup almond butter
- 3–4 TBSP maple syrup*
- 1/4 cup + 2 tbsp coconut flour
- 1/2 tsp sea salt
- 6 oz (approx 1 cup) vegan chocolate chips or dark chocolate
- 1 TBSP coconut oil
- flaky sea salt or sprinkles (optional, for garnish)
Instructions
- Line a large baking sheet with parchment paper and set aside.
- In a large bowl, mix together tahini, almond butter, maple syrup, coconut flour and sea salt.
- Scoop out 1.5-2 TBSP of the mixture and roll into a ball. Flatten the ball between the palm of your hands and shape into an egg, approximately 3/4 inch thick. Place egg on prepared parchment paper. Repeat the process until all remaining mixture is used.
- Chill the shaped eggs in the fridge for at least 1 hour or until they harden a bit and are easily held without breaking apart.
- During the last few minutes of chilling time, begin melting the chocolate and coconut oil. Either melt in the microwave in 20-30 second increments, stirring in between, or using a double boiler method, stirring constantly with a heat resistant spatula until completely melted. Let the chocolate cool for 3-4 minutes before dipping the shaped eggs in so they don’t begin to soften.
- Remove eggs from the fridge and submerge them, one at a time, into the melted chocolate mixture. Gently lift the chocolate egg out the mixture using a fork to rid excess chocolate. Slide onto prepared baking sheet.**
- Once all the eggs have been coated, drizzle more chocolate over the eggs using a small spoon.
- Sprinkle the tops of the eggs with flaky sea salt or sprinkles before the chocolate sets (optional).
- If necessary, return chocolate eggs to the fridge for an additional 15-20 minutes or until the chocolate has completely set.***
- Serve either right out the fridge or at room temperature.
Notes
*Customize the filling’s sweetness to your preference. Use 3 TBSP maple syrup for a mildly sweet filling with a stronger tahini flavor or 4 TBSP for a sweeter filling.
**If the eggs are breaking apart or losing shape while dipping them into the chocolate, return them to fridge for 10 minutes. Also, ensure your chocolate isn’t too hot so that it doesn’t cause the eggs to melt.
***You don’t need to refrigerate them again if the chocolate solidifies on its own, for example due to the weather conditions. They’re refrigerated to let the chocolate set and ensure the candies keep their shape. Keep in the fridge for long term storage.
- Prep Time: 30 minutes
- Chill Time: 1 hour
- Category: Desserts
- Method: Assembled, Chilled
- Cuisine: American
Yummmm Nicole, these are so good! I love the consistency of the filling and that it has extra fiber with the coconut flour.
These little eggs are delicious! The coconut flour gives them just the right texture. I’ve missed having the traditional peanut butter eggs my mom used to make and these are the perfect replacement!