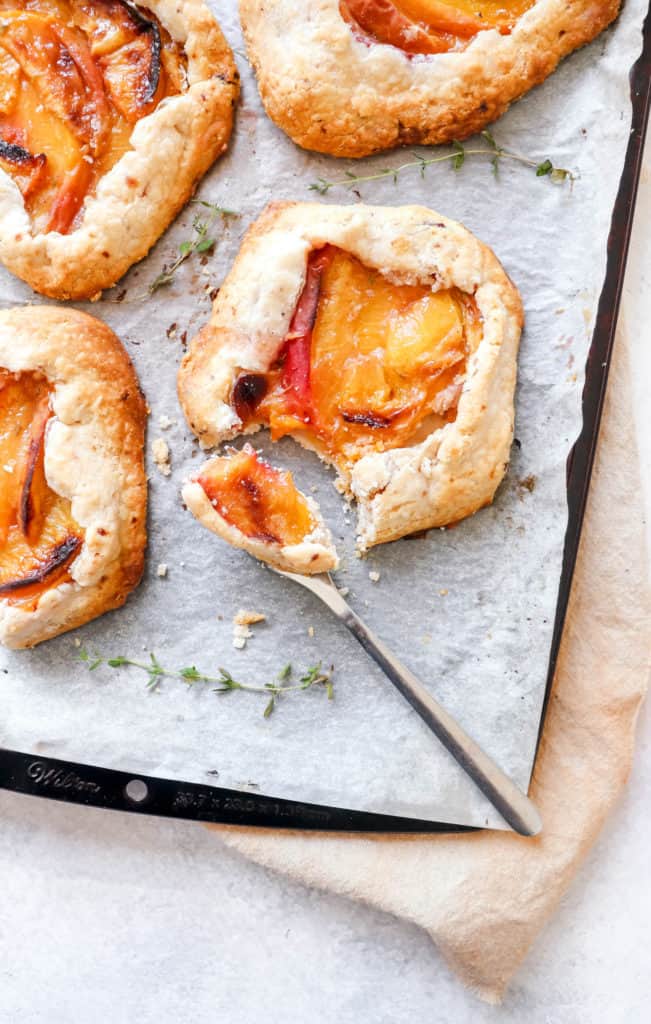
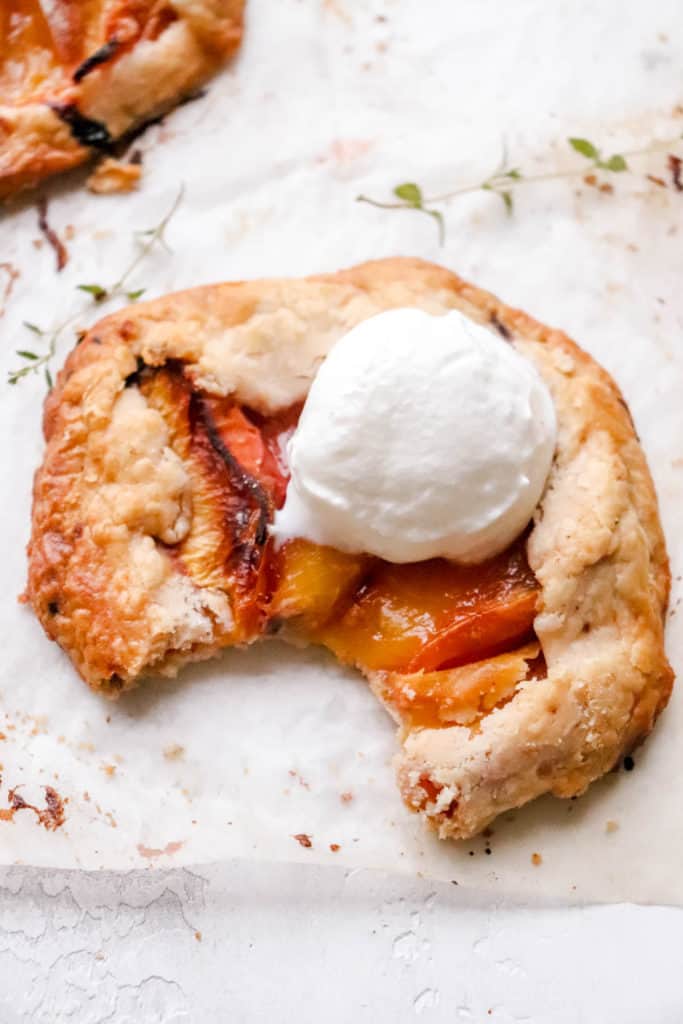
These mini Peach Thyme Galettes are made with fresh peaches, lime, cinnamon and thyme. They’re AIP, paleo and vegan, and the perfect summer dessert.
Trying to follow the autoimmune protocol while being an AIP baker is tough because sweets should be consumed in moderation on this protocol. In order to keep creating, testing and double testing delicious treats on the blog, I’ve been intentional about keeping the sugar content pretty low in my recipes.
Luckily, there are no shortage of delicious fruits that are naturally sweet and in season in North America right now. Fruits like berries, stone fruit and cherries develop an even sweeter flavour when baked and reduce the need for much added sugar.
In this Peach Thyme Galette recipe, fresh peaches are mixed with lime juice, thyme and cinnamon and placed in a flaky and crispy pie crust made with cassava flour, tapioca starch and coconut oil. The end result is not only delicious and beautiful.
I’ve made these into mini galettes, but the recipe makes enough pastry dough for one large galette. If you choose to make the latter, you may need to add a few more minutes onto the baking time to ensure a crispy and fully baked crust.
The key to success with this recipe is to work quickly and to ensure that your fat is completely frozen and remains so throughout the process. As I note in the recipe instructions, it’s important not to over-manipulate the pastry dough with your hands. This causes the oil to melt, and the dough to soften and it will then seep out of the pastry while baking.
Peach Thyme Galette FAQs
Can I use canned/ frozen peaches?
I wouldn’t recommend using canned or frozen peaches in this recipe. The water content of frozen fruits is too high and it will affect the crust and likely make it soggy.
How do I store these?
Store your galette in the fridge in a sealed container and bring to room temperature or heat in oven before serving.
Can I substitute the peaches?
Yes! Feel free to substitute peaches for 1.5 cups fresh blueberries or strawberries. Apples and pears also pair wonderfully with the thyme and cinnamon in this recipe and are a great choice for the Fall.
Can I make this recipe coconut-free/without coconut oil?
For a coconut free pastry crust try out my Mixed Berry Galette dough, and skip brushing the crust with coconut milk.
If you try this recipe for Peach Thyme Galette, I would love it if you would give it a star rating and short review. Also, be sure to snap a picture of the finished product and share it with me on Instagram by tagging @healmedelicious and using the hashtag #healmedelicious.
Looking for more AIP summer fruit recipes? Check out:
No-churn Strawberry Basil Ice Cream
Grilled Pork Chops with Cherry Compote

Peach Thyme Galette (AIP, paleo, vegan)
- Total Time: 1 hour 30 minutes
- Yield: 4–5 mini galettes or 1 large galette 1x
Description
These AIP, paleo and vegan mini Peach Thyme Galettes are made with fresh peaches, lime, cinnamon and thyme. They’re rustic, beautiful and absolutely delicious and the perfect summer dessert.
Ingredients
Pastry Crust
- 1 cup cassava flour
- 1/4 tsp sea salt
- 2 TBSP coconut sugar
- 3/4 cup coconut oil, frozen
- 1/2 TBSP apple cider vinegar
- 4 TBSP ice cold water
Filling
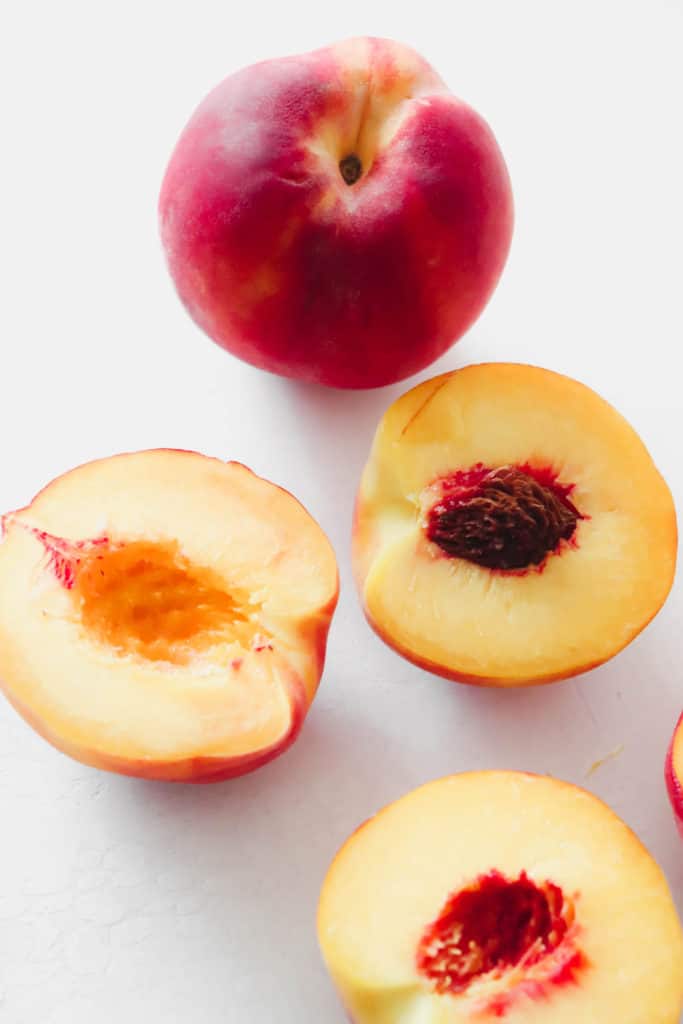
- 2 large peaches
- 2 TBSP honey or maple syrup
- 1 tsp fresh thyme, picked and chopped
- 1 tsp pure vanilla extract
- 1 TBSP freshly squeezed lime juice
- 1/4 tsp cinnamon
- pinch sea salt
- 1 TBSP tapioca starch
- coconut milk for brushing dough
Instructions
Filling
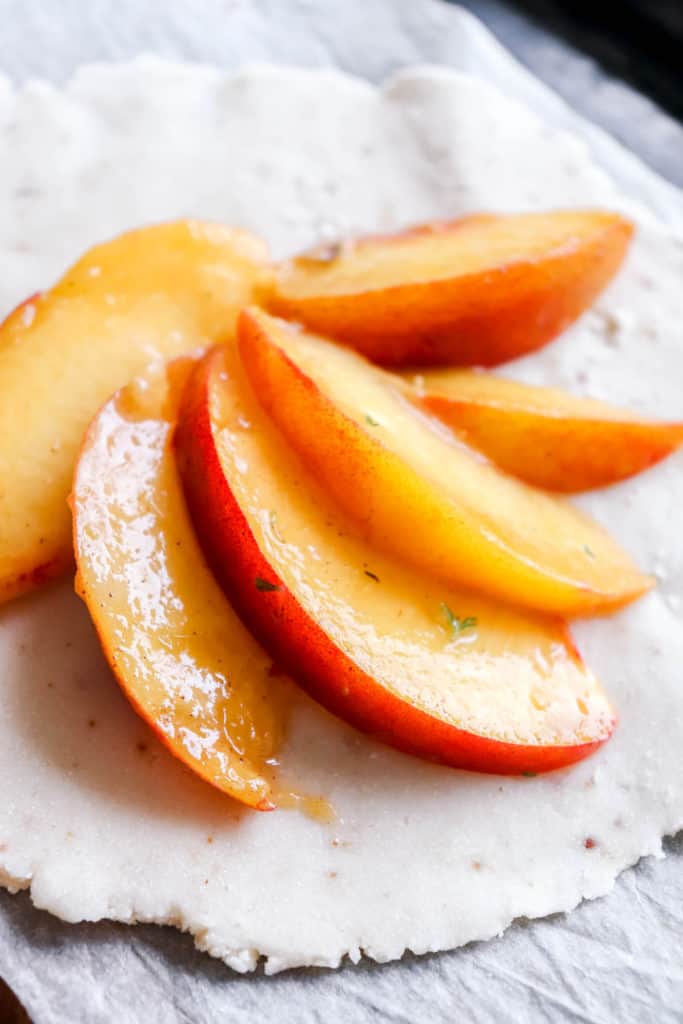
- Slice peaches into 1/2 inch thick slices.
- Place sliced peaches in a large bowl with maple syrup or honey, fresh thyme, vanilla extract, freshly squeezed lime juice, cinnamon, pinch of salt and tapioca starch.
- Set filling aside in the fridge as you make pastry.
Pastry and Assembly
Before you begin, ensure that your coconut oil is completely frozen. I typically measure out 3/4 cup liquid coconut oil and leave it in the freezer for at least 20-30 minutes until it is solid.
- Preheat oven to 375 degree F.
- In a large mixing bowl add cassava flour, salt and coconut sugar.
- Cut frozen block of coconut oil into approximately 8 pieces and add to food processor. Pulse until the oil is broken up into pea-sized pieces. Alternatively, you could use a grater for this but you would have to work quickly so the oil doesn’t melt as you grate.
- Add frozen pea sized pieces of coconut oil to mixing bowl with flour. Use a pastry blender or fork to combine the frozen coconut oil with the flour mixture until well-combined. This is the longest and most tiring part of the process as you want to use the pastry cutter or fork to integrate the coconut oil with the flour mixture. Your hands will likely be tired but keep cutting until the dough starts to come together. Once the dough begins to come together, add vinegar and ice cold water 1 TBSP at a time, mixing between each addition just until the dough begins to clump (You may need 1-2 TBSP less water or more water depending on the climate you’re in). Use your discretion here – you don’t want a wet dough.
- Using your hands, gently form into a ball of dough. Be careful not to over-manipulate the dough as the heat from your hands will cause the coconut oil to melt. If you notice the oil melting and the dough beginning to feel too wet/soft, place in the fridge for 10 -15 minutes before continuing.
- Place ball of dough between two pieces of parchment paper and use your hands to flatten it out into a disc. Using rolling pin, roll dough out to 1/4 inch thick.
- If you plan on making one large galette, roll crust out to about 12″ in diameter. Alternatively, roll crust out to 12″ and then cut 4-5 circles out of dough for mini galettes.
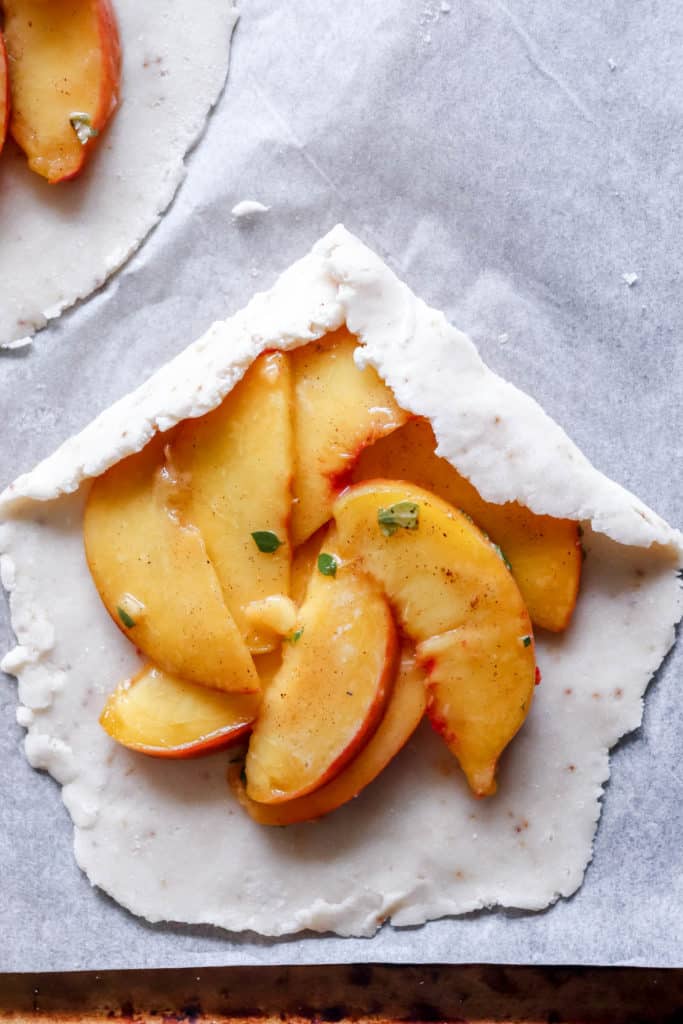
- Working quickly, arrange the peaches in circles over the dough leaving a 1 – 1.5″ border.
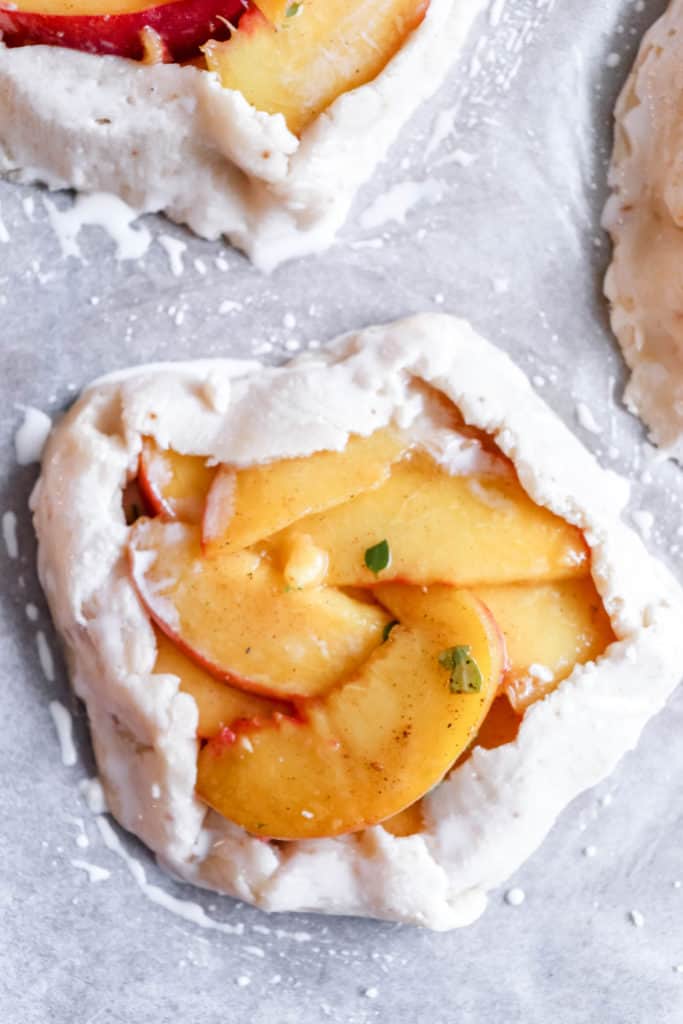
- Fold the edges of the galette up over the peaches, overlapping and pinching edges together. Don’t worry if the crust breaks apart a bit while folding, that’s the beauty of these rustic galettes – they’re meant to be rustic. Simply patch up any cracks in the dough using your fingers.
- Optional – Brush the top of the dough with cold coconut milk to assist with the browning.
- Bake in middle rack of the oven for 45 – 50 minutes or until the crust is golden brown at the edges. Optional – broil for 1-2 minutes to assist with browning on the top of the galette but watch closely.
- Serve warm as is or with with AIP compliant coconut yogurt or ice cream.
- Prep Time: 45 minutes
- Cook Time: 45 minutes
- Category: Dessert
- Method: Baking
Nutrition
- Serving Size: 1
- Calories: 467
- Sugar: 15.7g
- Sodium: 238mg
- Fat: 32g
- Protein: 0.7g
I am delighted this was another winner of Nicole’s baked goods recipe. Though I have already added the apple tart crust as part of my repertoire, I was still adventurous with this recipe since ripe yellow peaches are in season and I just have to test this version of crust out for myself. I hesitated since 1) I recently got tired of coconut flavor (be it from coconut milk or from anything coconut related, and 2) hey, if the crust of Nicole’s apple tart is a keeper, why bother to take a chance?! Again, I am happy to report back that now I have one more crust added to my repertoire and noted to myself that I would make this for any of my friends who craves for buttery flaky palmiers, this galette won’t disappoint and a non-AIPer would be happily surprised this is AIP allergen friendly!! Thanks, Nicole, for another marvelous baked goods recipe!! XX
I was so excited about this. I made it exactly as instructed and… they melted into a giant puddle on the cookie sheet. It was a disaster. Any idea why they would just disintegrate like that? It was so disappointing.
Hi Kristi, it sounds like you might have over-processed the dough. With pastry, you want to ensure that when you bake there are still chunks of the fat/coconut oil in the dough. When these melt slowly they help develop the texture of the dough. If the oil is already melted it will seep out as you describe. It means working quite quickly and potentially pausing if necessary to place the dough in the fridge if it starts getting soft.
I made this today and mine did same thing
I made mine with a 1/2 cup of palm shortening. I froze it and prepared according to your instructions, but realized that the 1/4 cup less oil meant that the galette was much smaller than I expected, maybe 8 or 9 inches diameter, not enough for 6 people as I needed. I didn’t have time to freeze more shortening because I was taking it over to a bbq in an hour or so. So I just worked room temperature shortening into another round of dry ingredients and used less water, 2 tablespoons – and it turned out the same as the first galette. Such a great recipe, thank you!!
So good – will be making again and again. And I was even probably a little lazy about keeping the coconut oil frozen. The only thing I’ll change for next time would be adding a little sugar to the crust before baking, because I can’t help myself.
Haha, thanks Natalie!
The peach with the lime and the thyme is such a delicious combo!! I used palm shortening, instead of coconut oil, and maple sugar, instead of coconut sugar. My dough get very soft and they didn’t stay together, but they were still very yummy! Next time, I think I would replace the coconut oil with slightly less palm shortening, as it sort of overwhelmed everything. This was a great thing to eat as my family was eating birthday cake- some of them even said my dessert looked tastier than theirs! Thank you for this really tasty recipe!!
Its amazing
oh this inspired me! I have a plum tree bursting with ripe fruit and i was looking for a new idea. Just put this in the oven, but used plums instead of peaches. love your recipes!
Oh yum!! Do let me know how it turns out <3
it was delicious. thanks for all the work you put into creating delicious recipes. This crust is wonderful!